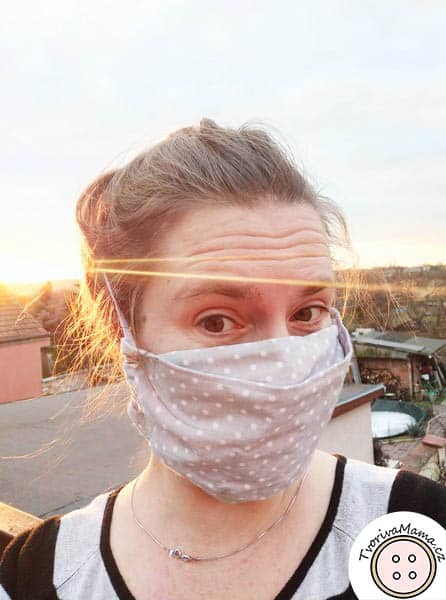
The 3D face mask is great because its center sits further from the pace, therefore, it makes the breathing more comfortable. Moreover, this one has an optional filter pocket and a wire at the bridge.
Check out also my other face mask tutorials, I have plenty including clear masks, mask for a beard…
Table of Contents

 Supplies
- pattern – download HERE
- 100% cotton fabric
- thread, lace or elastic band
- scissors
- pins
- thread
- ruler
How to make the 3D face mask
Cutting
First you need to print the pattern. It might take a while until you find a face mask that suits you best and it’s the same with the sized. I’ve made the pattern in three sizes (two adult and one child) but you might have or want to make the pattern larger or smaller. You can do so by simply adding or taking from to the straight parts of the pattern (top, bottom and sides).

The printed pattern is a half of the mask. So you have to place it on the fold of the fabric and cut it out.
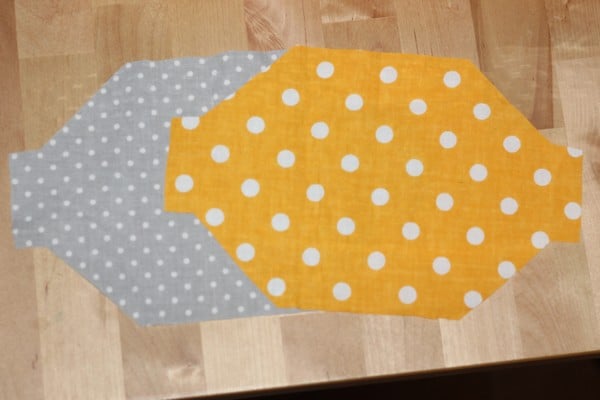
You’ll get the full form of the mask. Cut two layers, onw will be for the outside and one for the inside.
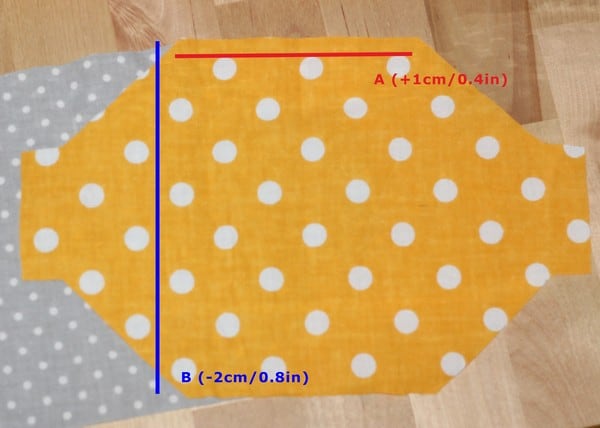
The last piece you’ll need to cut it a rectagle. It should be 1 cm/0.4 in wider than the upper edge of the mask piece and 2 cm/0.8 in shorter than the height of the mask.
Filter Pocket and Sewing
If you don’t want to add the filter pocket, just skip it and follow the tutorial without it. However, if you want your 3D face mask to have a casing for the wire, you have to make the pocket.
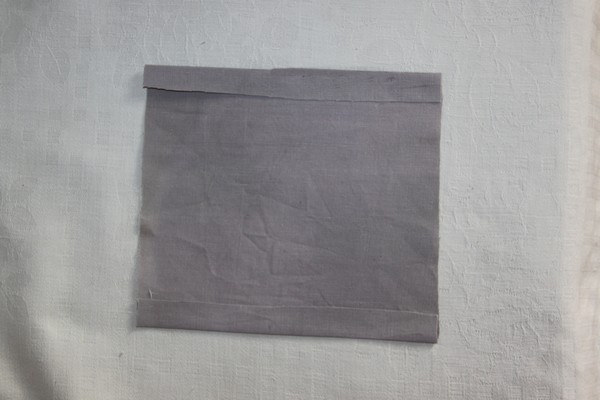
Fold the extra 0.4in of the width to the wrong side by folding 0.2in on each side.
Fold both mask pieces to the wrong side where the dashed line shows and press.
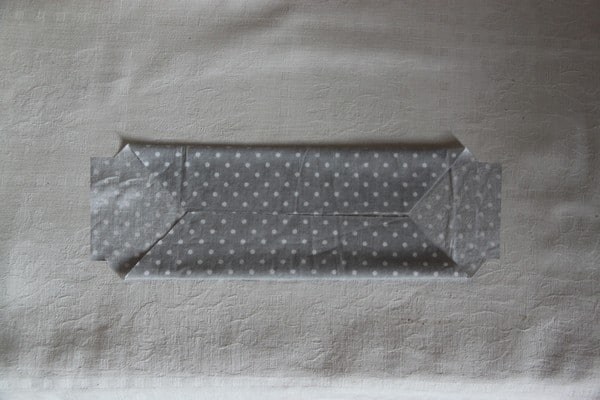
Place the outer mask piece and the pocket right sides together centering the pocket at the upper edge of the mask piece. Pin. The pocket is shorter than the mask piece.
Pull the pocket down and pin also to the lower edge.
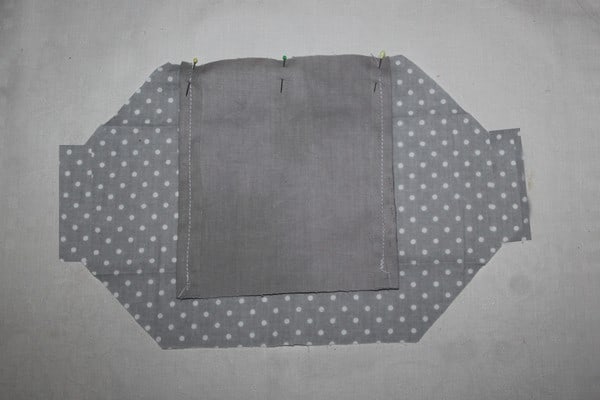
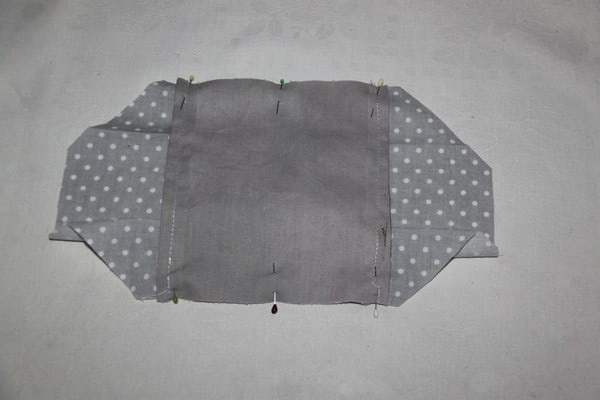
Place the inner mask piece on top right side down. Stitch around the edges leaving only the sides open.
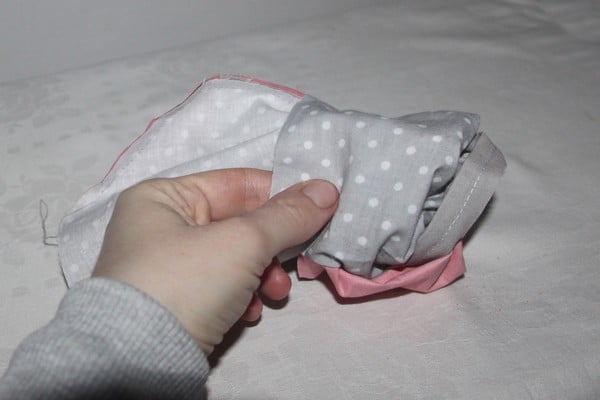
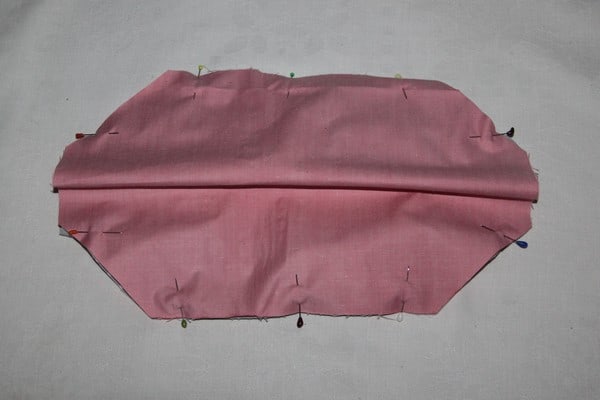
Turn the mask right side out.
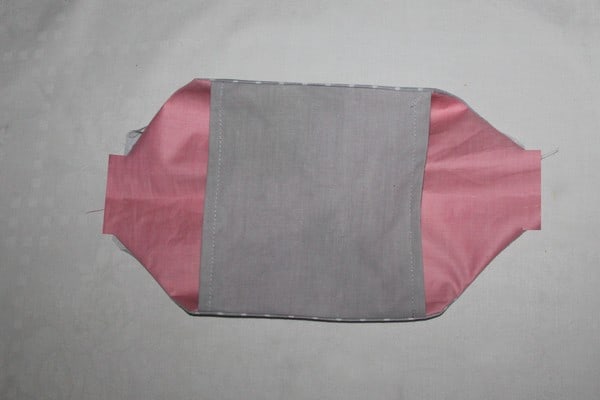
Make sure the pocket is in the inside.
Folding
Press.
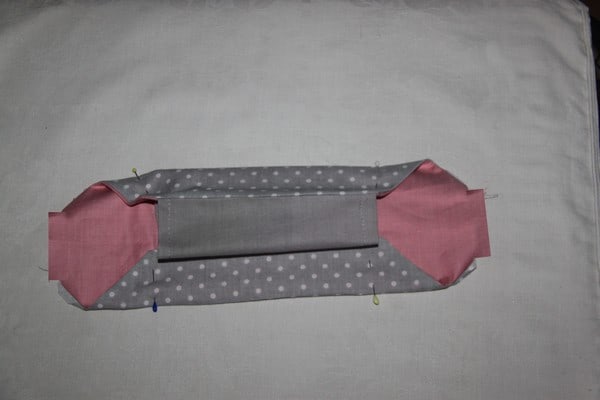
Fold the lower and upper edge in like before to create flaps, leaving the pocket outside. Topstitch the upper and lower edge.

Fold the sides in twice and topstitch. Now you have the casings.
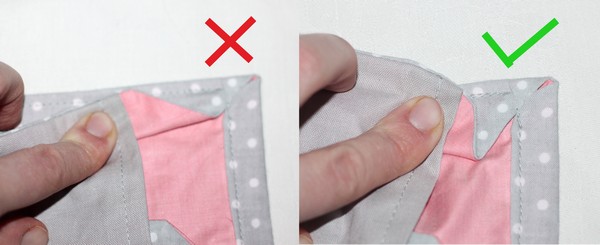
Pull the corner of each flap upwards (upper side) or downwards (lower side) to create a 90-degree angle.
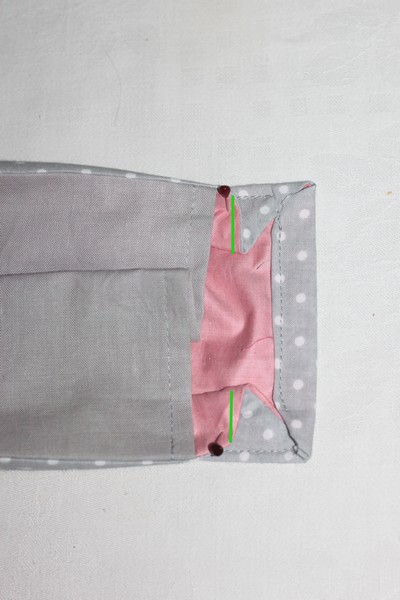
Stitch paralell to the stitching of the casing. The stitch is marked with green line in the photo.
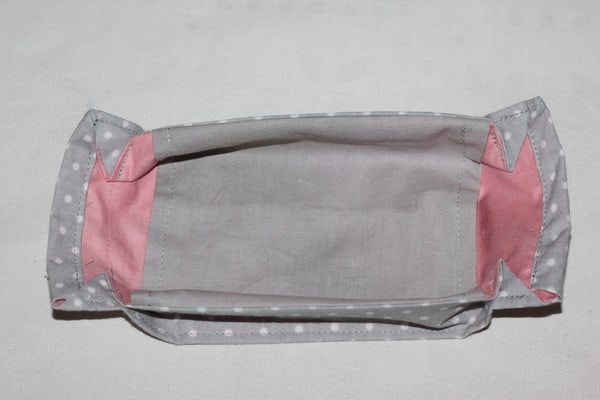
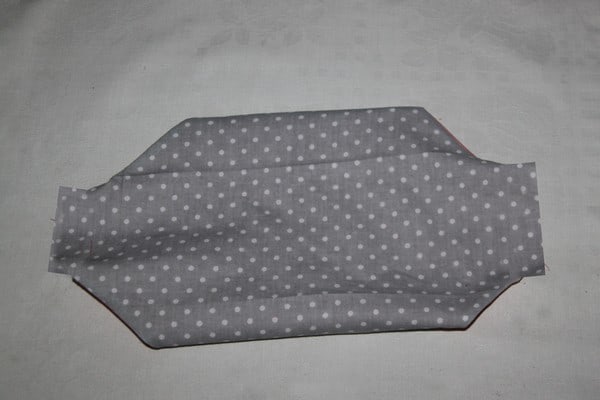
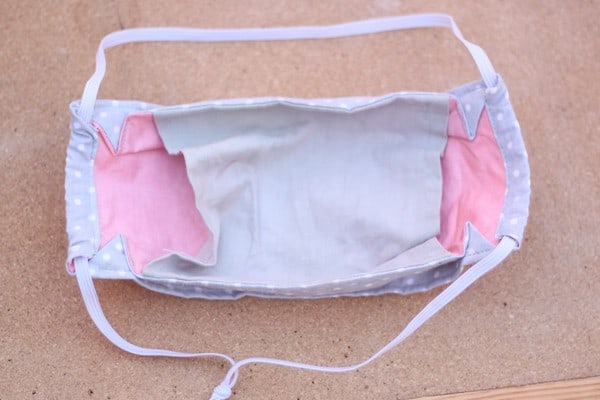
Open the mask.
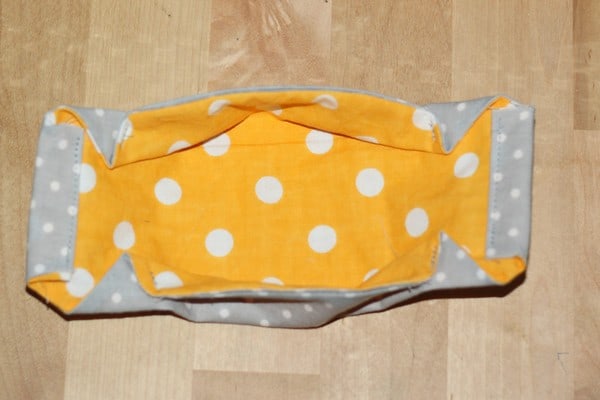
This is a mask without the pocket.
Bridge Casing

If you want to insert a wire to make the mask adjustable to your nose, just topstitch about 0.3in from the upper edge. By stitching the mask and the pocket you’ll create a casing for the wire.

Insert wire.
Attach a safety pin to the lace or elastic band and feed it upwards through one casing and downwards through the other. Tie the ends in a know or sew together and your 3D face mask is done.