
Scratch paper is so popular among children! Did you know that you can make it easily at home and even your kids can make it?

Black coat that you scratch off to reveal a colorful layer. The scratch paper can be bought also with pre-scratched contours that the children are supposed to fill in. But it’s so much more fun to make it at home! You can customize your DIY scratch paper with contours, letters, anything you want to add, or you can just make it plain black.
You need just a few things and anything to scratch – needle, a twig sharpened with a knife, or a scratching tool from a store-bought scratch paper. Older kids can make the paper for themselves or their younger siblings. It’s very similar to my Scratch Off (Valentine) Card, easier even, because you don’t need any tape here.
It took me some time to get the “recipe” right, especially the paint-soap ratio and the way to apply the paint. In case you want to experiment, I will add my tips that might save you some work.

And if you prefer a video of the whole process, here it is:
Supplies
- crayons or oil pastels
- heavy paper
- black acrylic paint
- dish soap
- flat brush
- scratching tool

Scratch Paper – Tutorial
Put the paper on a mat to protect the table from the crayons and paint. I am using paper size A5.
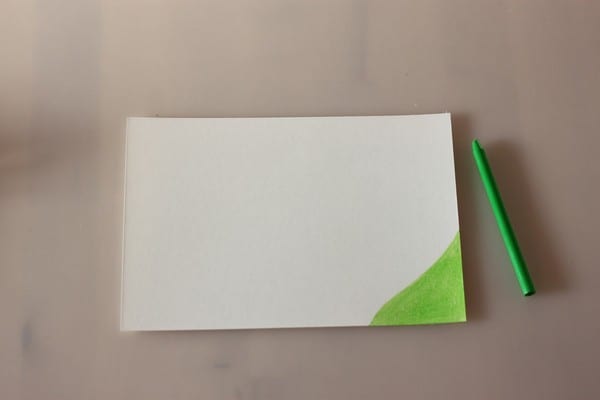
Color one small segment with one color.
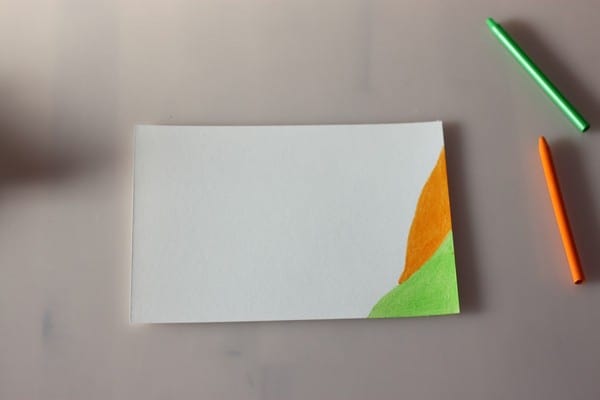
And another one with another color.
Make sure there are no white spots, not even where one color ends and another starts.
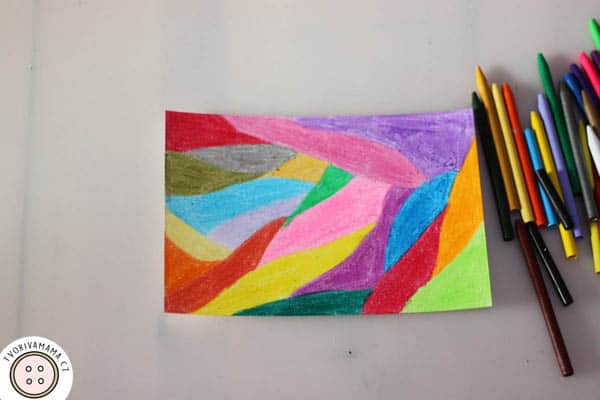
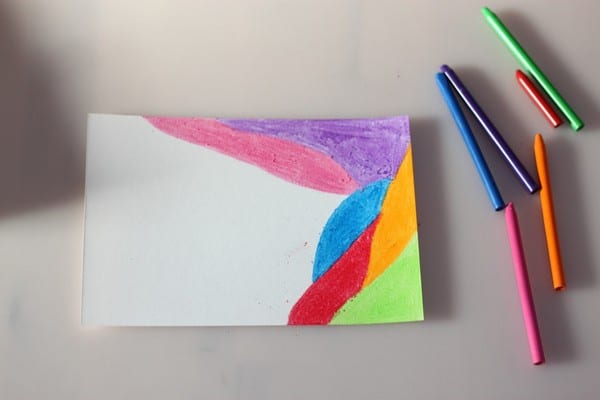
Color the whole paper. Then run with your finger over the whole paper to smudge the colors a little.
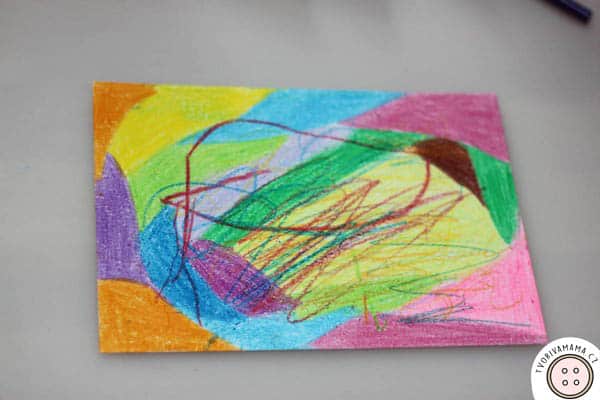
You can also use your little one’s drawings.
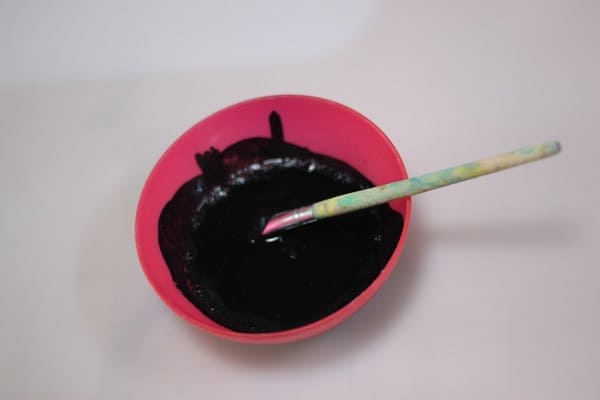
Mix the acrylic paint with dish soap, the ratio is 1:2. Three tablespoons in total (1 of paint and 2 of soap) is enough for 3-4 papers size A5.
Tip 1: Maybe different brands of acrylic paint need different ratio, I tried 2 brands and this ratio was ideal. 1:1 made the black layer too acrylic and much harder to scratch. I also tried the blackboard paint which was not a good choice for this project.
Tip 2: Mix the paint and soap with a spoon and slowly to prevent bubbles from forming. Mixing with a brush will make the mixture much more bubbly. Bubbles that don’t burst fast enough and dry will make tiny “craters” on the surface. A surface that isn’t smooth is much harder to scratch.
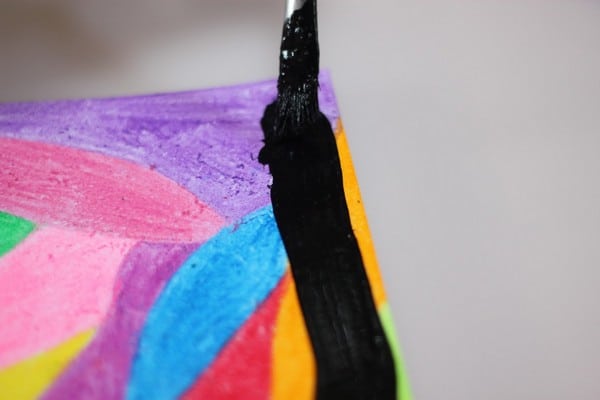
Paint the color layer painting always in the same direction. We want the resulting layer to be as smooth as possible, so use the largest flat brush you can find.
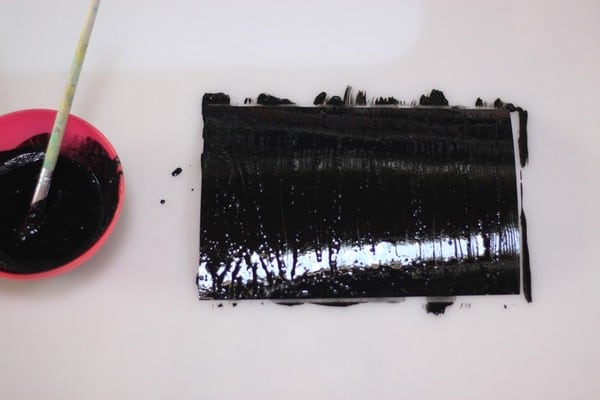
Paint the whole sheet, let the paint set and if you see smudges or that the brush has left tiny stripes without the black paint, apply another coat on those places. The set the paper aside for 24 hours to dry properly.
Tip 1: I tried pouring the paint in the center of the paper and then extending it over the paper with a brush. This made too many bubbles form. Applying the pain slowly with a flat brush as wide as you can find seems to be the best option. The mixture will form bubbles anyway but they will burst fast and the paint will have time to even them out while it’s still liquid.
Tip 2: Applying a second coat to the whole sheet didn’t seem ideal, it made the layer too thick in some places, that’s why I recommend to apply it only where necessary.
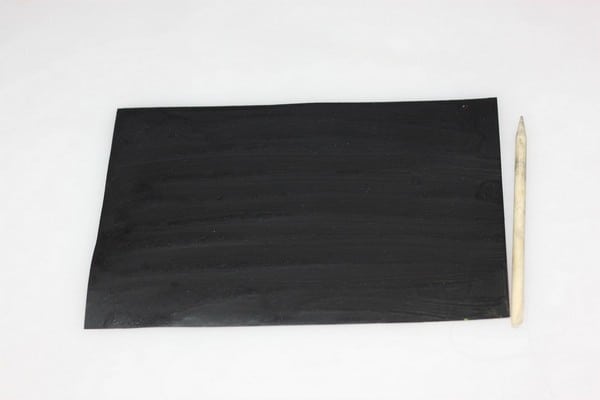
When the paper is completely dry, the work’s done and you can start scratching. Use anything with a sharp tip for scratching, you can also take a small twig or a chopstick and sharpen it with a knife.

The upper black layer will scratch off and the vibrant colors of the crayons will stay. The photo doesn’t do them justice, they are more vibrant in reality. If you don’t want to make new papers all the time, just scratch off the whole black layer and paint the same paper again.


