
Too many egg shells? Make a homemade chalk!

Who here did draw on the pavement with chalk when they were kids? Me and I bet you, too! Chalk is our basic equipment from spring to autumn, my kids use for any sort of drawings on our garden pavement, on the sidewalk and sometimes on themselves.
Even though drawing chalks for kids aren’t expensive, of course I wanted to make my own. And if you have egg shells that you don’t want to use for anything else, you can make them too. Moreover, it’s fun molding them, so show your kids chalks don’t grow in supermarkets and have them make their own! My the way, if you like playing with clay-like things, I also have a tutorial on Homemade Air Dry Clay.
Table of Contents
How does Homemade Chalk draw?

One-word answer – well. I saw store-bought chalks of different quality, from excellent ones to chalks with colors so pale that you couldn’t distinguish between pink and blue. (Our) Homemade Chalk can compete with the commercial chalk. It’s rather hard and not always perfect for drawing all details but we are very happy with it. And you can shape it for your or your kid’s hand!
For this tutorial I made 5 chalks from brown egg shells, four of them dyed with gel food colorants and one without any dye. As you can see, the chalks draw well and even the white one is ok.
Supplies
For one chalk
- egg shells from 4 large eggs (preferably white but brown are also ok)
- 1 teaspoon of white finely ground flour
- 2 teaspoons of hot water
- food colorants in gel (I write about some alternatives below)
- mortar and pestle or electric coffee grinder
Colorants
There are several ways to dye the chalk. White egg shells are the best whether you want to dye them or not, however, brown ones are fine as well. I use food colorants in gel because my youngest kid often draws with one chalk and snacks on another one and with food colorants I don’t need to worry about it too much.
Tempera paints are a really good option if your children are old enough to understand that they cannot eat the chalks. The colors of tempera-dyes chalks are usually very good.
Water color paint is also ok if you use the ones in tubes, as they have a paste consistency. I don’t recommend using acrylic paint.
You can also use food colorants in powder or natural ingredients like turmeric or cinnamon. These chalks will need a little bit more water and also they won’t be dyed evenly but this is a fun option and who doesn’t like chalks that smell like cinnamon?
Homemade Chalks from Egg Shells – Tutorial
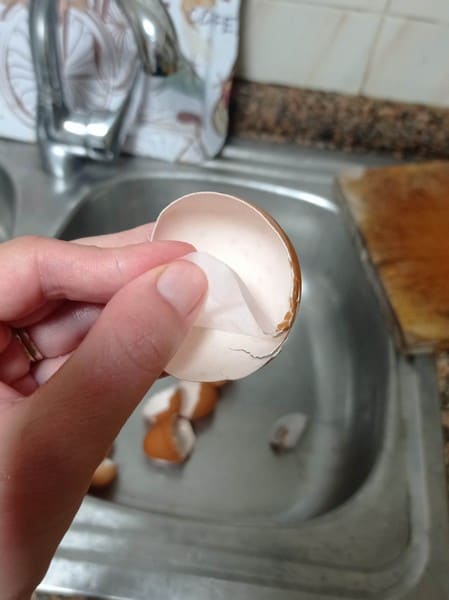
Wash out any egg leftover from the shell and peel off the membrane.
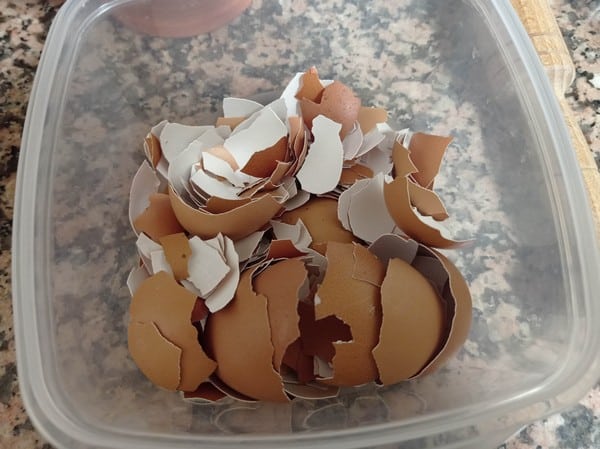
Let the egg shells dry properly.
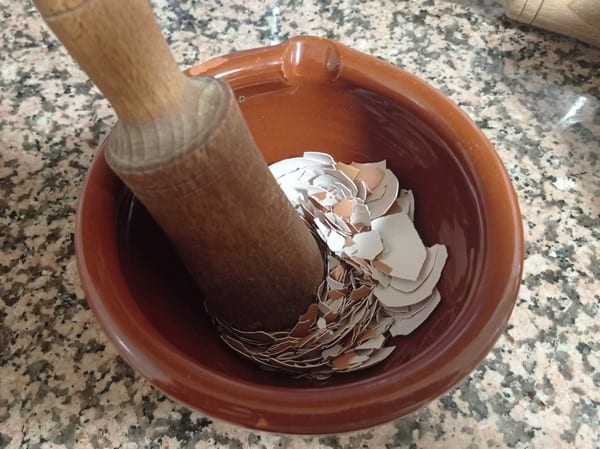
Crush them into powder in the mortar.
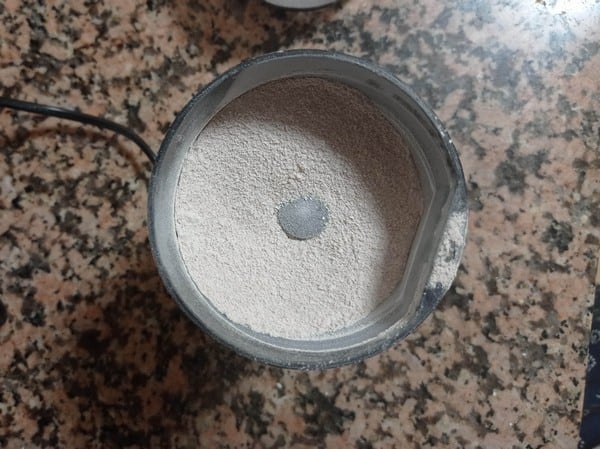
If you have a coffee grinder, forget the mortar, this is a faster option. If you’re not sure whether there are pieces of egg shell left, sieve the powder.
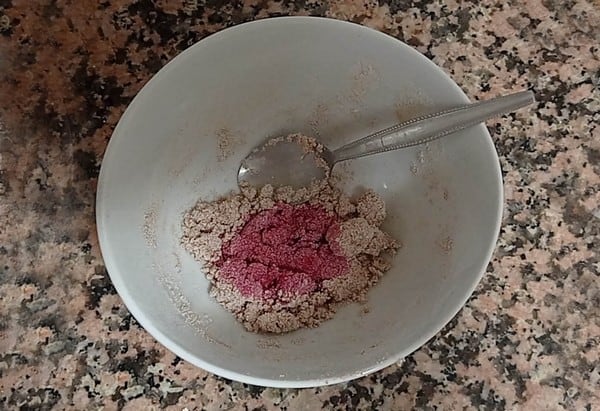

In a bowl mix 1 tablespoon of the powder, one teaspoon of flour and two teaspoons of hot water. Mix and add food colorant. Mix well to distribute the colorant evenly.
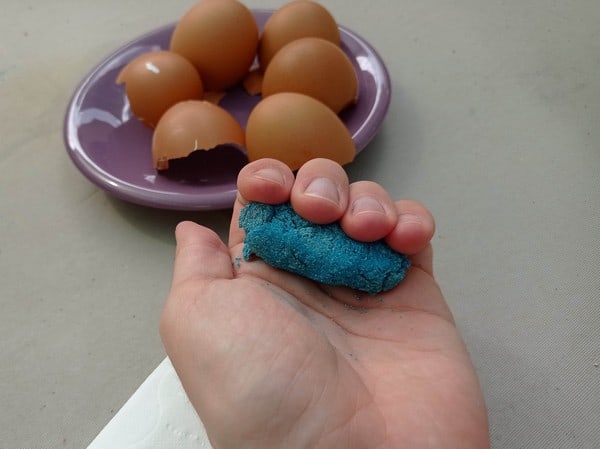
Mold your chalk in hand.
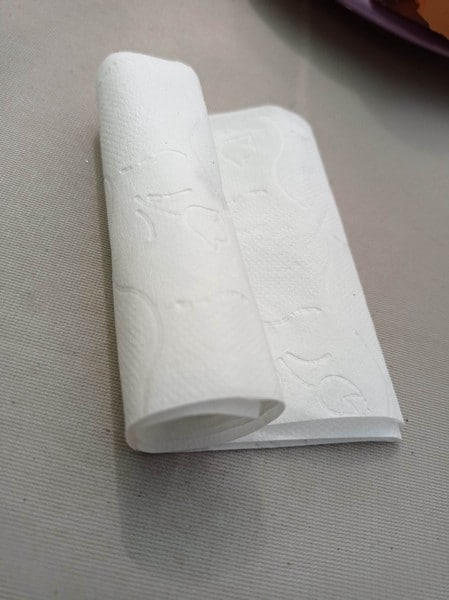
Or you can roll it in a paper towel, the result will be more smooth.
Let the chalk dry in a dry place for 2-3 days. It has to be absolutely solid. Before you use it, press it lightly with your fingers. If it’s even a little bit soft, let it rest for one more day.
Chalk mold
You can also make a simple mold for the chalk. I prefer to mold them in hand but I want to show you how to do this. The red chalk in the photos is the one I made in mold. All you need is a piece of thin cardboard, for example a paper box, a pair of scissors and adhesive tape.
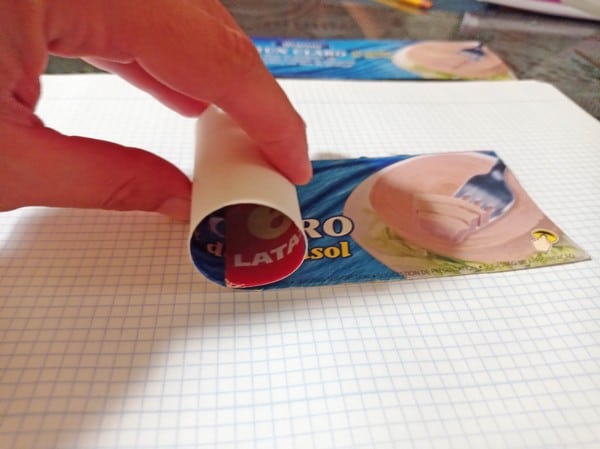
Roll the paper to have the size of mold you want and cut.
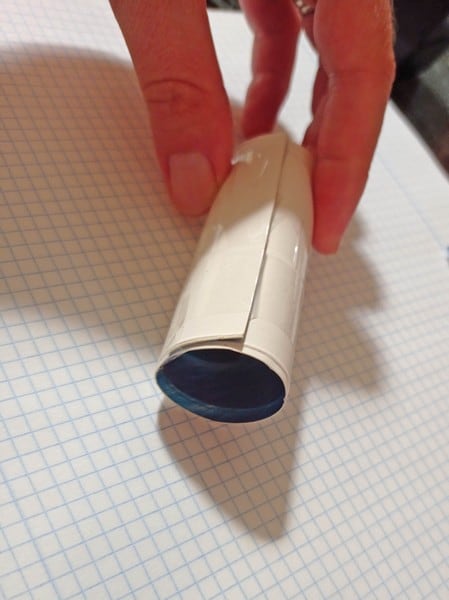
Tape the edges.
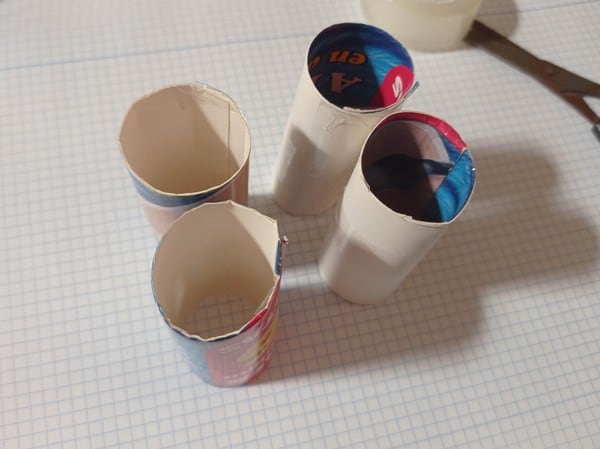
Make one mold for each chalk.
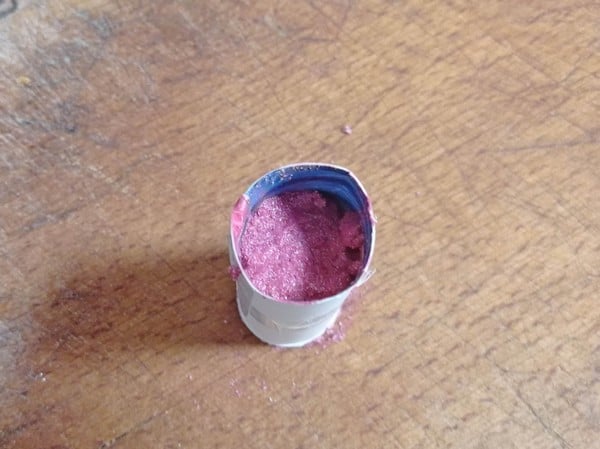
And, instead of molding the dough by hand, stuff it into the mold. And I really mean stuff it, press it with your fingers so there are no bubbles. Let the chalk dry in mold for two days, then cut the mold, take the chalk out and let it dry for one more day.

And then have lots of fun drawing!
If you liked this tutorial, you might also like my other tutorials in Arts and Crafts.


