
Our Lily is becoming quite the craftsy kid. She likes to make furniture for her dolls, she makes origami flowers and small gifts for her friends. We made this origami mini book together and actually not just one. We made a pile of them which comes handy now before Christmas. It’s an ideal gift for small girls!

The origami mini book is not only a cute present but also a great opportunity for the children to practise their fine motorics. They have to make the folds very exact and there’s cutting involved.


Table of Contents
Supplies
- 1 sheet of paper (I use DIN A4)
- a stripe of decorative paper 14,5 x 7,5 cm / 5,7 x 3 in (you’ll have to adjust the size if you use different paper size)
- glue
- scissors
How to make the origami mini book
Shape
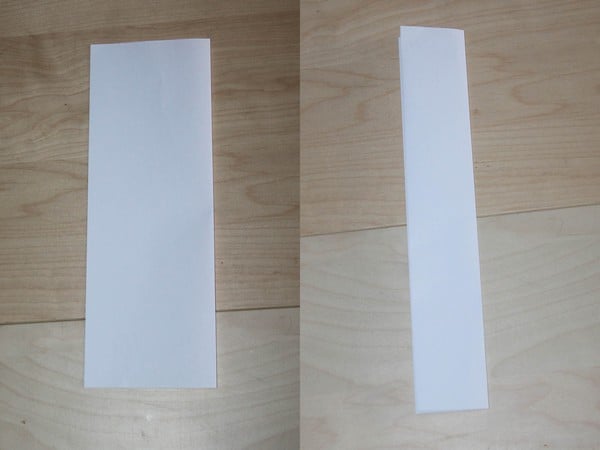
Place the sheet vertically and fold it in half horizontally. And fold once more in the same direction.
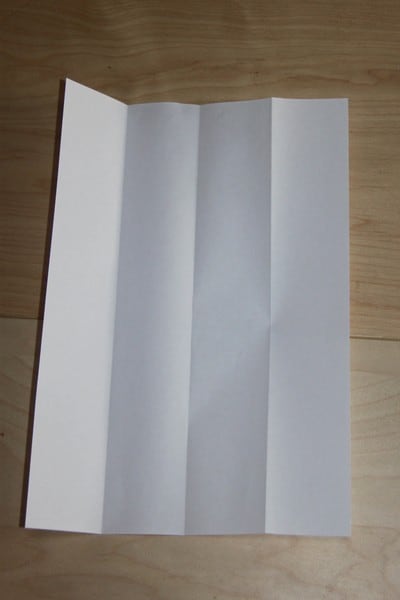
Open the folds.
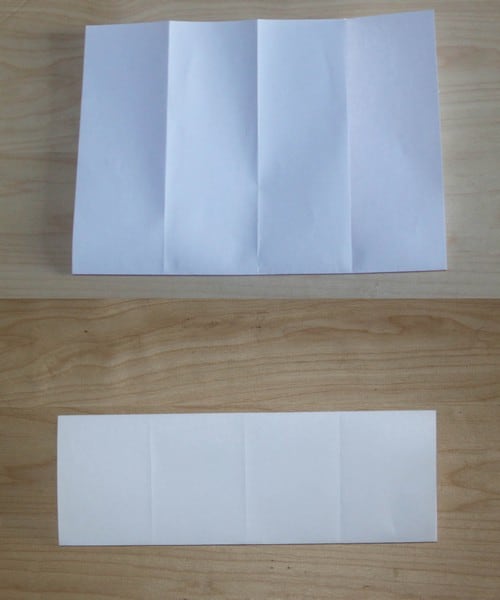
Now fold the paper twice again but this time vertically.
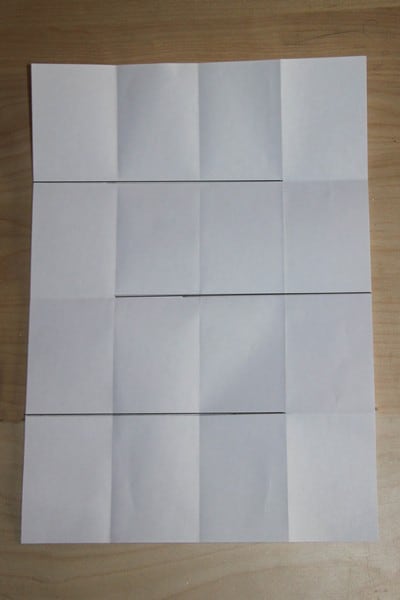
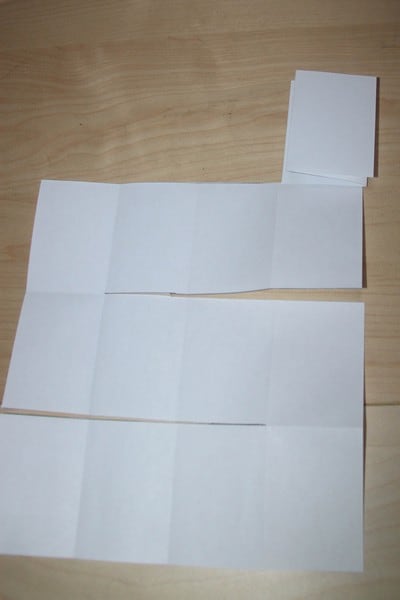
And open again. The black lines show where you’ll be cutting. If you want, draw the lines.
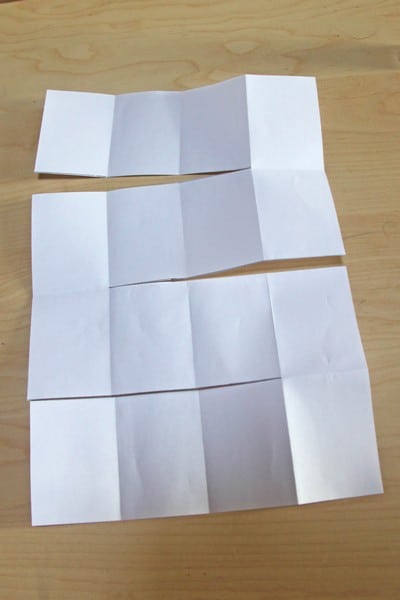
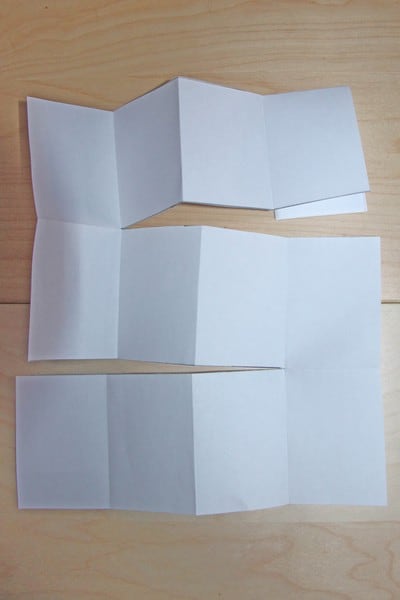
Fold where the lines show you.
Fold
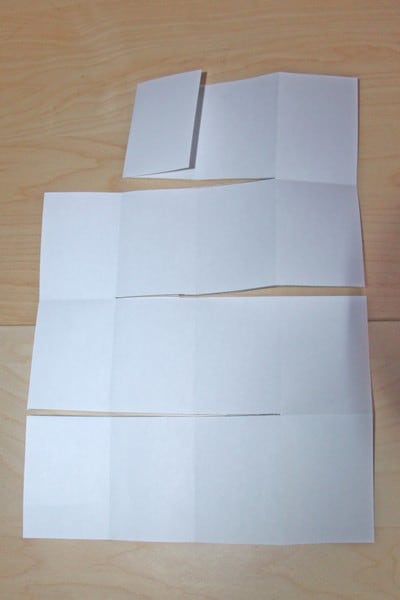
You’ll be folding like when you fold a fan, meaning alternating directions. Fold the first section in one direction.

The fold the next section in the opposite direction.
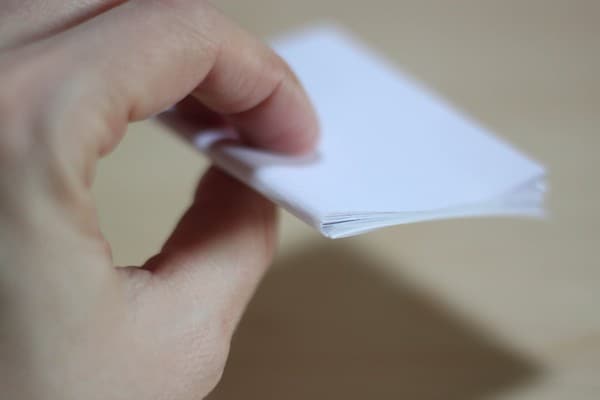
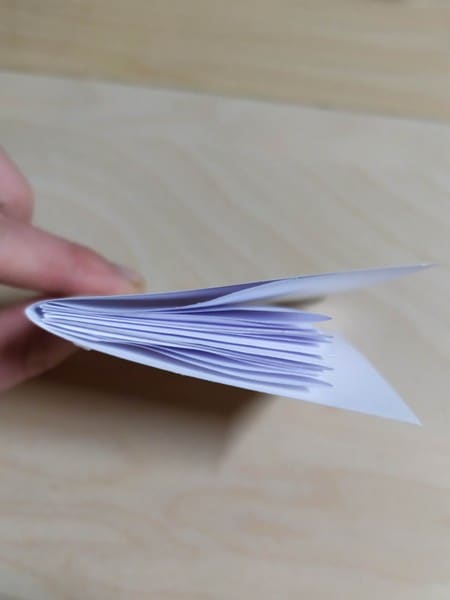
Continue folding the whole row in the same way. If you’re not sure whether you’re folding correctly, try to open the folds. They should open into a fan.
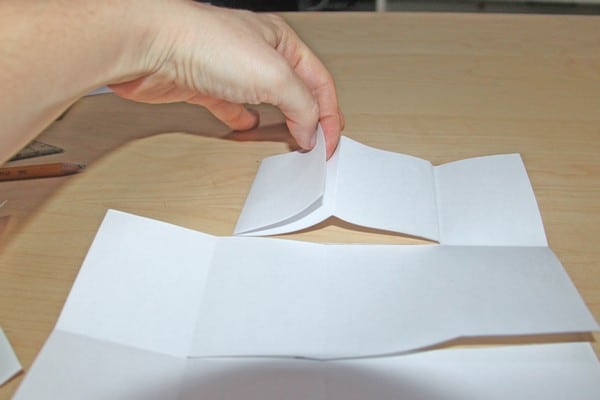
At the end of the row, you have to fold down. Even here you have to do it in the opposit direction to the previous section. The fold shouldn’t go around the book, it needs to continue the fan.

Fold the next row.

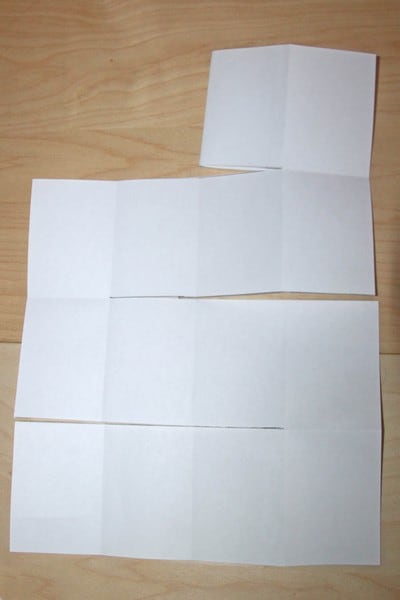
And again, fold down and the next row.
Fold also the last row, the change comes with the last section. This time the section has to go around the book, it has to wrap it creating the spine of the book. Glue the last section to the book page it wraps and this will hold the book together.
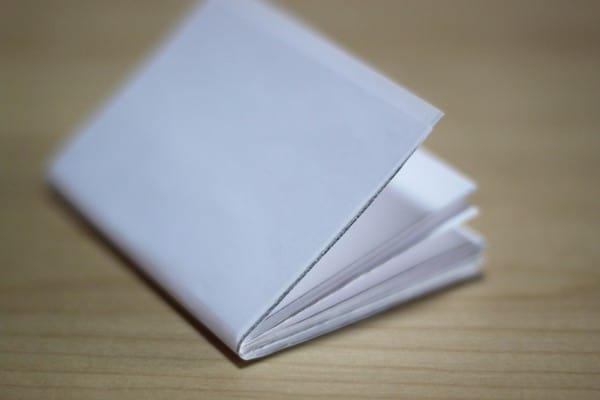
This is what the book should look like.
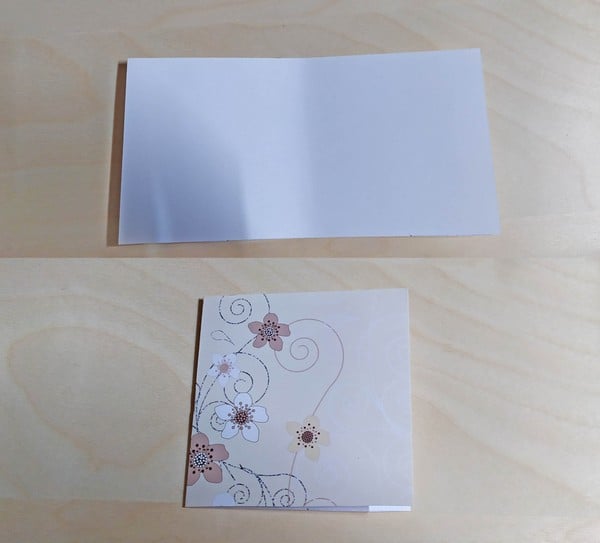
Now take the decorative paper and fold it in half.
Put some glue in the line in the center and glue the spine of the origami mini book in it. Close the book and let it dry.
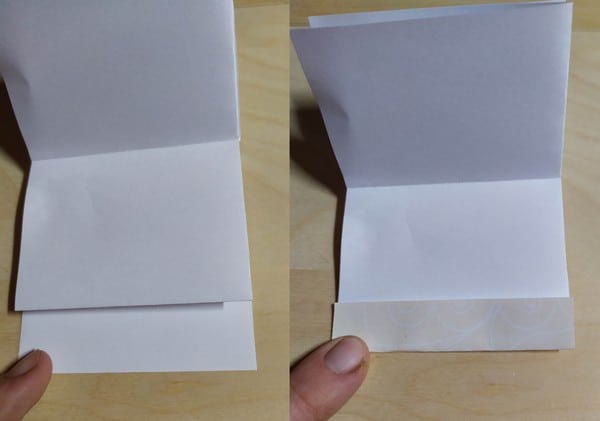
The boards are wider than the book. Open the book to see the last page and fold the boards over the last page and glue the folded part. Do the same on the other side.
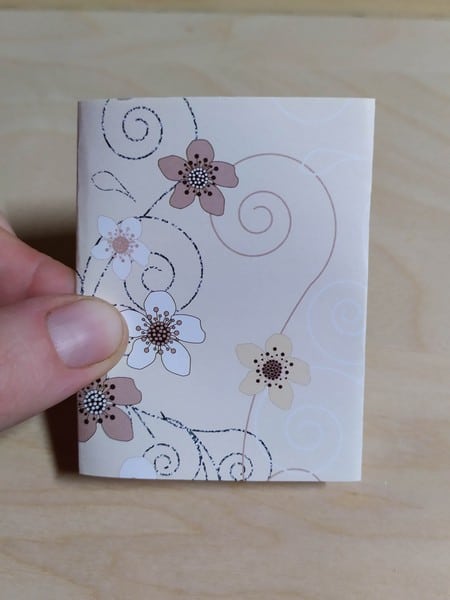
This is the finished book.


If you liked this tutorial, check out my other tutorials in Arts and Crafts.


