
Did you have a box for your personal treasures? I had several and I kept precious things in them like my first cinema ticket, pebbles from our first trip to the beach and other things that remind me of my childhood today. My older daughter is in that age when she starts liking cute boxes and I wanted to give her a personalised one made by me. The rosehip box was a great idea as it turns out so if you have a small kid who would like a present like this, here’s the tutorial.

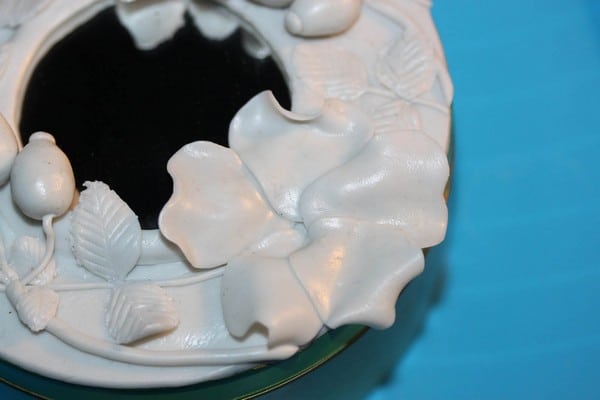
The box is a metal candy box I bought at a local store, you can use any that can withstand the heat of the oven. The decoration of the rosehip box is made of polymer clay and acrylis paint. There’s a small round mirror in the center which is something especially girls like.
Check out also these other ideas for handmade gifts.
Table of Contents
Supplies

- box
- small round mirror
- polymer clay
- acrylic paint
- brush
- clear spray polish
- sculpting tools (anything you find at home)
- rolling tin
There are various brands of polymer clay and it’s up to your preference which one you use. My daughter’s rosehip box is made from Cernit which is sometimes almost too hard and you have to knead it a lot before you use it but I like it for a project like this. Here is a little bit about several brands.
You can also work with colored polymer clay, however, I like the painting and in this case I find the result more natural.
Rosehip Box – How to Make It
Modelling
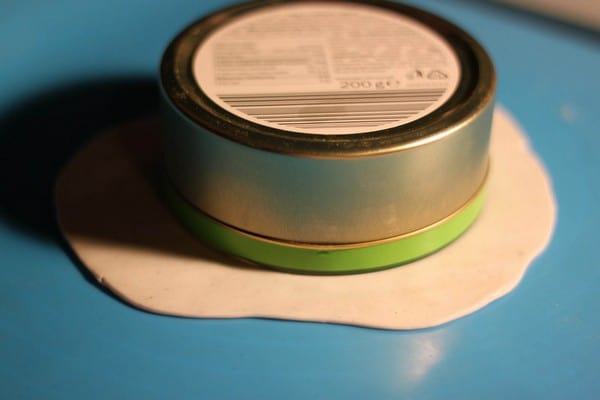
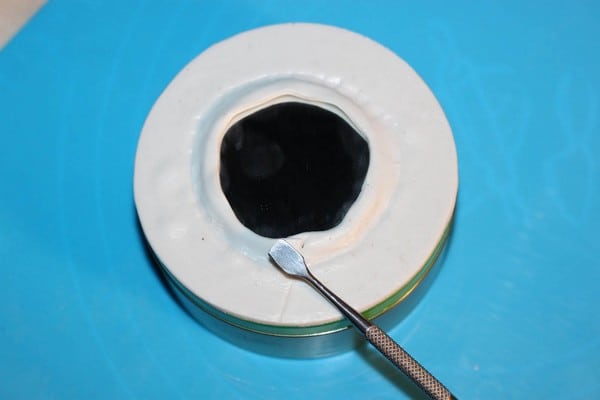
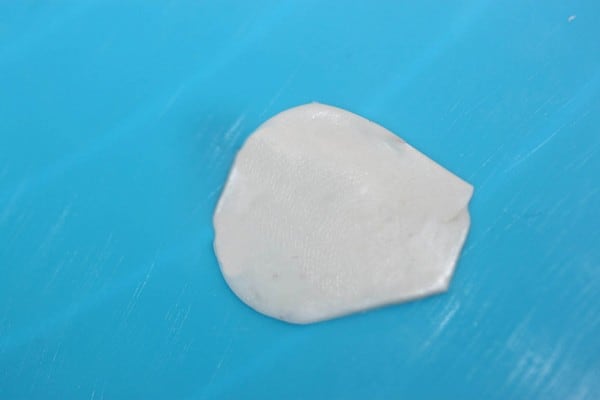
Roll out a piece of clay so it’s about 3 mm thick and place the lid of the box on it.
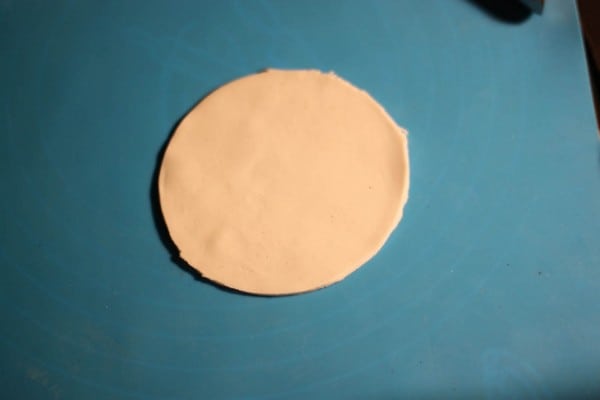
Trace the lid with a knife and cut.
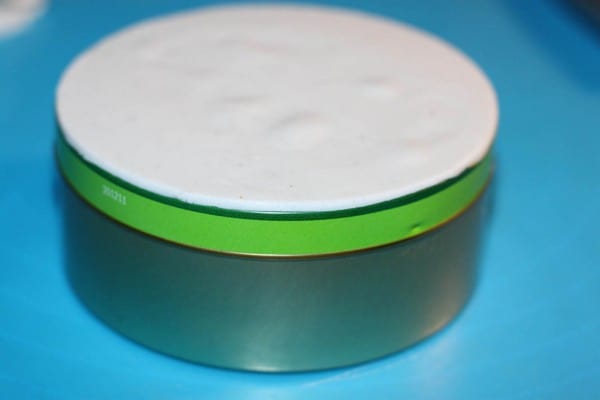
Place the cutout on the lid and smoothen the edges, this is you clay base.
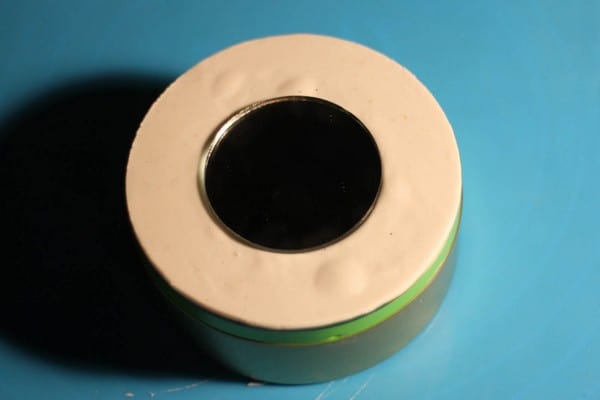
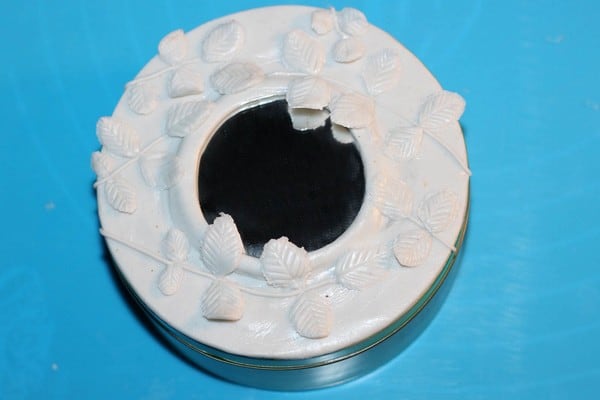
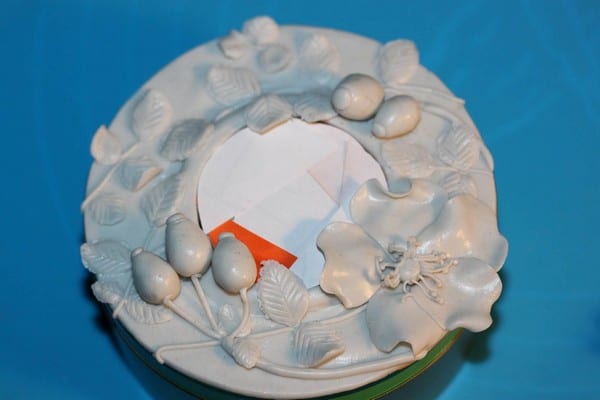
Place the mirror in the center of the base.
Roll out a stripe of clay, flatten it and wrap it around the edges of the mirror to cover them. Smoothen it so it blends with the base.
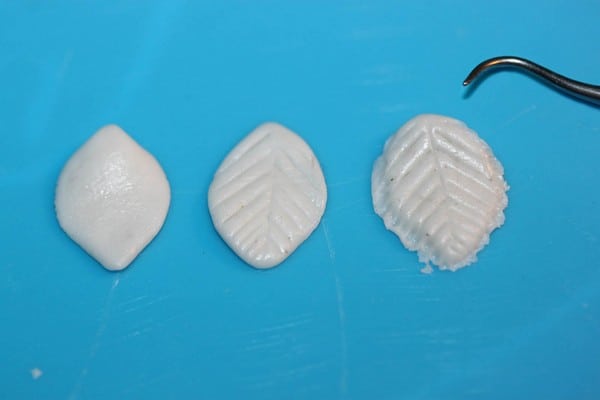
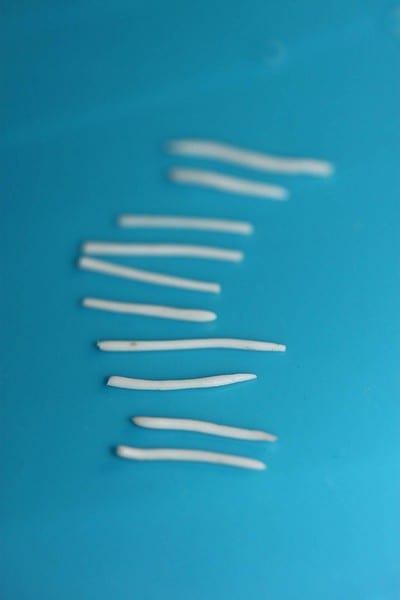
Make small leaves, you can just shape them in your hands and make the veins with a knife.
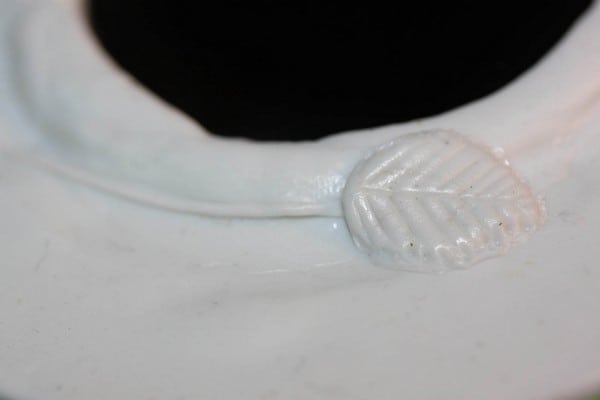
Roll out a thin stem for the leaves, place it on the base and place one leaf at one end of the stem.
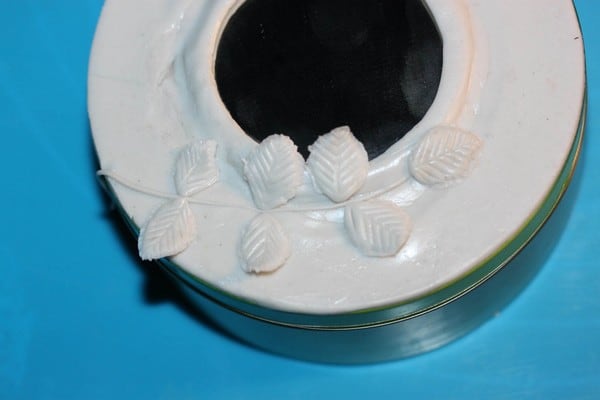
Place more leaves on the sides of the stem.
Make as many stems with leaves as you want.
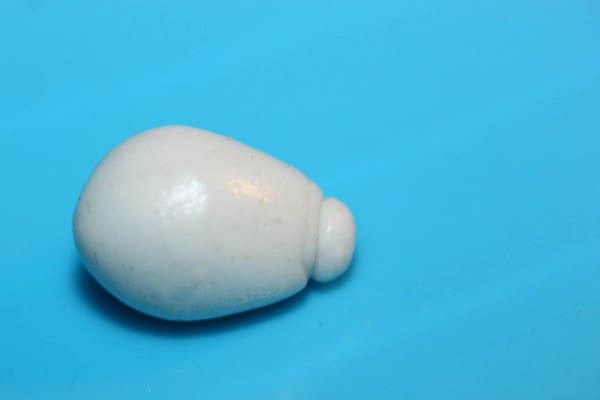
Now for the rosehips. Roll out a piece of clay into a small thick cylinder and make it narrower at one end. Then make a small line with a knife where the black top of the rosehip will be.
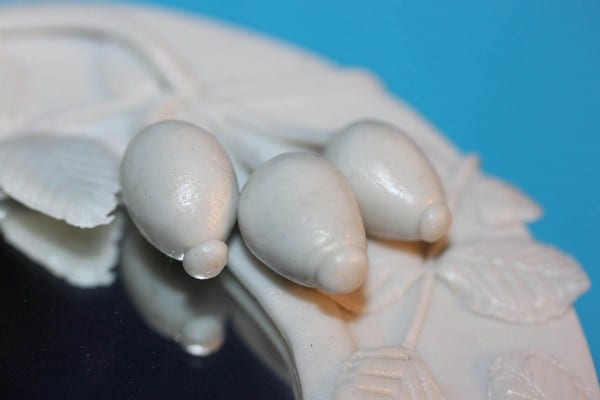
The rosehip grow in small clumps, so first roll out a thicker stem, place it on a base and then roll out several thinner stems and attach them to the thicker one. Place the rosehips at the end of the thinner stems.
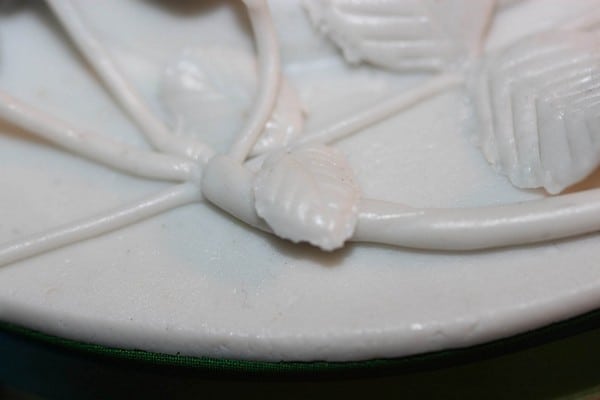
This is how the junction of the stems looks.
Cut five of these simple shapes for the petals.
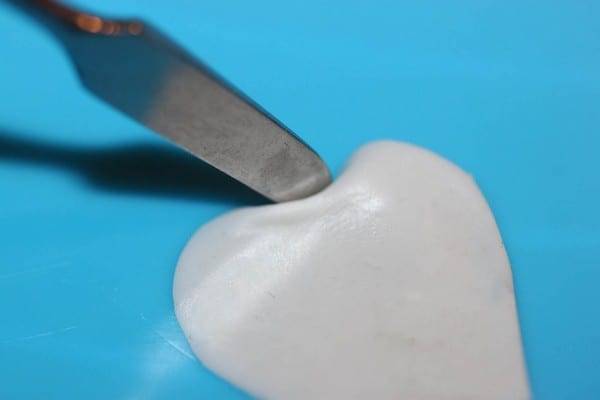
shape the top of each petal.
Place the petals in a circle shaping them a little more with your fingers.
Roll out several thin and short stripes and place them in a column. Those will be the pistils.

Make a small ball and roll it over the pistils so they attach to the ball.
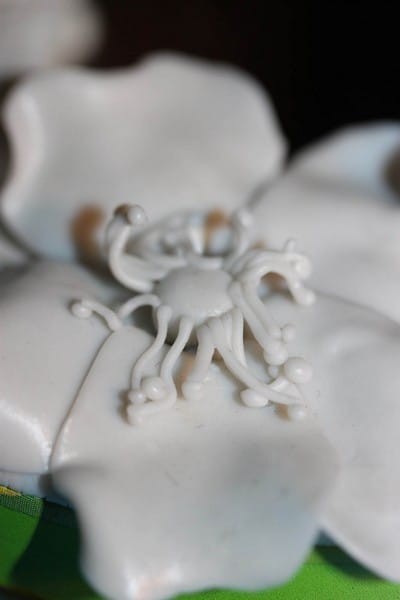
Put a tiny little ball at the end of each pistil and place the whole thing in the center of the petals.
Baking
Cover the mirror with a piece of paper.

Cernit bakes for half an hour at 230 – 266 °F. However, each clay is a little different so read the instructions. After it cools down you can even sand it.
Painting
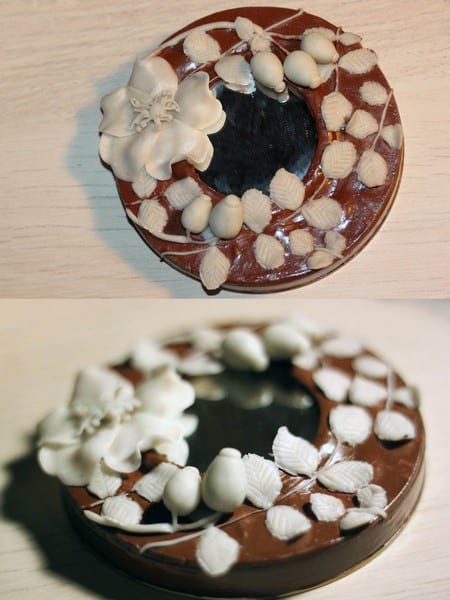
First paint the base. Brown is a good choice if you’re going for a natural look.

You can see here all the colors I used, the leaves have even different tones to add shadows.

Spray varnish everything, remove the paper from the mirror and polish the mirror. Rosehip box done!
Here are some details:


