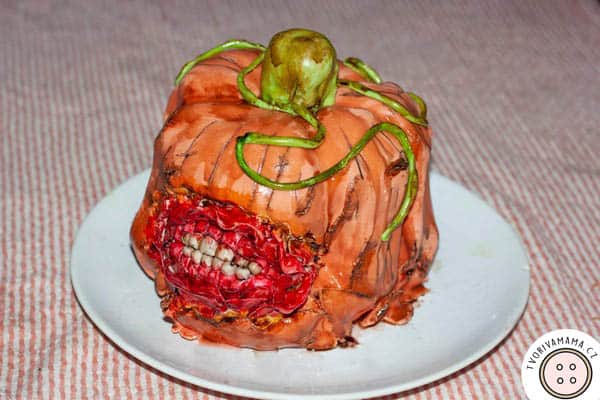
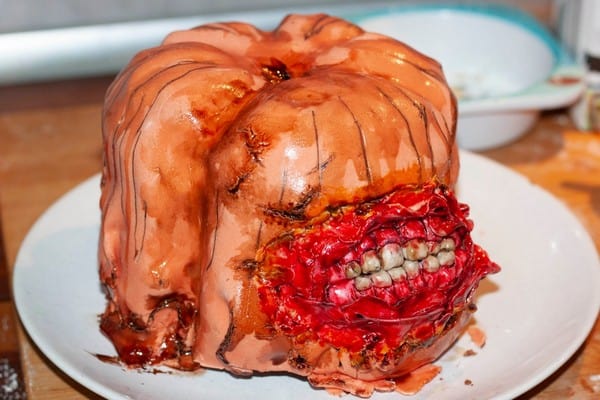
I decided to make the Zombie Pumpkin Cake literally over night. It’s not Halloween yet but it would be a great Halloween cake or, for example, a birthday cake for a horror movie fan.

If you have been following me, you probably know that I like to make horror-inspired, Halloween and realistic gore cakes. This particular idea actually started with me just wanting to make a gingerbread cake but then I thought I could make it into another one of my gore cakes and I thought of these weird looking stuffed toys with human teeth I saw in a toyshop in Spain (I got one for my dentist-to-be cousin) and since the gingerbread spices are often used in pumpkin latté, I decided to combine all these things. And thus the idea of a zombie pumpkin cake with rotten “smile” was born. At the end I also added some gelatin eyeballs but you can skip those if you don’t want them.

As you know from my other tutorials, I don’t like fondant because it just tastes like sugar. If this was a tutorial on just a realistic pumpkin cake, I’d recommend using fondant though, because it would make a much smoother surface than modelling chocolate that I usually use. However, here we want cracks and folds, so you can use modelling chocolate which will give the cake better taste than fondant. I admit I used fondant because I had to make the cake for the next day and I had no white chocolate to make the modelling chocolate, I just had two packages of fondant at home, so I’ll speak of fondant in this tutorial.

If you decide to go for modelling chocolate, yay for you and here’s a tutorial on how to make it at home.
Disclaimer: This article can contain affiliate links which means that I get a small commission for every purchase. The commissions help me keep this blog up and running.
Table of Contents
Supplies for the Zombie Pumpkin
For cake:
- 400 g/14.1 oz of all-purpose (finely ground) flour
- 300 g/10.6 oz of powder sugar
- 3 eggs
- 400 ml/13.5 fl oz of full-fat milk
- 200 ml/6.8 fl oz of oil
- 2 tbsp of cacao powder
- 3 full tbsp of gingerbread spice (or just combine ground cinnamon, star anise, allspice, anise, true cardamom, fennel and clove)
- 1 tsp of baking soda
- pinch of salt
For chocolate ganache:
- 300 g/10.6 oz of dark chocolate (50 – 60 % of cacao)
- 250 ml/8.5 fl oz of heavy cream/whipping cream (at least 30 % fat)

For decoration:
- 300 g/10.6 oz of fondant or modelling chocolate
- food colorants: orange, red, brown, green
- marker with black food colorant – you can use this one
- a little vodka
- optional: lemon or orange juice
- optional: corn starch (if you have to dye fondant)
Other:
- round cake mold, diameter 15 cm/6 in – this one’s good
- fondant modelling tools
- flat brush
- smaller round brush – brushes are included in this fondant set
- rolling pin
Zombie Pumpkin Cake – recipe and how to
Bake the Cake
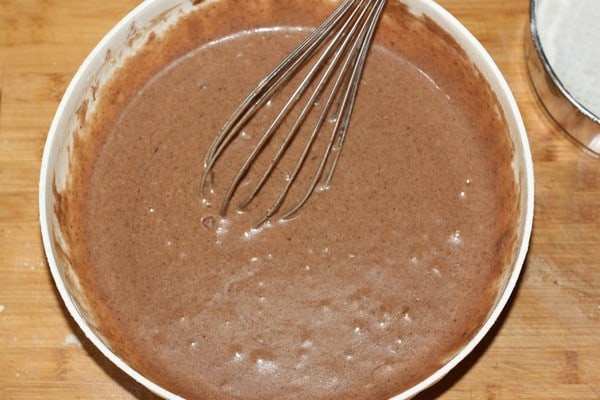
You’ll need two round cakes so combine all the cake ingredients in a bowl well, make sure there are no lumps. Spray the baking mold or coat it with butter and some flour to prevent the cake from sticking.
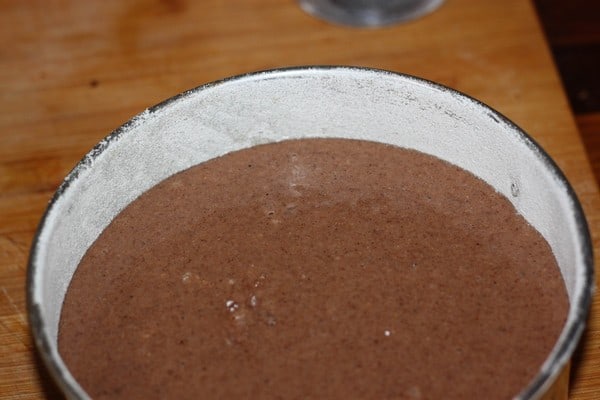
Pour the batter in leaving about two-dinger-space from the edge. The ideal situation would be to have two molds and make both cakes at the same time. I have just one so it took me twice as long to bake them. Preheat the oven to 320 °F and bake for 70 minutes. When you think the cake is baked, pinch it deep with a toothpick. If the toothpick comes out clean, the cake is done. If it doesn’t, bake it some more and check regularly.
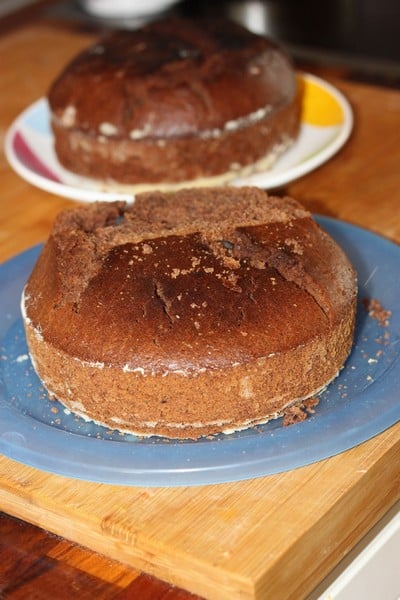
I was in a hurry, so I had to bake it at a higher temperature (less time) and so my cake isn’t nicely flat as it should be, it’s formed a dome towards the center. It’s not ideal but I leveled some of it (I cut off the top). If you bake at the temperature I indicated, you won’t have this problem.
Let the cake cool down completely.
Make the ganache
The chocolate ganache is ideal for gluing the cakes together because it’s quite solid when it cools down. Moreover, this kind of gingerbread cake is traditionally made with chocolate topping, these two things go really well together.
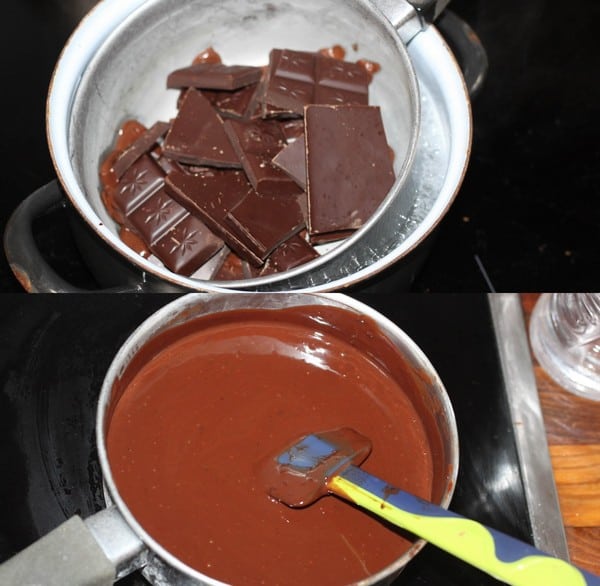
Melt the chocolate in water bath, meanwhile heat up the heavy cream to more or less the same temperature. Take the chocolate of the water bath, place it on the stove over low heat and gradually mix in the cream. Your cream needs to have at least 30 % of fat or else the ganache just won’t be dense.
Keep stirring until the ganache is dense, then switch off the stove and let the chocolate ganache cool down.
Carving the zombie pumpkin cake
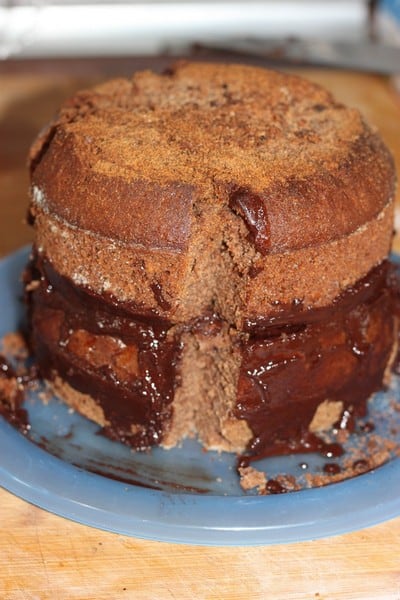
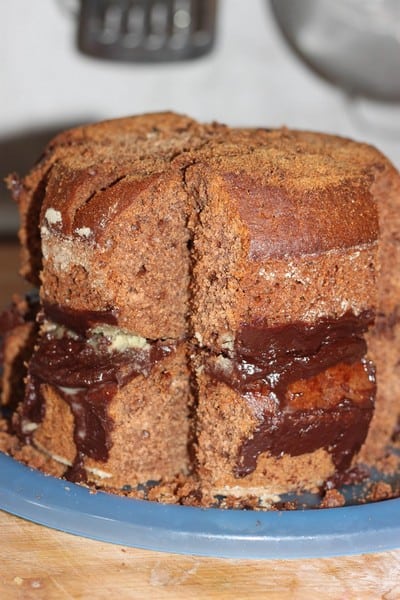
Cover the top of one cake with a thick layer of ganache and place the other cake on top of it. Let it rest in the fridge for at least 15 minutes. You can see that my lower cake has its side covered in chocolate. This is due to the fact that I had to level it and it cracked and I had to apply more ganache on the edges. It’s actually no problem because we’ll coat the whole cake with ganache later, it just doesn’t look good on the photos.
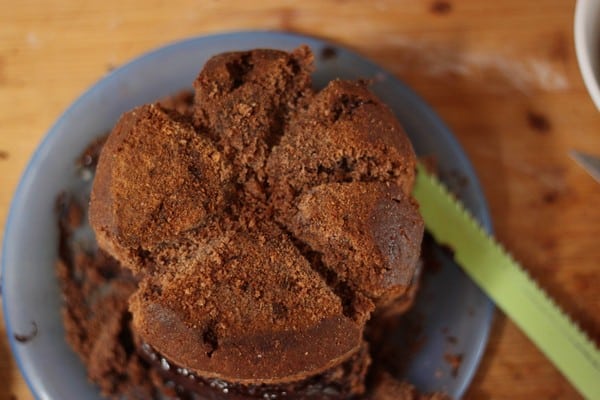
The first step in carving the cake is cutting out a triangular shape vertically in five places. If you picture a pumpkin, it’s not smooth but rather sectioned. What we make here are spaces between those sections. If you make a larger cake, you can make more sections but in odd numbers, like in the nature.
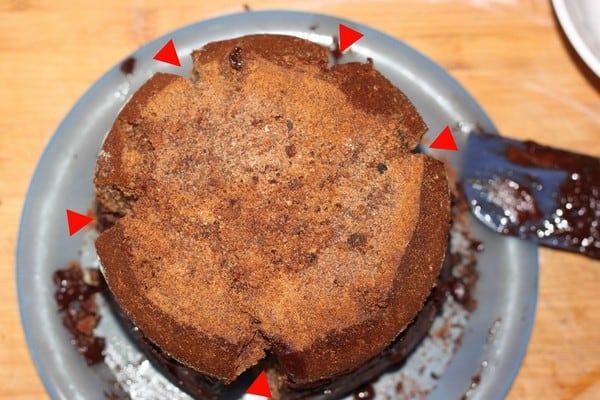
Here are the five sections separated from the top. As you can see, I didn’t make them regular – a real pumpkin wouldn’t be regular either.
Now work on the edges of the spaces, the transitions between the cuts and the sections should be round and smooth.
Cut a dimple in the center of the top and then cut lines that will connect the side cuts with the dimple. And just like before, smoothen the edges, so that the sections of the pumpkin are nicely round.
The flip the cake upside down and carve also the bottom to make it round (no need to make a dimple or section the bottom).
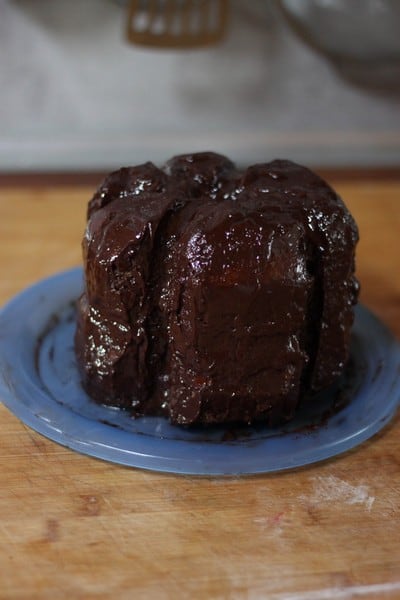
Spread an even layer of ganache over the whole cake and let it set in the fridge.
Covering the cake with fondant
If you managed to get modelling chocolate or fondant in orange, perfect. If you make modelling chocolate at home, just follow the instructions to dye it. I had only white fondant so I had to dye it. The gel food colorant makes the fondant sticky, so I always have some corn starch at hand and add a little to the fondant as I’m dying it. I dyed mine with a mixture of red and yellow.
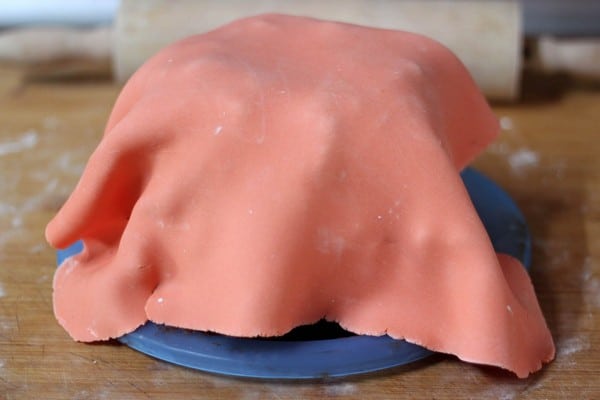
Roll out the orange fondant and cover the cake in it.
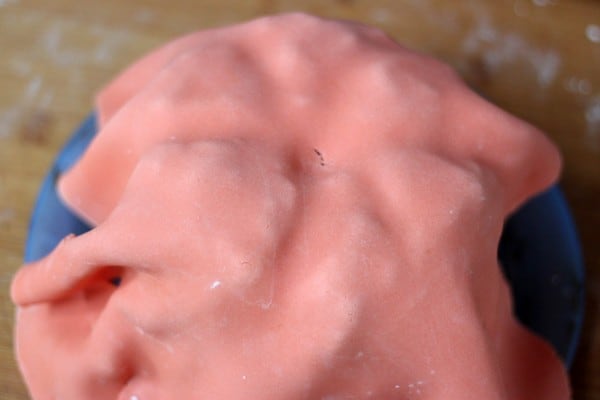
Keep smoothing it out from the top. Because the pumpkin is supposed to look rotten, we don’t need to worry about cracks or folds, so just smoothen the top and then shape the rest to copy the shape of the pumpkin. Smoothen it in the lines between sections.

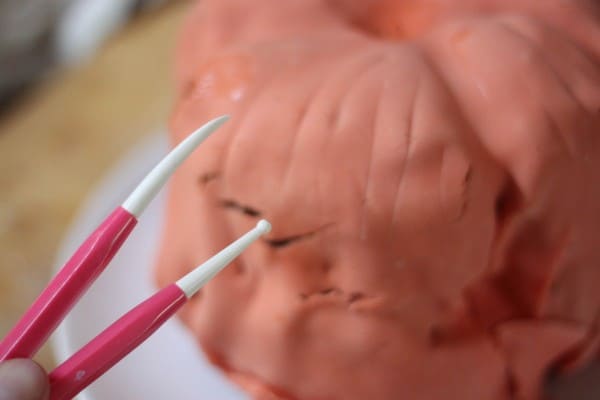
We want some cracks and folds, they make the cake look more authentic.
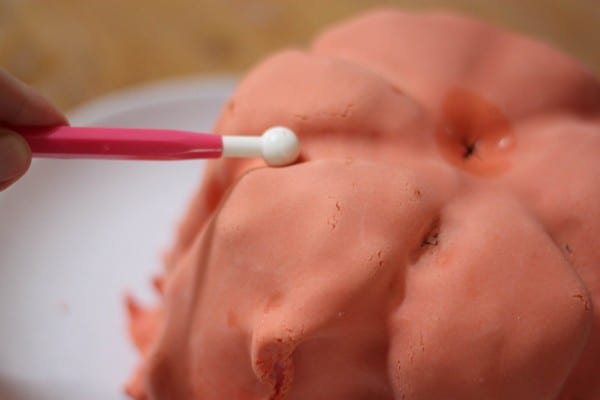
Smoothen the lines with your fingers or with sculpting tools.
Make some indentations and scratches with finer tools.
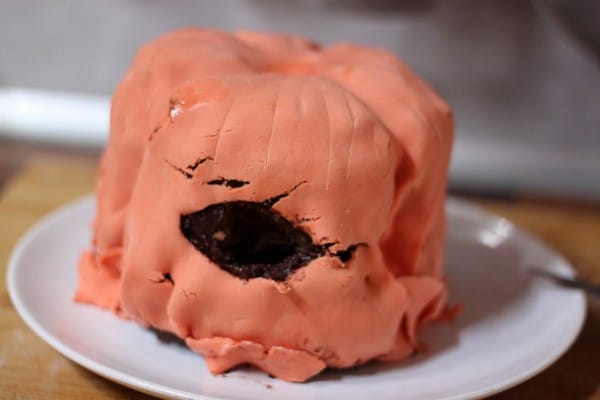
Choose one section and cut out an opening for the mouth. If you later find out that it’s too small, you’ll cut it larger and if it’s too big, you’ll be able to cover it with pieces of “skin”.
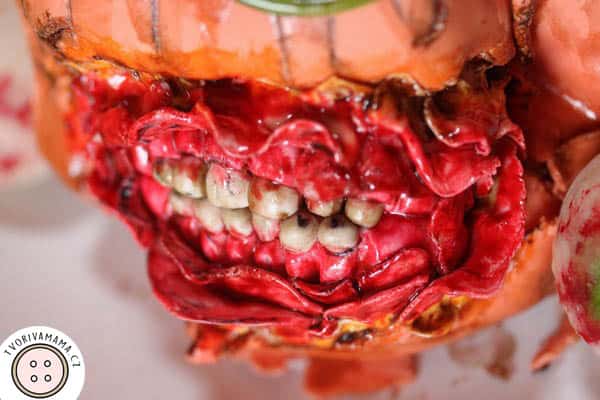
Mouth – shaping

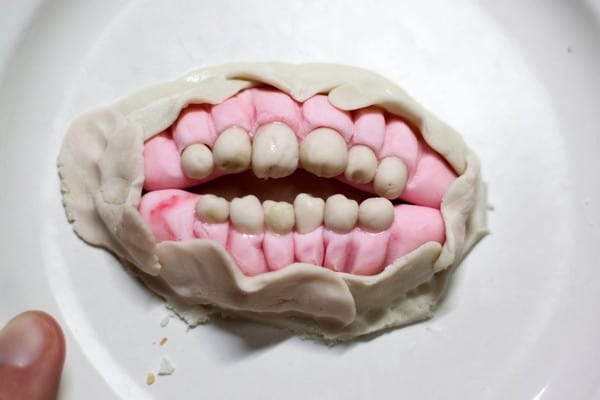
Let’s prepare three pieces of fondant for the horrorific smile. A pink ball of about 4 cm/1.7-2 in in diameter, a little smaller pieces for the skin – died with a few drops of mixture of dark green and red (=brown). And the smallest piece is for the teeth, dyed with just one drop of brown.
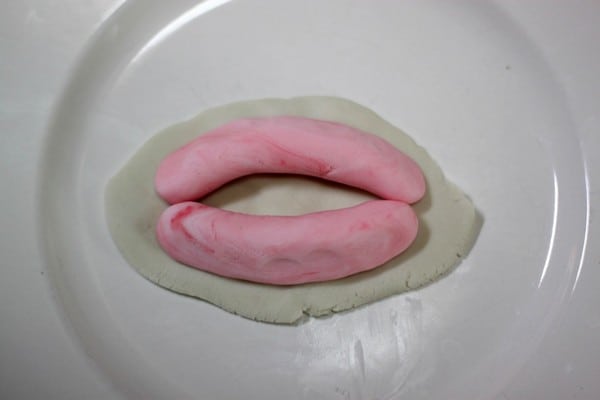
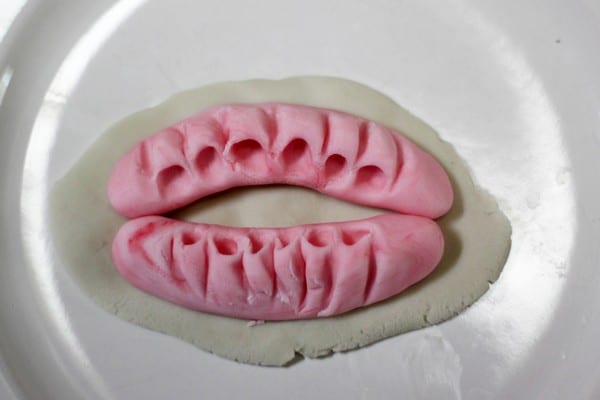
Flatten about one half of the skin fondant into an oval-like shape just a little larger than the mouth opening in the cake. Divide the gum fondant in two and roll them out. Place them on the skin just a little curved to resemble mouth. Press the outside edges a little into the skin.
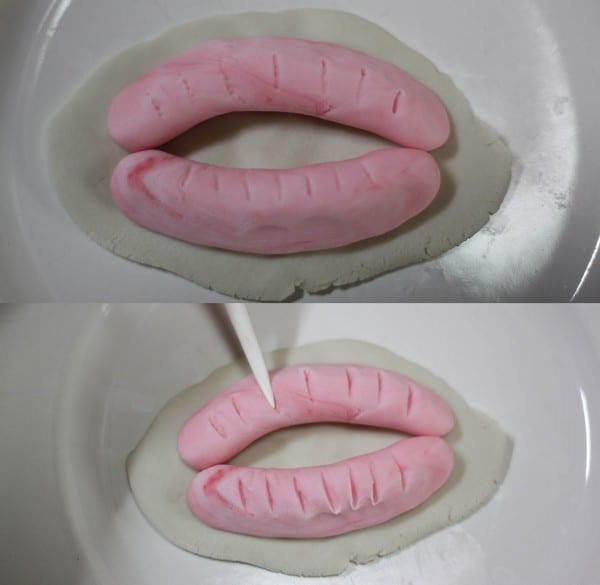
Make traces to divide the gums into spaces for the teeth and then carve them a little deeper.
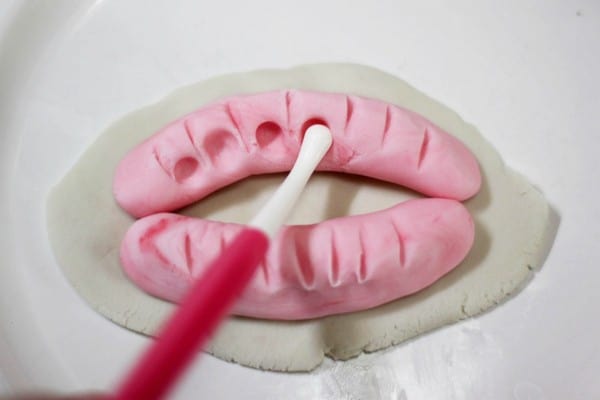
Use a round tool to press a hole into each tooth section.
Then shape each section. The best way is to keep the round tool inside the hole and shape the section around it.
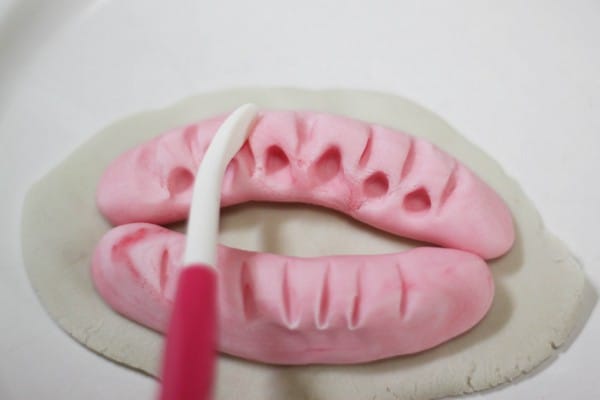
Do the same in the lower and upper gums.
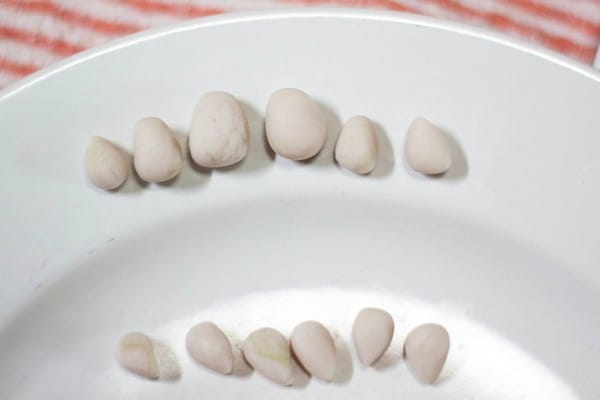
Shape the teeth and let them dry for half an hour.
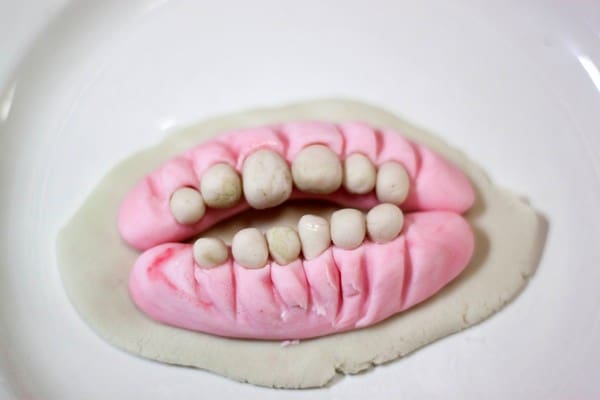
Before you insert the teeth, put one drop of vodka in each hole, it will help keep the teeth in the holes. If you don’t want to use alcohol, just mix a little powder sugar in some lemon or orange juice and use that.
We don’t want a zombie to have perfect teeth, so deform them a little.
Use the rest of the skin fondant to tear off pieces of skin and place them around the gums.
Mouth – painting

First, color the tops of the teeth and some more parts (edges etc.) of the mouth with the black pen. Cut off excess fondant from the skin at the bottom of the gums.
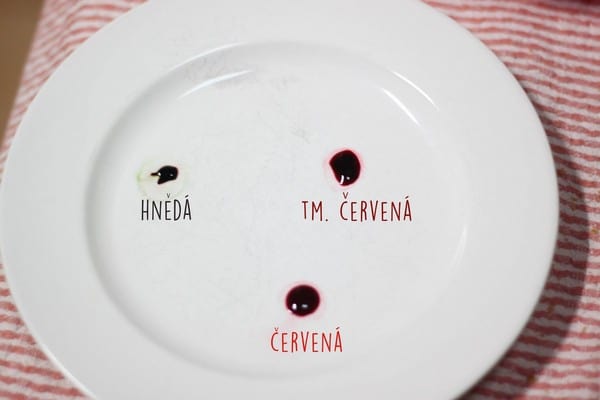
Prepare three colors – red, brown (in my case it’s a mixture of dark green and red) and dark red (red+drop of brown). Thin the food colorant with a few drops of vodka or lemon/orange juice.
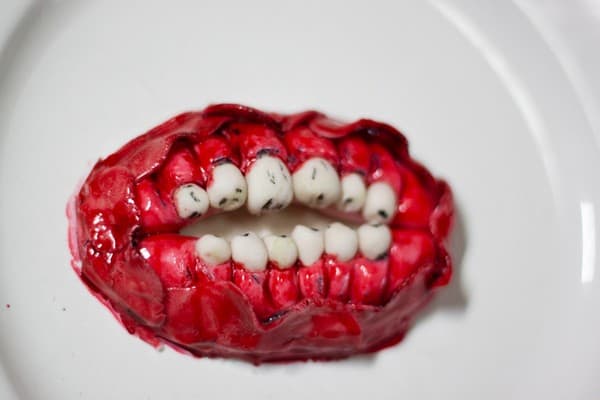
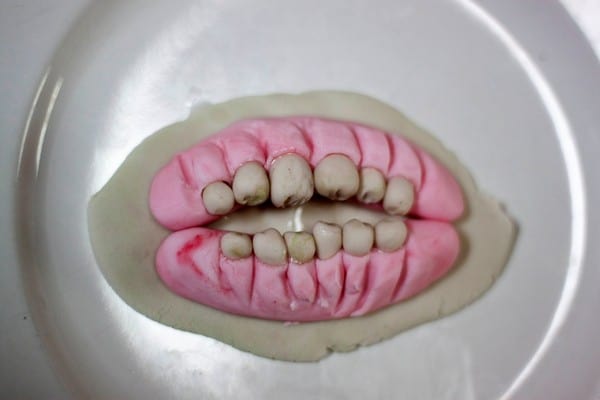
First paint the gums and skin red.
Color the inside of the mouth (the bottom layer of skin) with very thin red. Use dark red for the lines between the gum sections and any darker places, like the edges of the skin.
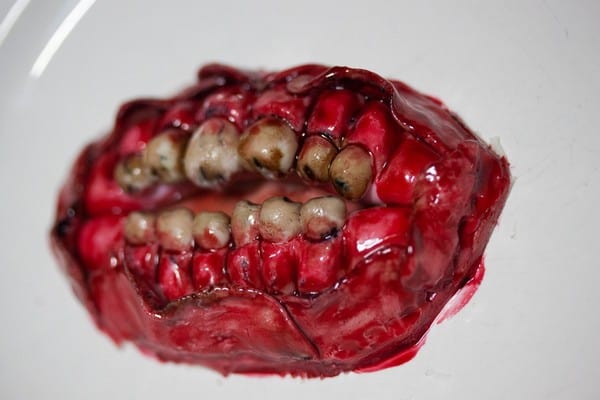
Paint the teeth with very thinned brown and make also some stains with darker brown. Use dark brown also on the places you want to look especially rotten. I used it on the edges of the skin and a few parts of the gums.
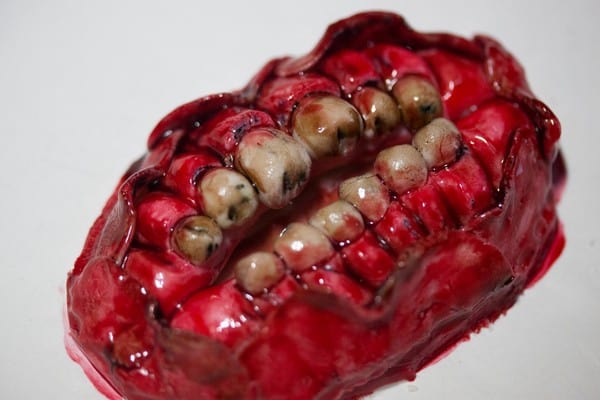
Make some blood stains on the teeth.
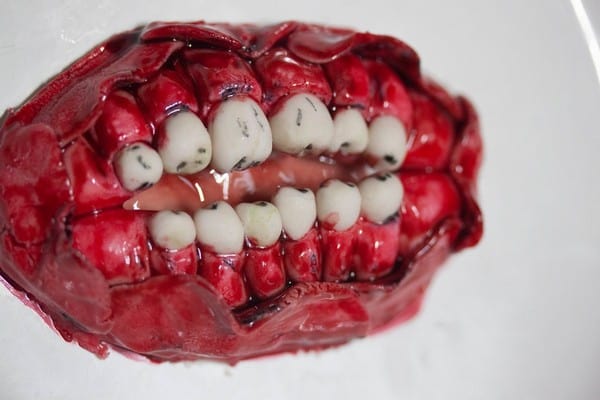
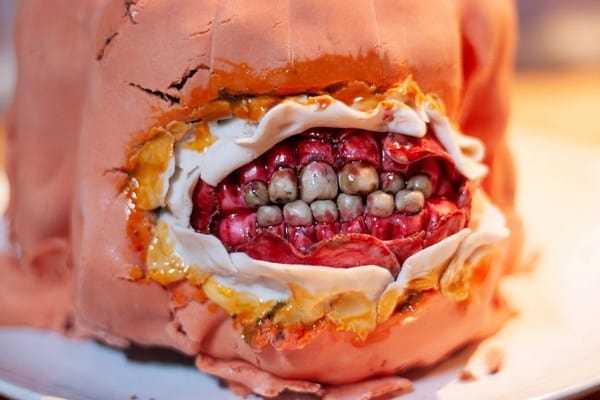
Mouth – inserting
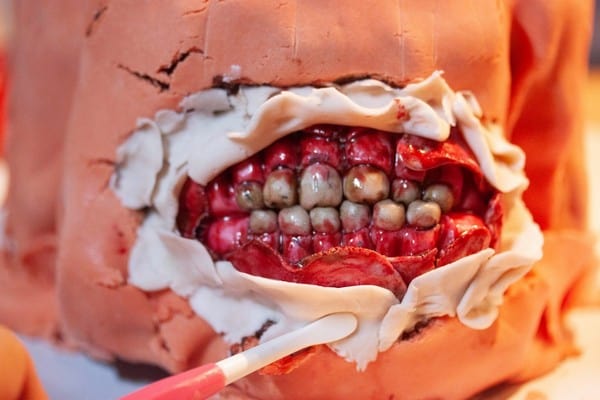
Now you need to insert the mouth into the opening. Make the opening larger, if it’s too small. After you insert the mouth, press the edges into the opening and cover the transition between the cake and the mouth with the remaining skin fondant.
Now prepare orange (red+yellow), red and brown.
Paint the transition orange.
Make a few traces with the black pen in some of the cracks and any other places you want to look darker. Then paint the skin red.

Paint some places dark red – edges and places that should look like they are in the shadow. Finally, paint the darkest places with brown colorant.
Add some brown also to the cracks in the orange transition.
Painting the pumpkin and final touches
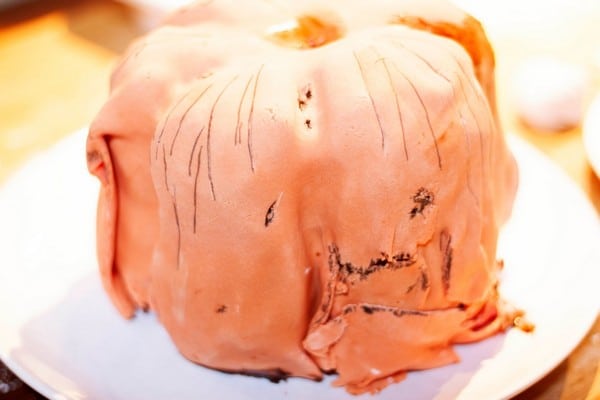
Make black traces on the cracks, folds and scratches.
Thin the brown again and use a flat brush to paint the spaces between sections, the dimple on the top and any other parts of the pumpkin.
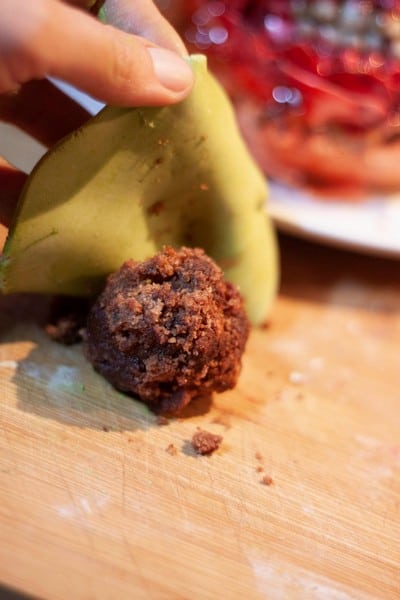
Take some of the cake you cut off previously to for a ball.
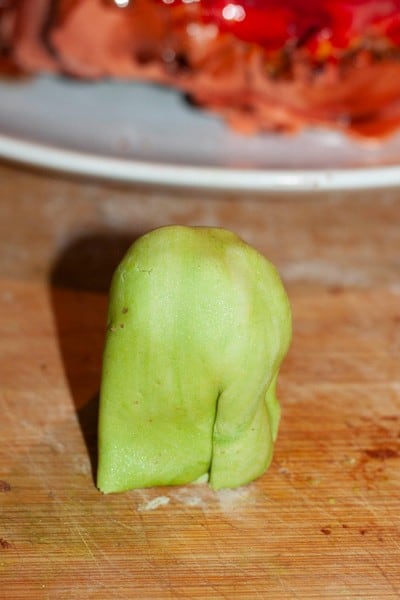
Color some fondant green, roll it our and cover the cake ball. I had some green powder and the fondant looks very good colored with it.
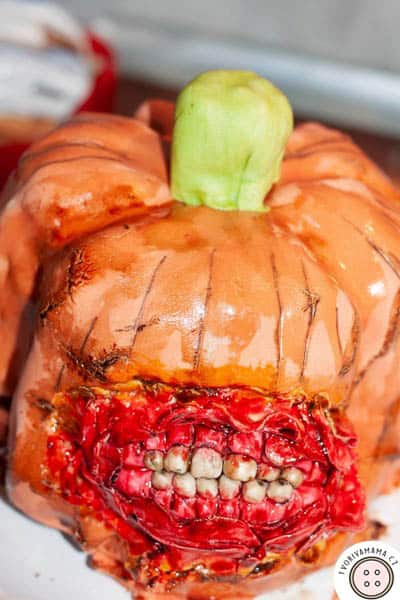
Place this green piece in the dimple, it will be the stem.
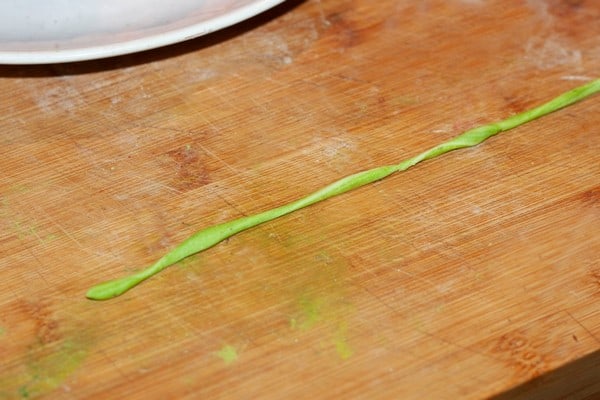
Roll out some green stripes.
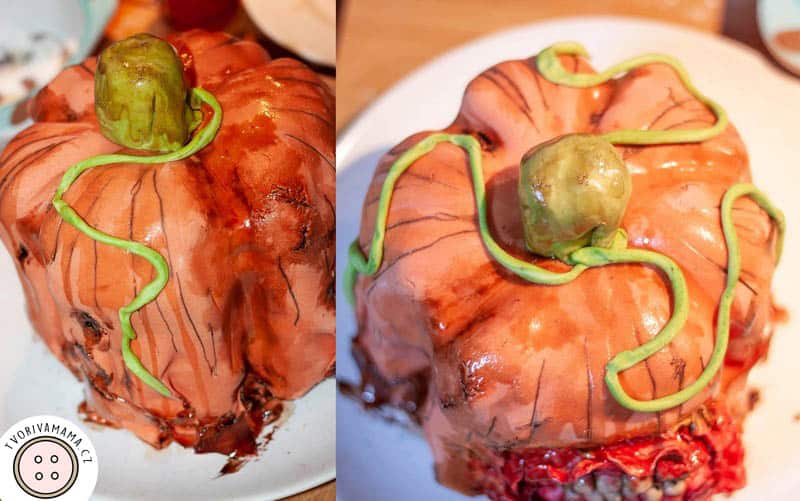
Place them on the pumpkin growing from the stem down in a curly manner.
Paint the green stripes with some brown.

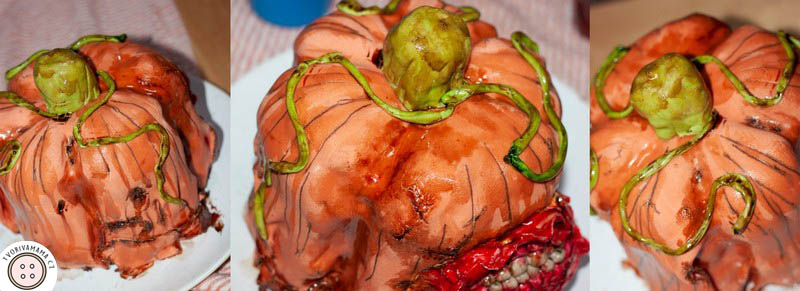
If you’re not serving the cake immediately, leave it in the fridge and give you relatives a scary surprise when they open it.


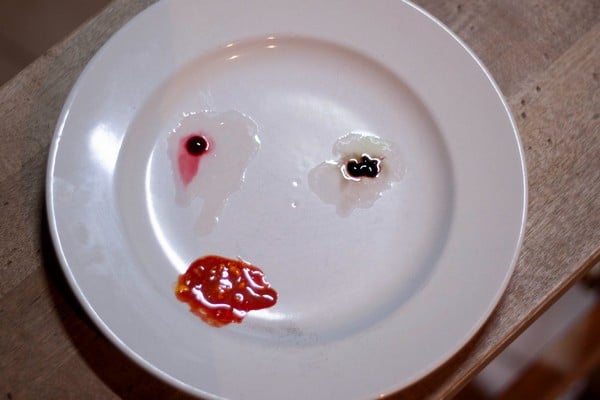
You can also complement the zombie pumpkin with some gelatin eyeballs if you want.
Serving
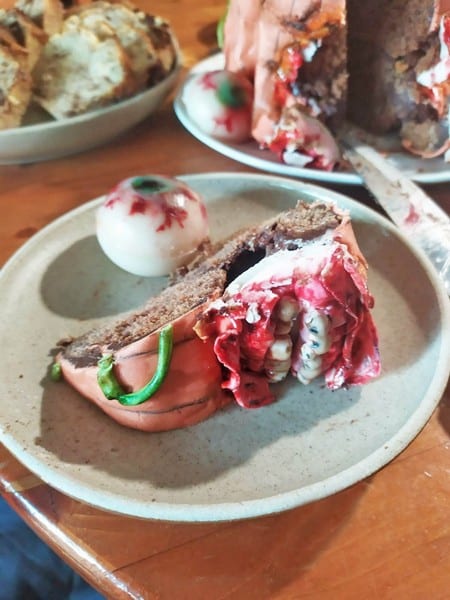
Cut a piece of zombie pumpkin cake, with some teeth if can be and add an eyeball. Or whipped cream, both are ok.
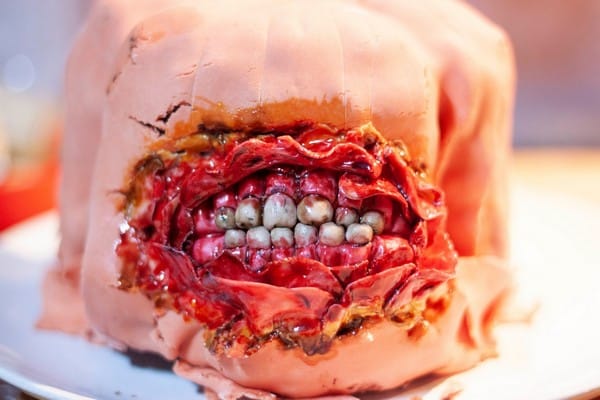
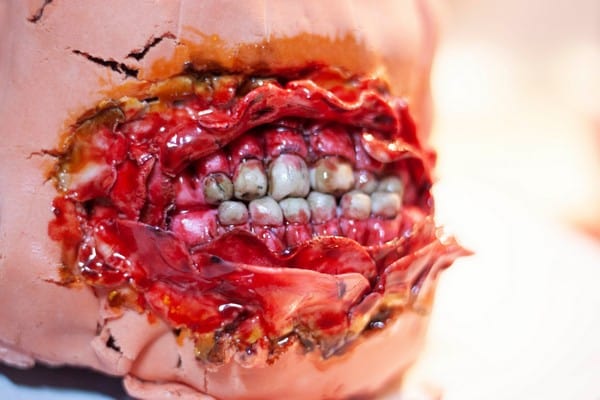
More photos of the Zombie Pumpkin Cake
Enjoy some more photos: