
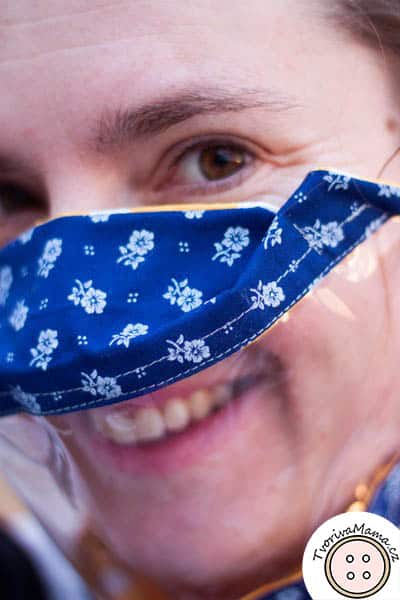
I made this clear 3D face mask thanks to my daughter who has developmental language disorder (DLD). It means that even though she is a normally inteligent girl, she has troubles understanding languages, even her native one. Sometimes she needs to look at our face to understand us. That is not a problem at home but if we have to go somewhere with our masks on, this mask helps a lot.

I have made two other types of clear face masks so I knew what I could expect from working with the vinyl foil. This all transparent mask is ok but since I’ve discovered 3D masks I find them better for clear masks. I’ve also made masks with a window, however, those might work for communication with hearing-impaired adults, not with a DLD child who has to focus a lot to understand and gets distracted easily, even by the edges of the clear window being too close to the speaker’s mouth. And of course, this mask makes the communication wmuch easier for any people who need to lip-read.
One thing you have to know – this is not a mask you should wear all day long. After all, it’s mostly plastic and you and your skin will feel it after a while. It’s a great helper for shorter periods of time.
And what about the fogging? I will tell you how to prevent the face mask from fogging in this tutorial.
If you’re looking for a usual 3D mask, not a clear one, here it is.
Table of Contents
 Supplies for Clear 3D Face Mask:
- pattern – download HERE
- 100% cotton fabric such as canvas or popeline
- lace or elastic band
- scissors
- pins
- thread
- ruler
How to Make It
Cutting
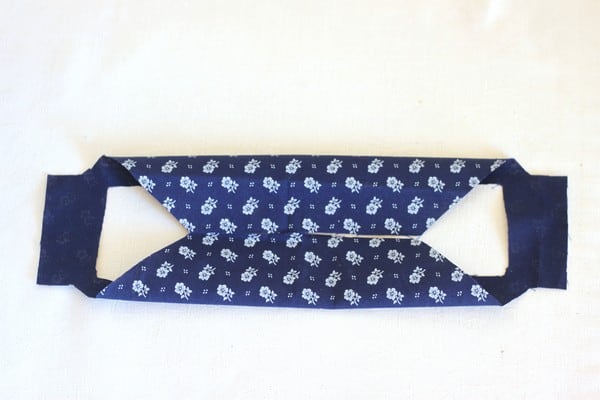
First you need to print the pattern. It might take a while until you find a face mask that suits you best and it’s the same with the sized. I’ve made the pattern in three sizes (two adult and one child) but you might have or want to make the pattern larger or smaller. You can do so by simply adding or taking from to the straight parts of the pattern (top, bottom and sides).

The printed pattern is a half of the mask. So you have to place it on the fold of the fabric and cut it out.
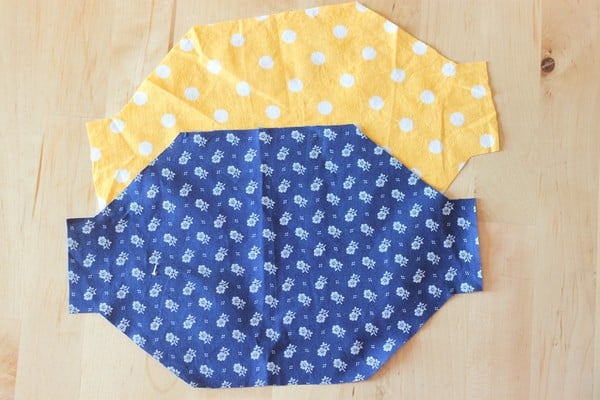
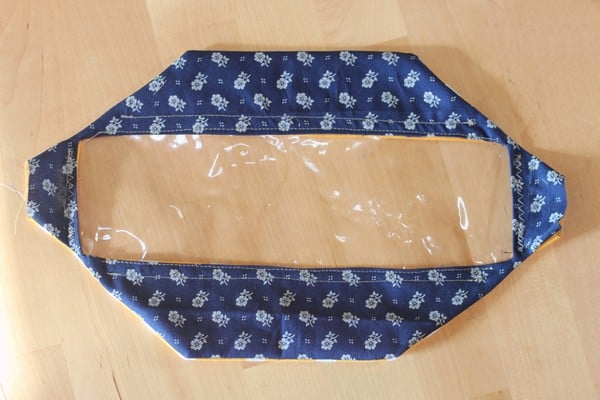
You’ll get the full form of the mask. Cut two layers, onw will be for the outside and one for the inside.
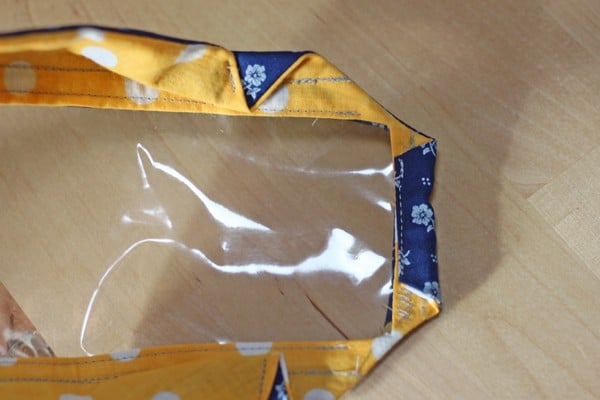
Clear window
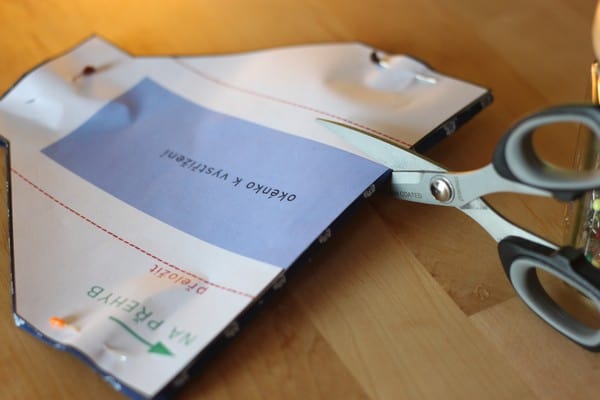
Fold both pieces in half again and place the pattern on them. Cut out the clear window. You can even cut it smaller if you want your 3D face mask to be less clear.
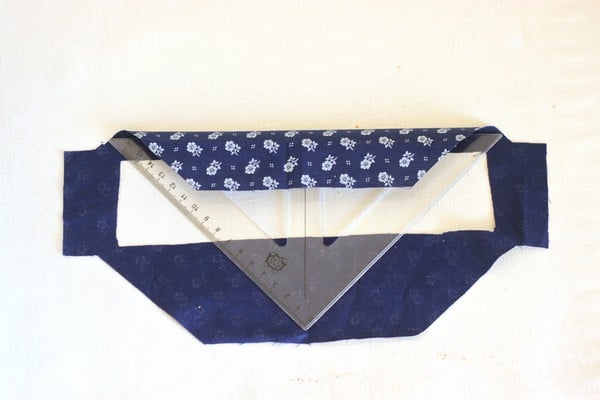
Fold both mask pieces to the wrong side where the dashed line shows and press. It’s easier to do with a ruler.
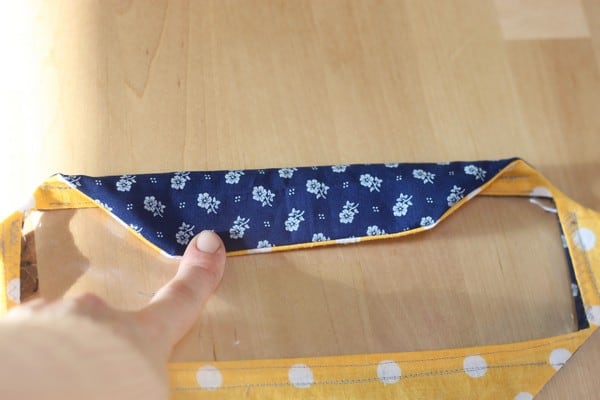
Fold both edges in, press and open.
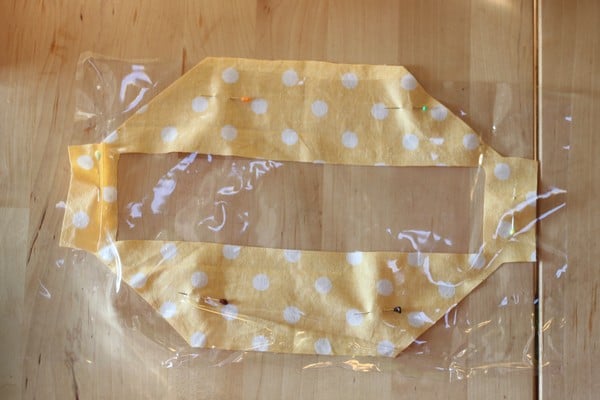
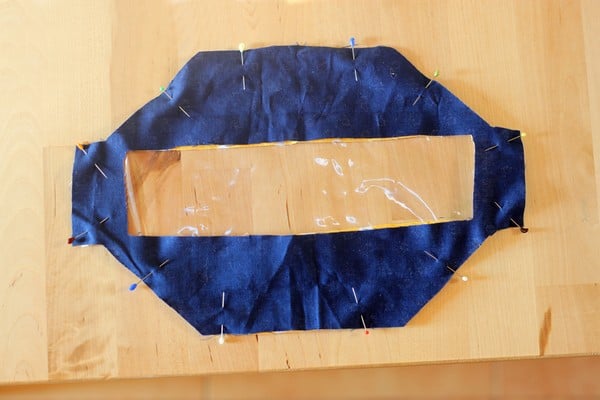
Place a larger piece of the vinyl foil and pin it to the wrong side of the inner piece. Place the pins further from the edges of the window.
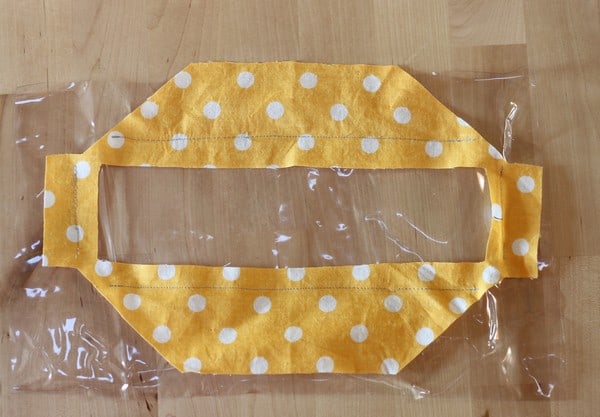
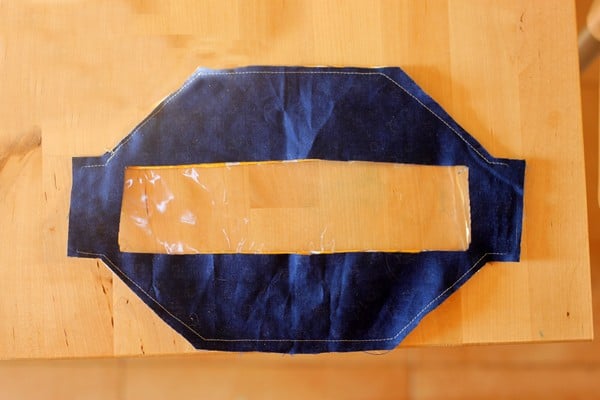
Topstitch where you previously made the folds and also on the short sides. Sew with the vinyl on top and set your foot pressure to low.
Trim the excess vinyl and round the edges to prevent them from pinching through the fabric.
Assembling the Clear 3D Face Mask
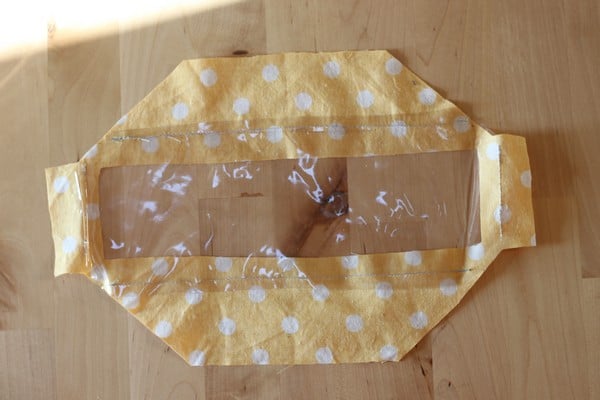
Place both mask pieces right sides together and pin.

Sew around the edges leaving just the sides open.
Although it’s not necessary to leave the sides open because you’ll turn the mask through the window hole, I find it easier to make a casing for the elastic band later if the sides aren’t stitched.
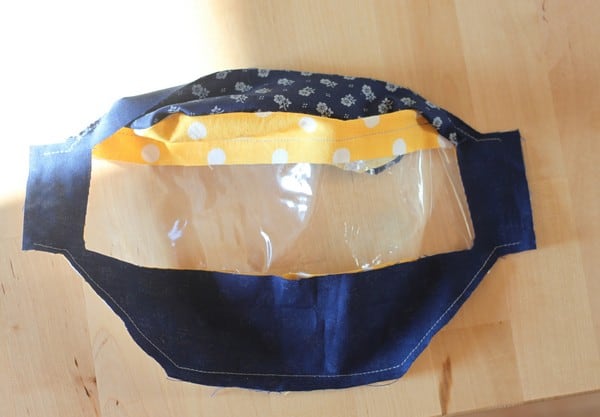
Turn the face mask right side out through the holw in the outside piece and press the edges. Be very careful not to come too close to the vinyl with the iron because the heath would melt the vinyl.
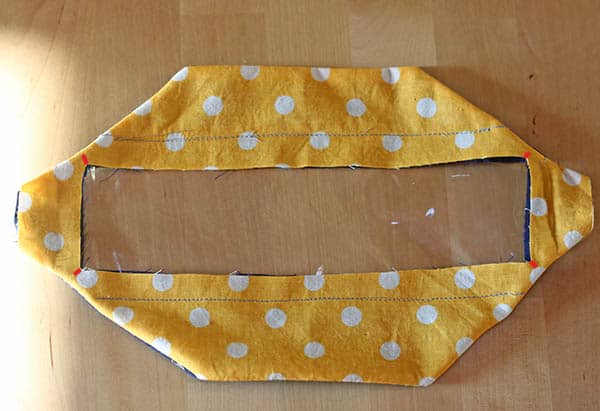
Topstitch in the same places like when you were stitching the vinyl to the inside piece. Then make diagonal 0,5 cm/0.2 in cuts in all the corners on both sides of the mask.
Fold all edges around the window in (on both sides of the mask) and topstitch. This will prevent them from fringing.
Folding and Casings
Fold the upper and lower edge in (same folds like you made before using the ruler).
Pull the corner of each flap upwards (upper side) or downwards (lower side) to create a 90-degree angle.

Stitch.
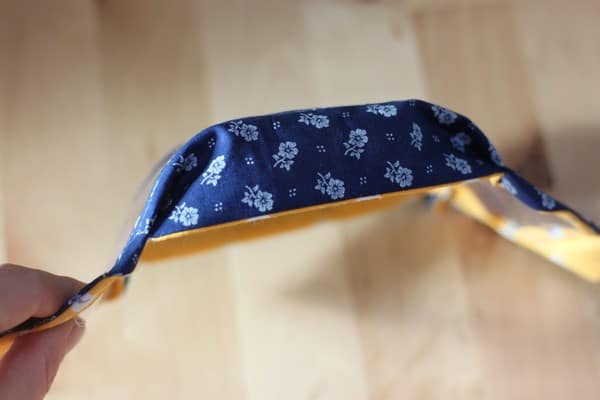
What you just did created the 3D effect of the mask.
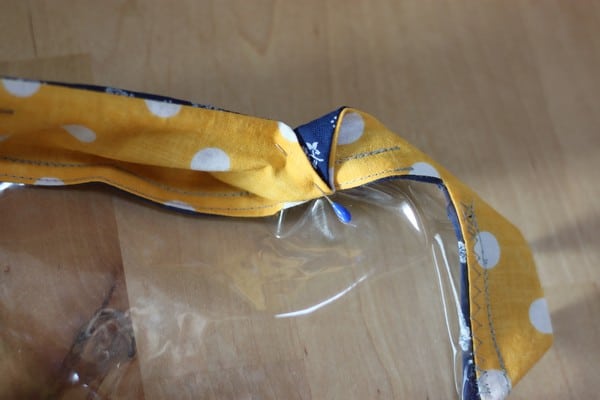
Fold the sides in twice and topstitch. Now you have the casings.
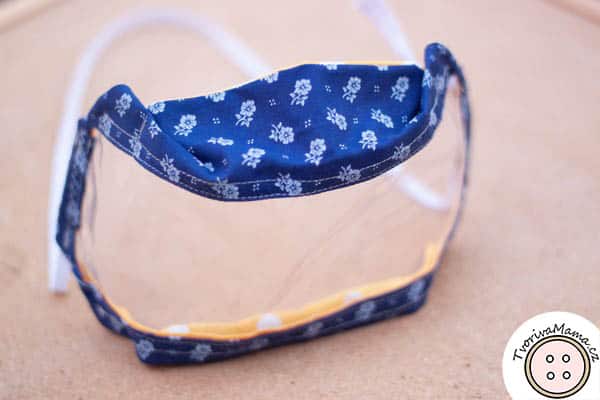
Attach a safety pin to the lace or elastic band and feed it upwards through one casing and downwards through the other. Tie the ends in a know or sew together and your clear 3D face mask is done.
How to prevent the Clear 3D face mask from fogging
Put some dish soap on the inner side of the vinyl and spread it all over the window with a napkin. Keep polishing until you can’t see any soap smudges. This will create a protective film on the vinyl which will prevent the mask from fogging.


