
Keychain Photo Album can be an original present for those who like to have the photos of their loved ones always at hand.

Whether your wallet is too small to fit all the photos of your kids or having photos in your phone is just not enough, the keychain photo album might be the right thing for you. It doesn’t take up much space and you can have your most treasured photos always at hand. You can use this portable photo book as a keychain or for example, hand it on this Crossbody Cellphone Bag.
 A self made photo album always gives me the feeling like I have just made something special, something no one else has. The keychain photo album is no different, it’s just smaller and the form is a little different. Any custom photo book is a great gift in my opinion but make in moreover into a personalized keychain and you have an extra original gift! If you want to make a notable difference between the keychains for women and for men or for different members of your family, you can do it by choosing a different fabric for each keychain.
My tips for the album theme: most important moments, wedding album, our children/grandchildren. If you’re not sure how the photos will work together and you want to give it some more thought, use any online photo book creator or photo album maker to put the selected photo next to each other.
It’s an easy sewing project, you don’t need much experience. Moreover, you can recycle fabric leftovers. What you do need is a sewing machine and a laminating machine at home is definitely an asset. However, if you don’t have a laminating machine, just have your photos laminated in a copy center.
If you do have a laminator, you can use it for projects like this Flower Sun Catcher. And if you like photo gifts, make an Explosion Box as well or just check out my Gifts category for more ideas.
Table of Contents
Supplies
- printed PATTERN – A4 format, ANSI A format
- printed photos, dimensions aprox. 1.9 x 1.3 in/4,7 x 3,3 cm (however, a little more or a little less isn’t a problem)
- laminator and foils
- round corner paper cutter
- 0.2 in/0,5 cm hole paper punch
- outside fabric (I use 100% heavy weight cotton canvas)
- inside fabric (I use 100% cotton canvas)
- a piece of fusible interfacing
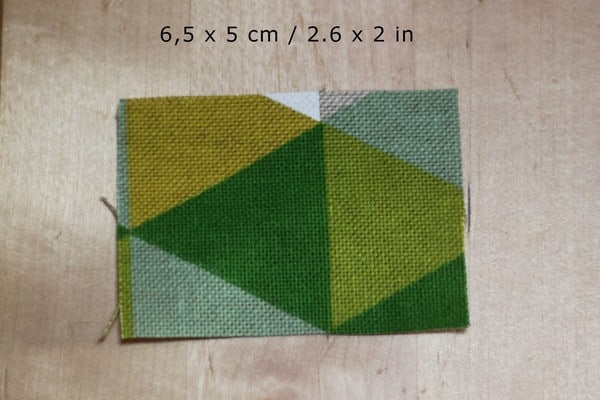
- rectangle 2.6 x 2 in/6,5 x 5 cm for the loop (I use 100% cotton canvas)
- aprox. 2 in/5 cm of thicker thread such as leather or jute
- key ring
- 1 Velcro circle
- textile glue
- sewing machine, pins, thread, ruler, pencil
- needle for hand sewing


How to print the pattern
The pattern is made for the A4 format and ANSI A format, make sure you download the correct one –
Right click on the picture and then in the menu click on “Save image as” and save it.
Open the jpg file and open the print dialogue. Make sure you uncheck “Adjust to page” and any other adjustments. You want to print the original size.
Measure the 1 cm or 1 in box to make sure the pattern is printed correctly.
How to make the Keychain Photo Album
Prepare photos

As I said, if you cannot laminate your photos at home, have them laminated in a copy center or the shop that provides this service in your country.
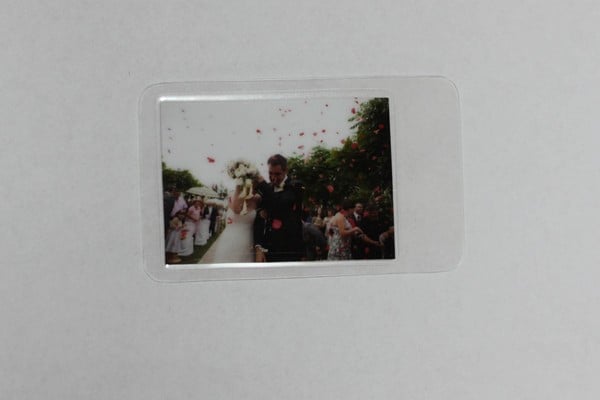
Try to align the photos in the foil, it will be easier to cut them out. You should leave a 0.4 in/1 cm for the upper edge (above the photos) and about 0.1 in/4 mm on the sides and for the lower edge. Laminate the photos.
Cut out the photos leaving the edges as I indicated and round the corners. You can use scissors if you don’t have a round corner cutter.
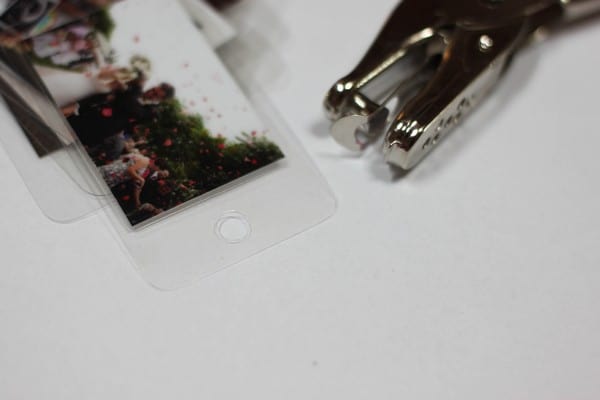
Punch a hole in the center of the upper edge.
Cutting and interfacing
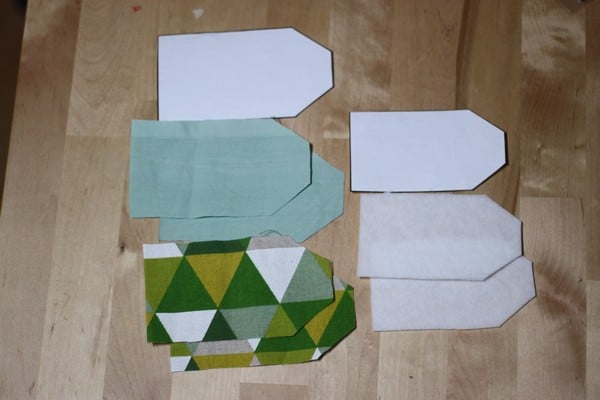
There are two patterns – s larger one and a smaller one.
Use the larger one to cut 2 mirroring pieces from the outside fabric and 2 mirroring pieces from the inside fabric. If your fabric is single-colored without any pattern, the pieces don’t have to mirror. Using the smaller pattern piece cut 2 pieces from the fusible interfacing.
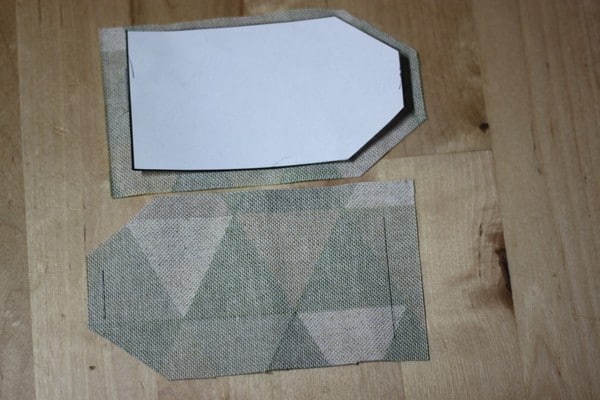
Place the small pattern piece on the wrong side of both outside fabric pieces, try to center it as much as possible. Trace the smaller pattern piece.
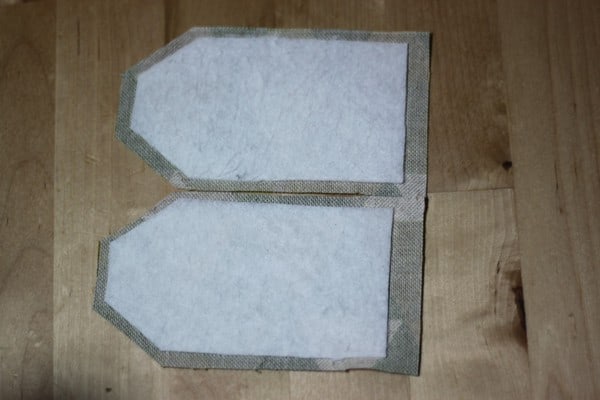
Place the fusible interfacing (sticky side down) where you’ve traced the pattern piece and iron it on. Now you have outside fabric pieces with interfacing and the inside fabric pieces with no interfacing.
Sewing the inside
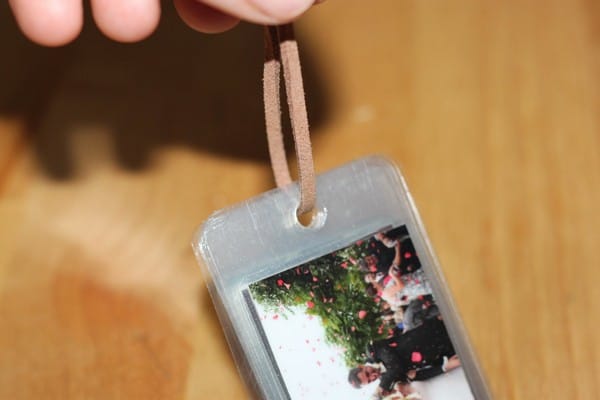
Thread the photos on the thick thread (I use leather).

Place one inside fabric piece right side up and the photos on it. Secure the thread in the center of the shorter side like you see in the photo.
Place the other inside fabric piece on top right side down. Stitch 0.4 in/1 cm from the short edge with the threads.
Now you have the inside of the photoalbum with the photos. Trim the excess leather thread.
Sewing the outside
Prepare the fabric piece for the loop.
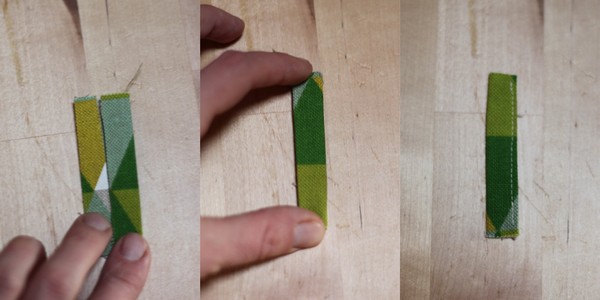
Fold the longer edges in to the center. Then fold in half and topstitch the open side.

Fold the loop in half with the key ring on it.
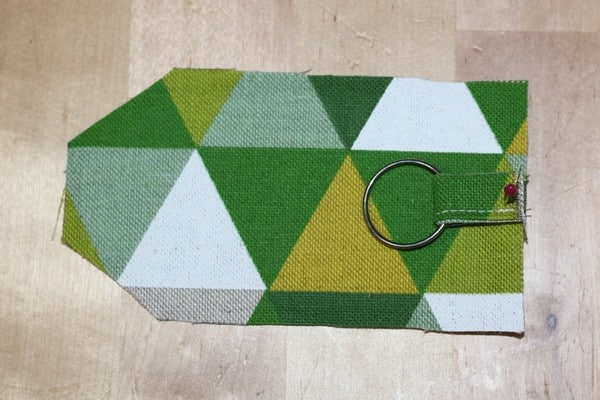
Place one outside fabric piece right side up and place the loop in the center of the short edge with the ring facing in.
Stitch about 0.4 in/1 cm from the shorter edge, you should stitch through the interfacing.
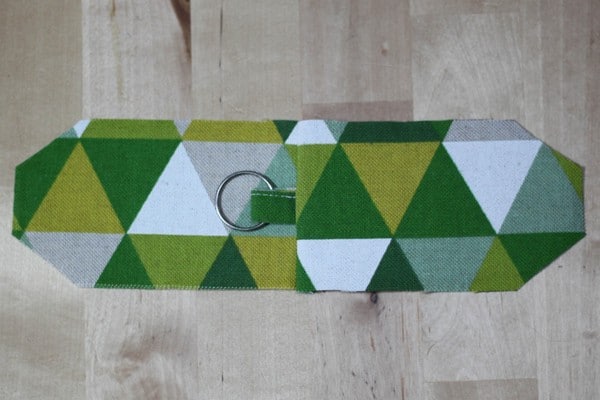
And now you have the outside piece with the ring.
Assembling and finishing

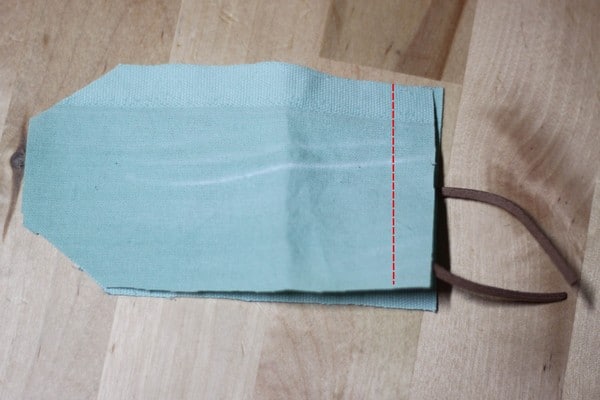
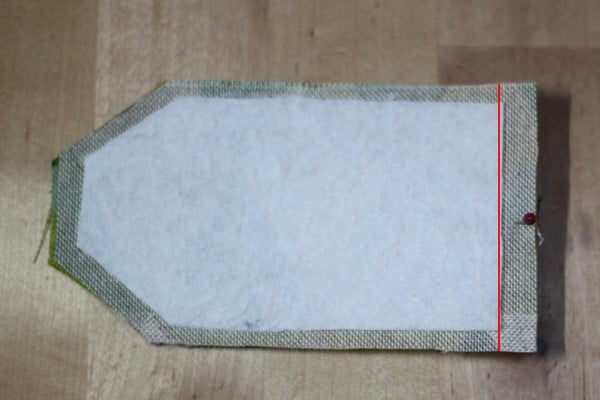
Place the inside part of the album with the photos facing up. Place the outside part on it right side down. Align the center seam first, then the rest. Stitch 0.2 in/5 mm from the edges leaving just one side open (where the photos are, red line).
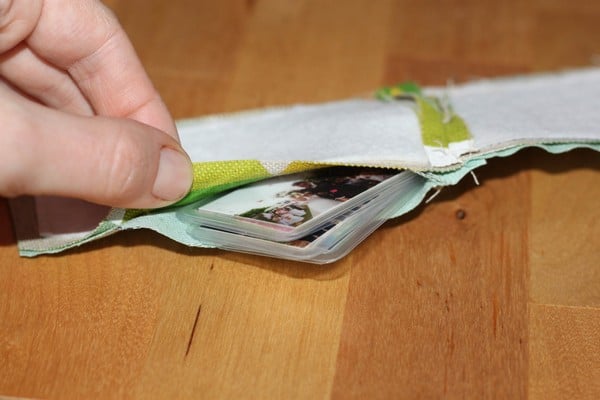
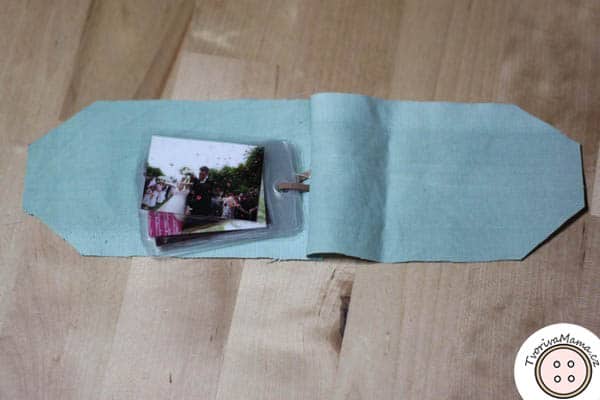
Now you need to pull everything right side out through that open side. Do it slowly and carefully, start with the photos.
Use a chopstick or anything similar to push the edges from the inside to make sure they turn completely. Close the opening using the Invisible stitch.

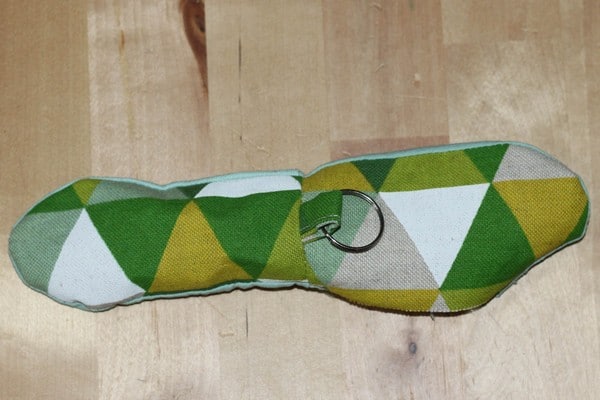
Press iron the photo album (be careful not to touch the foil with the hot iron) and topstitch 0.1 in/3 mm from the edge.
Attach Velcro
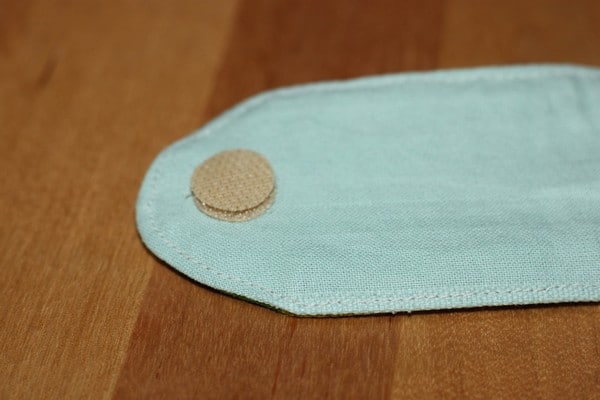
Put a little textile glue on the backside of one Velcro ring half and place it in the top of the triangular-shaped side. Leave the other Velcro half attached to it. If you glue them on separately there’s a higher chance that they won’t be aligned well, that’s why I prefer to keep them attached.
Put a little glue on the backside of the other circle and close the album with the sides nicely aligned. Hold it closed with your hand until the glue dries a little, then let it dry for at least another 30 minutes.

Your mini keychain photo album is done, now you can attach it to your keys, bag zipper or anywhere else.


