
Thanks to this practical cellphone bag you will always have your phone safely at hand.


First phone is a big thing. We got it for our daughter when she started going home from school alone. This moment turned me into this kinds of a mom who just cannot calm down from the “I’m leaving school, mom” phone call until the rattling of the keys in the door lock. I didn’t want her to have to take off her backpack and look in it every time she needs to use the phone so I made her this practical cellphone bag that goes crossbody and has an adjustable strap. That way she can just put the bag on her neck after the classes and she can grab it whenever she needs.
This cellphone bag also has a small pocket for things like a key, a bus ticker, money…the bag was made for 13,5 x 8 cm/5.3 x 3.1 in phone that fits in even when it’s in another plastic cover.
If you like to saw, check out my other sewing tutorials.
Table of Contents
Supplies

- cotton canvas in 3 designs
- fusible fleece
- 2 snap hooks
- 2 rings
- 1 slide adjuster
- piece of velcro
- textile glue
- scissors
- ruler
- pencil
- something round, e.g. a cup, round cookie cutter…
Cellphone Bag Tutorial
Cutting the Pieces
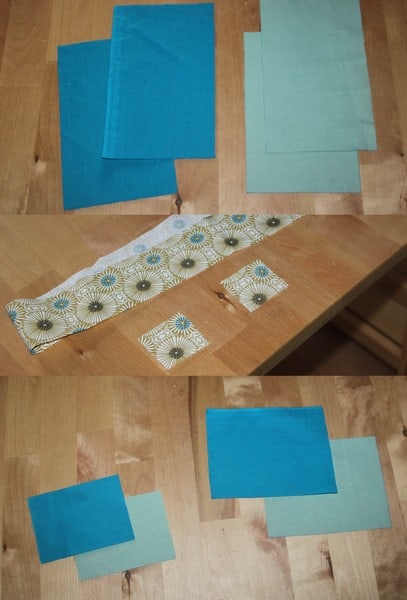
From the three canvases, choose which is going to be the outside fabric, the inside fabric and the fabric for the loops and strap:
Rectangle 18 x 11 cm/7.1 x 4.3 in (main piece)
- 2 outside
- 2 inside
Rectangle 11 x 9 cm/4.3 x 3.5 in (flap)
- 1 outside
- 1 inside
Rectangle 11 x 14 cm/4.3 x 5.5 in (pocket)
- 1 outside
- 1 inside
Square 5 x 5 cm/2 x 2 in (loops)
- 2 from the strap fabric
Stripe 125 x 5 cm/49.2 x 2 in (strap)
- 1 from the strap fabric
Fleece and corners
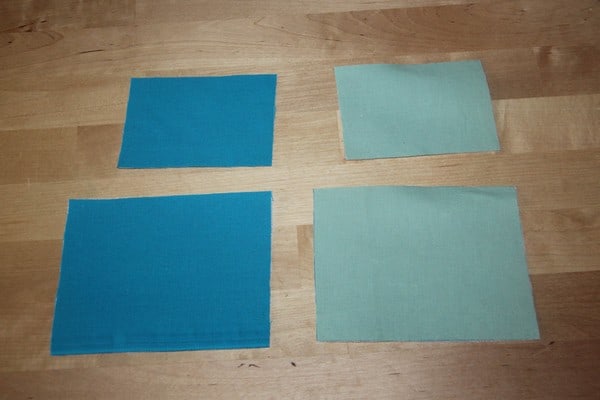
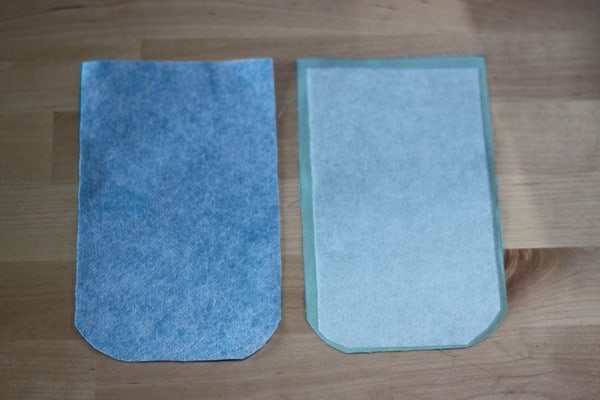
First you have to iron the fusible fleece onto both pocket pieces (inside and outside). Or you can just cut two rectangles of the same size and iron them on or you can do it my way – I place the fleece sticky side up, place the fabric on right side up, place a sheet of baking paper on to of it and iron the fabric on. Then I cut out the fabric with the fleece attached to them.
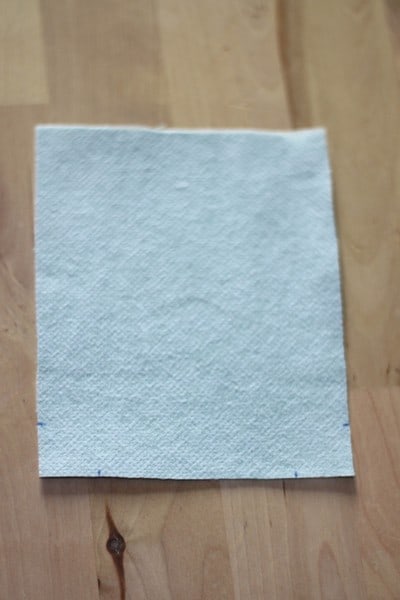
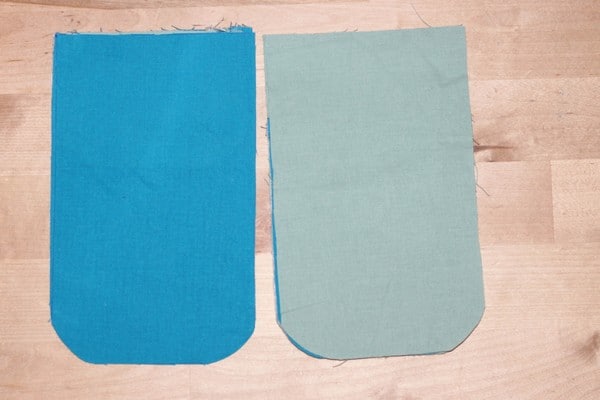
Place one of those pieces as you see in the photo and at the bottom, measure and mark 2 cm/0.8 in from the corners in both directions.
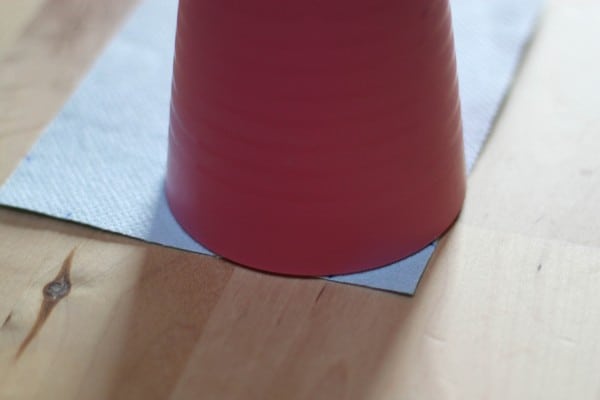
Place the cup or another round shape on the corner and align it with the marks. Trace the cup in the corner.

This way you’ll trace nicely round corners.
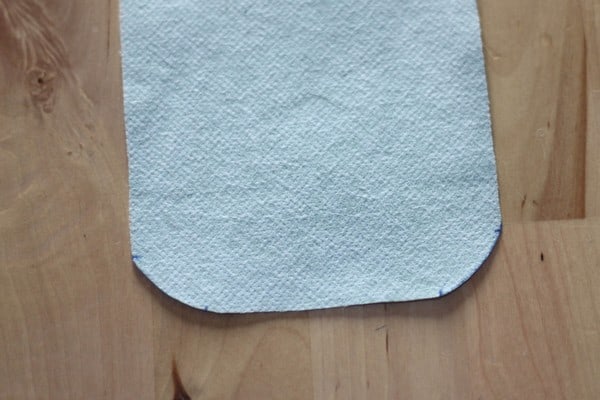
Cut them out.
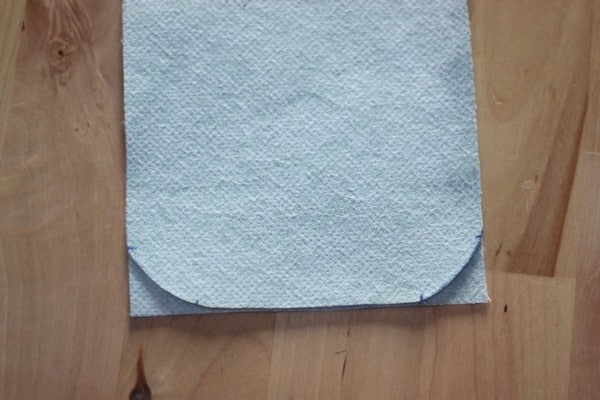
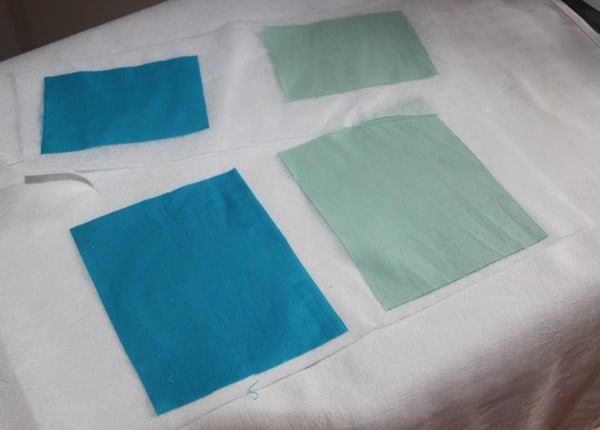
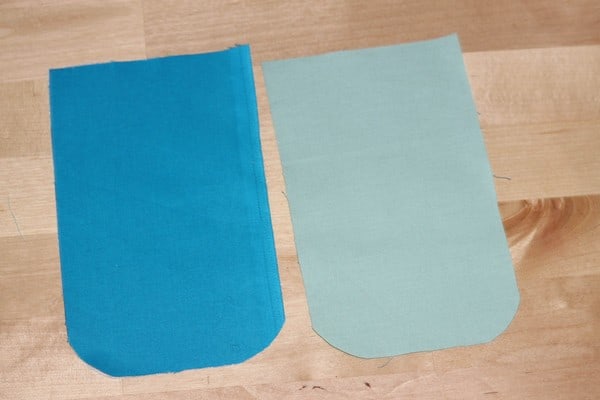
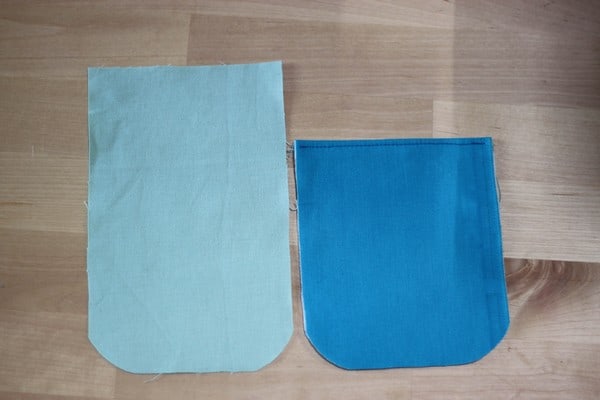
Use the piece with the round corners as a template for all the other fabric pieces, with fleece or without. Just skip the loops and strap, no need to round the corners there. Attention to the correct placement of the pieces. The pieces for the main piece and pocket should be vertical, the flap piece horizontal.
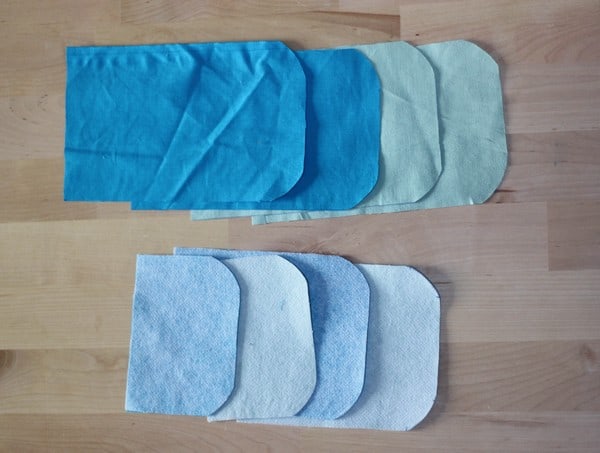
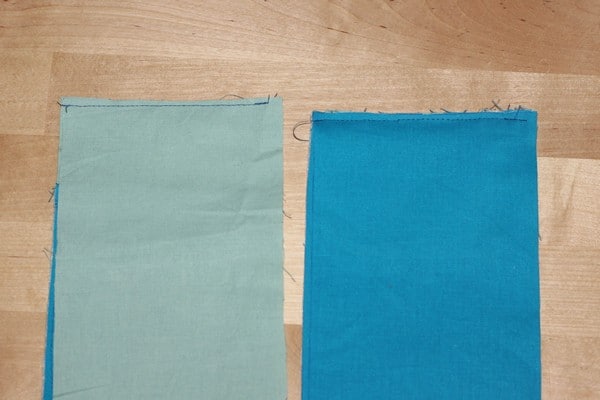
This is what it should look like. Before you start sewing, iron all the pieces.
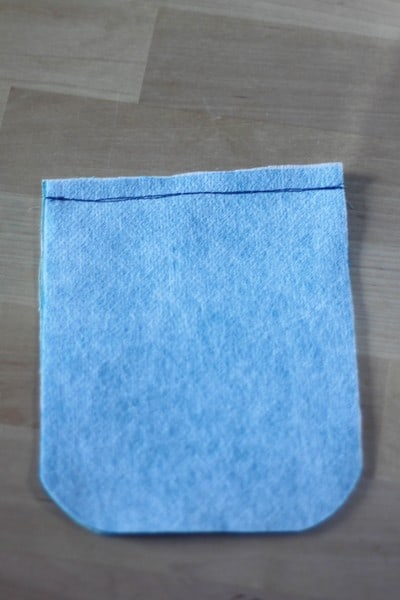
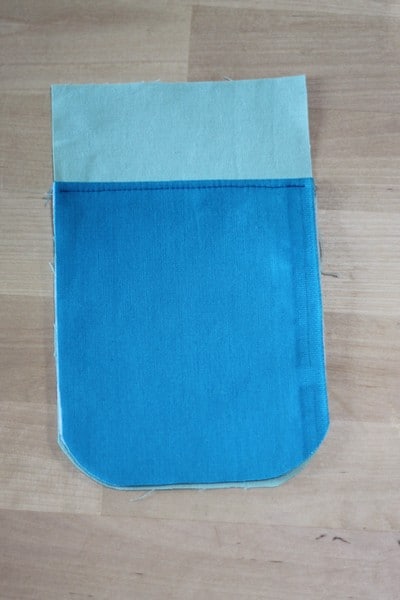
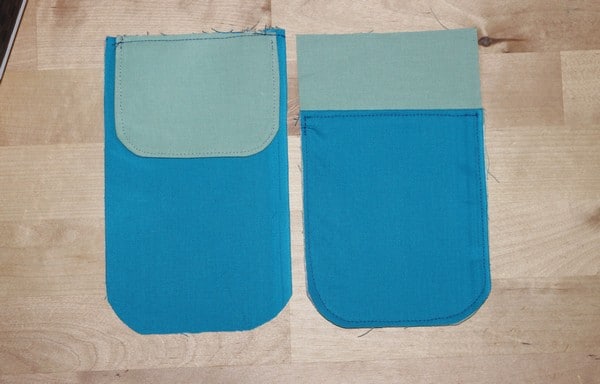
Place both pocket pieces right sides together and stitch the upper edge about 0,5 cm/0.5 in from the edge.
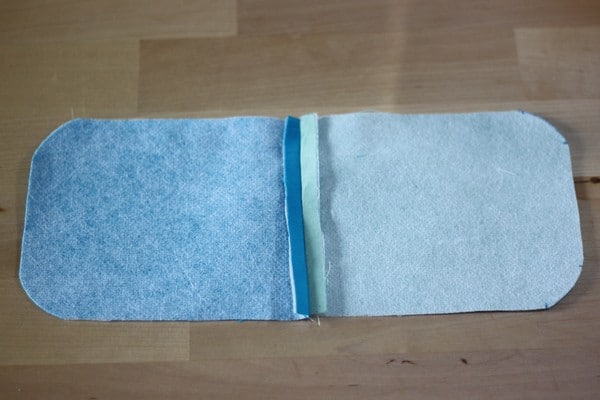
Open and press open the seam.
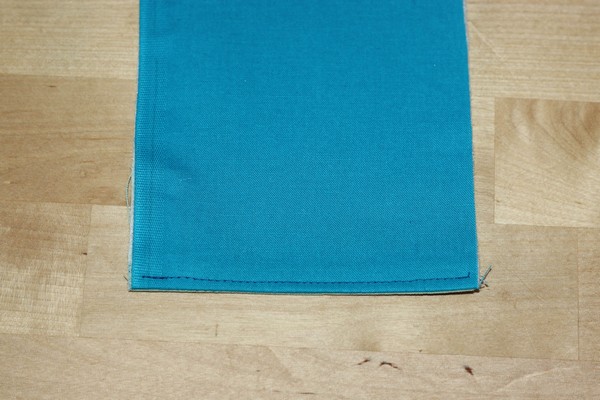
Flip it and close with the wrong sides together and topstitch the upper edge.
Main piece
Now prepare both outside main pieces. Iron one of them (the back side of the pocket) onto the fleece and cut it out. As for the other piece, cut out a fleece rectangle that’s 1 cm/0.4 in shorter and narrower than the fabric and iron it on as much centered as you can. As you can see mine it not perfectly centered. It’s not a big issue, the machine will just have to be able to sew through a thicker layer.
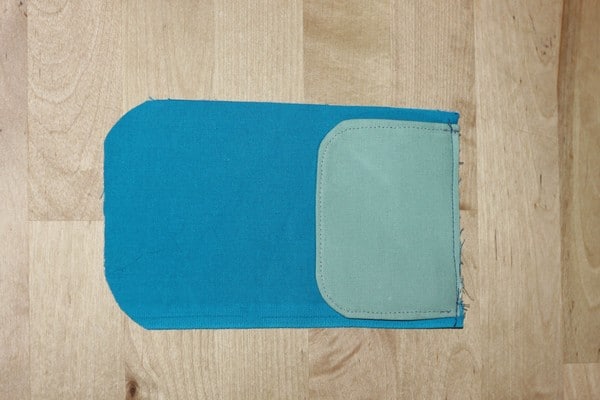
Attaching the pocket
Now prepare the main piece with the 1 cm/0.4 in smaller fusible fleece piece ironed on.
Place this piece right side up and the pocket piece on it. Align the edge with the round corners.

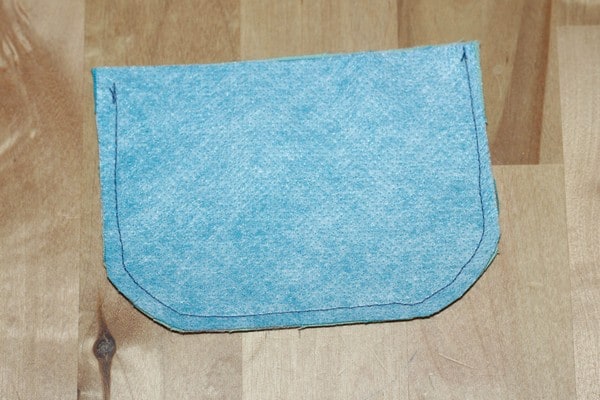
Topstitch the sides, bottom and corners, leave the upper side open.
Flap
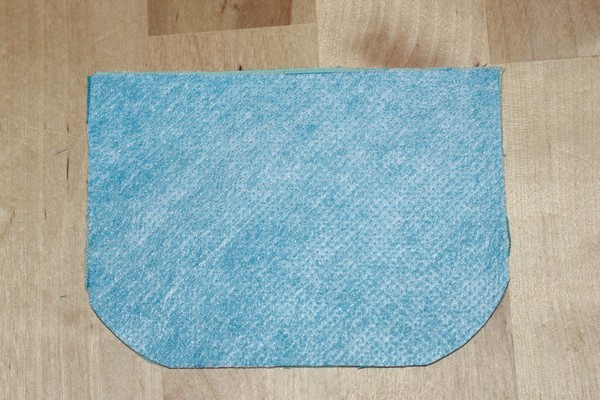
Iron one flap piece onto the fleece and cut it out.
Place both flap pieces right side together and stitch them together leaving the top edge open.
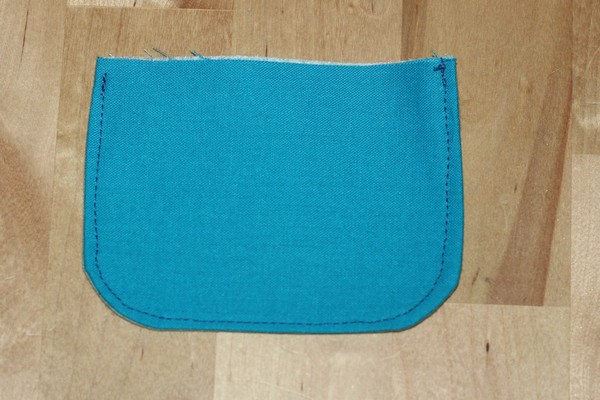
Flip the flap right side out, iron well and topstitch around the edges. You can leave the open side still open.
Loops and Strap

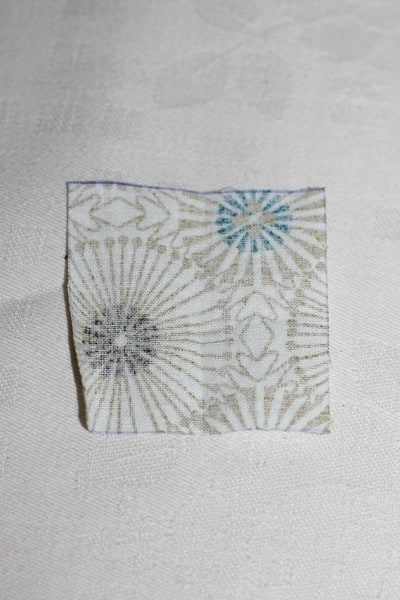
You have to do the following step with both rectangles: Fold the rectangle in half and press with your wingers to create a center crease. Open.
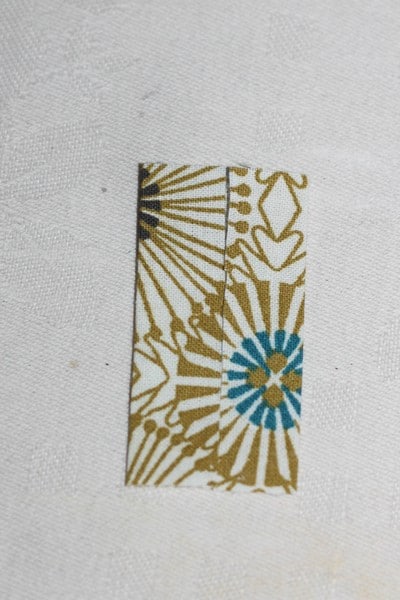
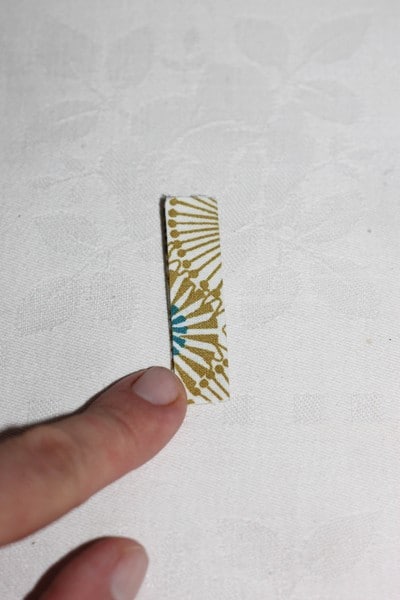
Fold the sides to the crease and iron. Fold in half lengthwise and iron.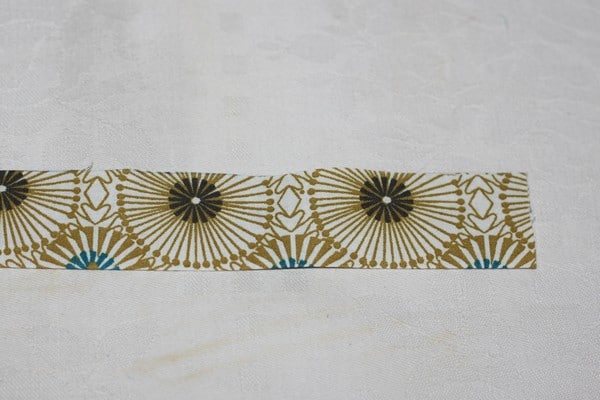
Follow the same steps to make the strap – fold in half lengthwise and open.
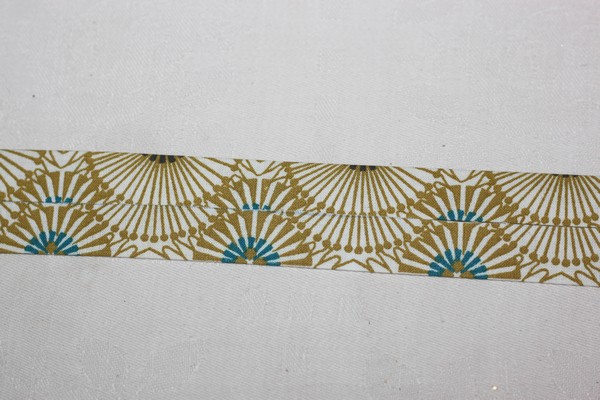
Fold sides to the center crease and iron.
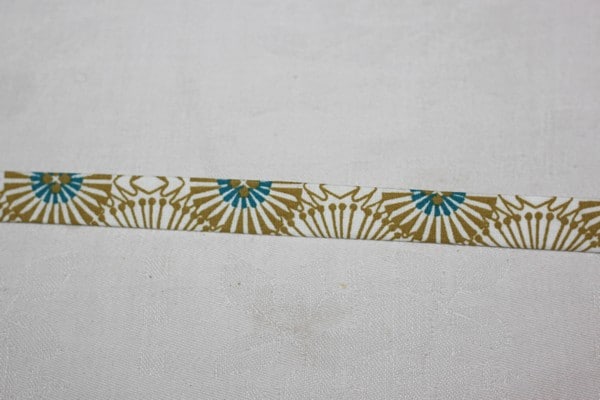
Fold in half lengthwise and iron.
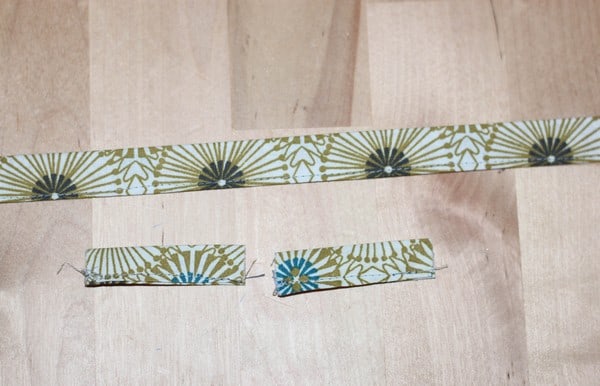
Topstitch the open side of all the three pieces.
Attaching the loops and flap
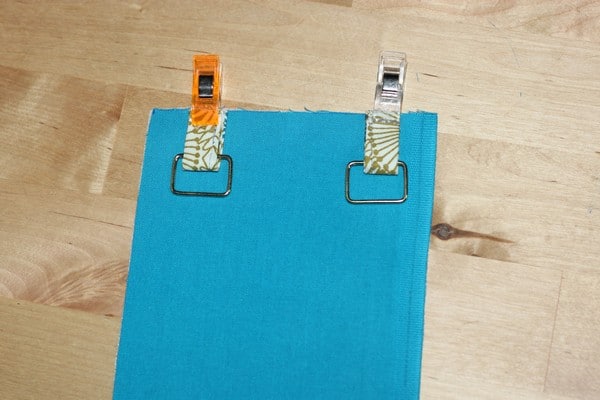
Pass each loop through a ring and fold it in half.
Place the back side of the bag (completely lined with fleece) right side up. On the upper edge measure 2 cm from each corner and place the loops on it as you see in the photo.
Stitch on the loops.
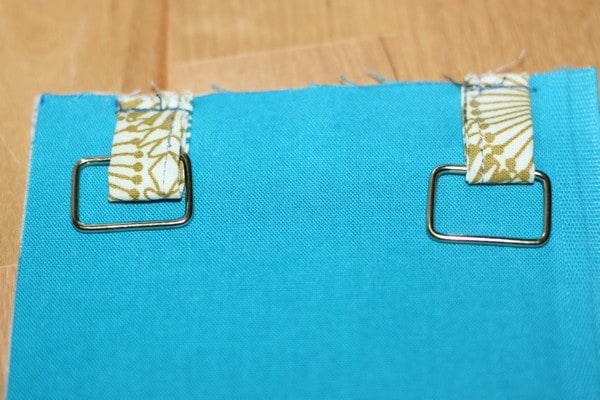
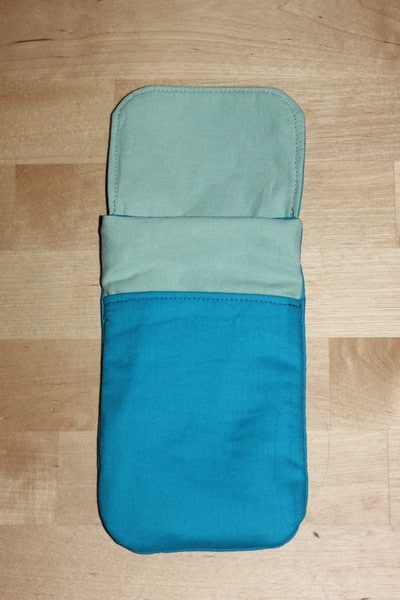
Place the flap on the upper edge inner side up, align it well and stitch along the whole upper side.
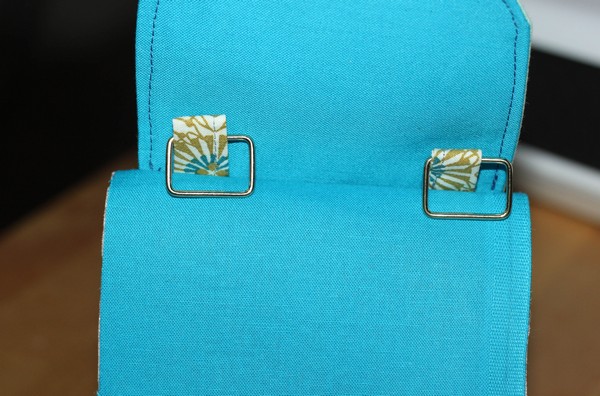
Open and this is what you should get.
Lining of the main part and assembly
Place both main outside pieces (the one with the flap and the one with the pocket) in the same way like in the picture.
Now place the main inside pieces on them and align them.
Stitch along the upper edges.
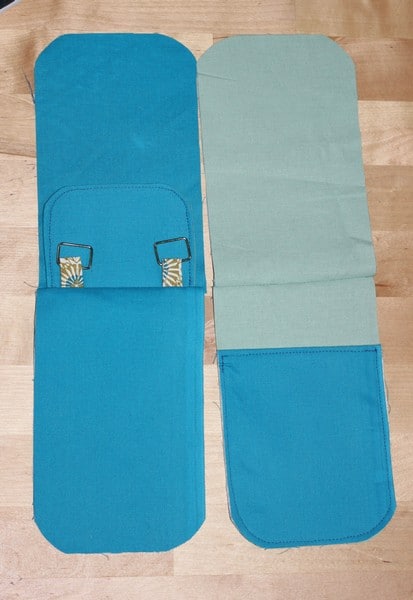
Open both pieces and press the seams. Place the pieces in the same way like in the picture.
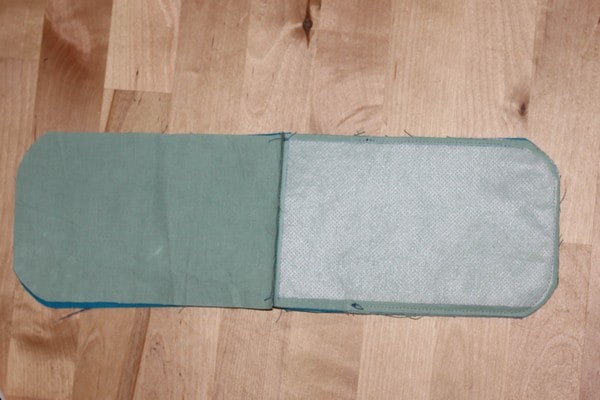
Now place one on the other so that they are right sides together.
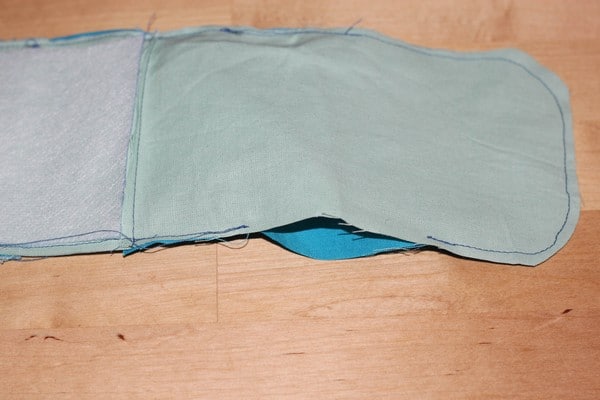
Stitch along the whole edge leaving one 6-7 cm/3 in opening.
Carefully turn the cellphone bag right side out through the opening. Use hidden stitch to sew the opening close.
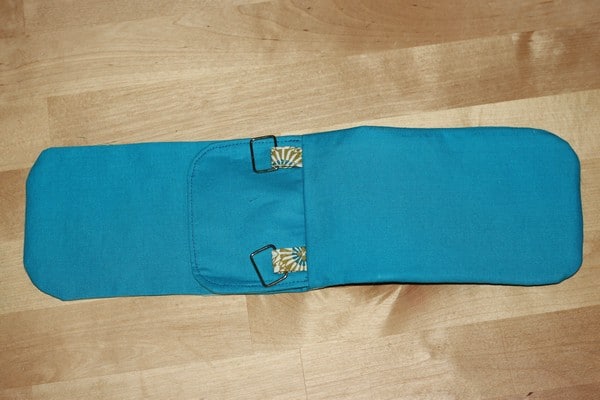
Now you have one part of the bag that doesn’t have the flap or the pocket attached to it. You have to push this part inside the other part because this is the lining that will be on the inside of the bag.
Strap
Prepare the strap and the hardware.
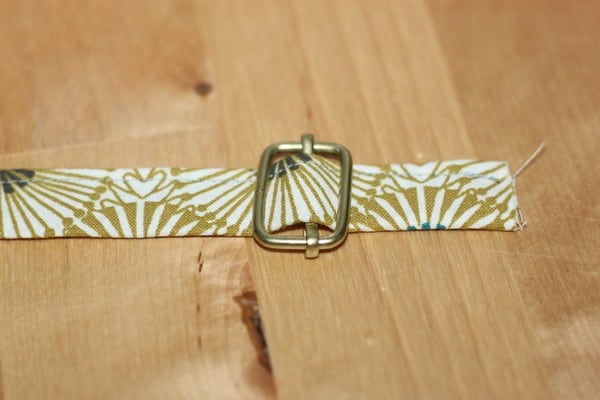
Thread the strap on the slide adjuster.
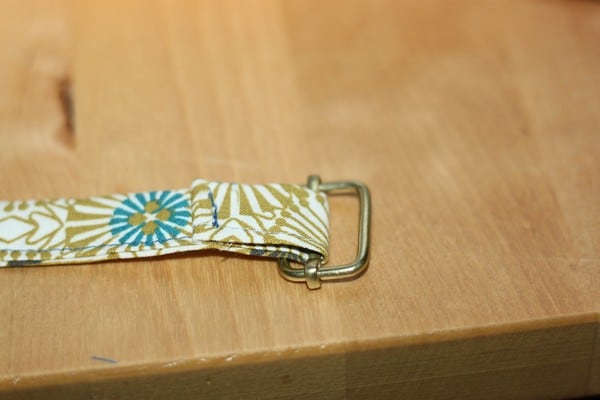
Fold the end over and stitch.
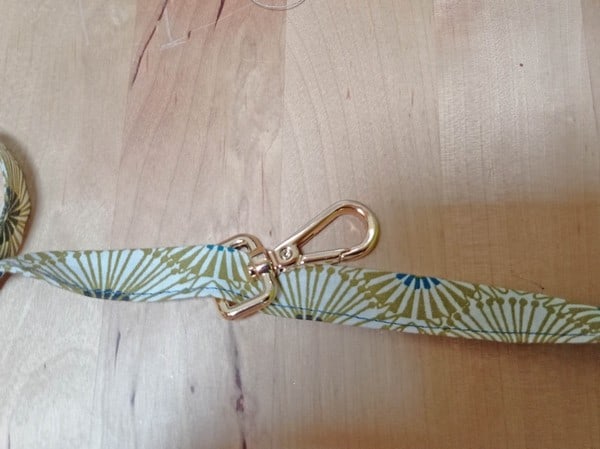
Thread the other end onto a snap hook.
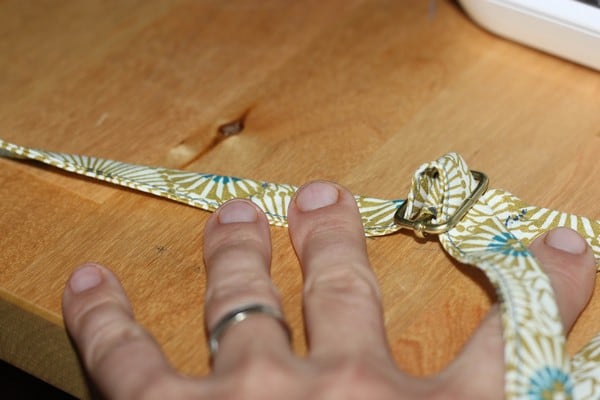
Then thread this end back through the slide adjuster.
Thread on the other snap hook, fold the end over and stitch. Here’s a nice video if you want to see the process on video.

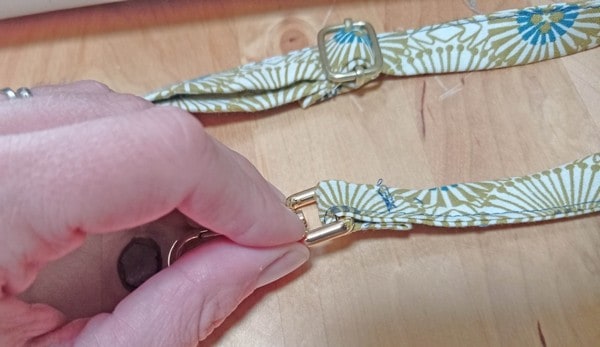
Now you can attach the strap to the rings on the bag.
Attaching Velcro

Cut a piece of velcro. I use self-adhesive velcro, however, it’s not adhesive enough and the textile glue is a must. You can measure the placement of the velcro or just trust your eyes to estimate it correctly. When you put the glue on, let it set for about 20 seconds before putting the velcro on the fabric. Don’t press it on, just stroke it lightly with your fingers. Let it dry completely.


And your crossbody cellphone bag is done.


