
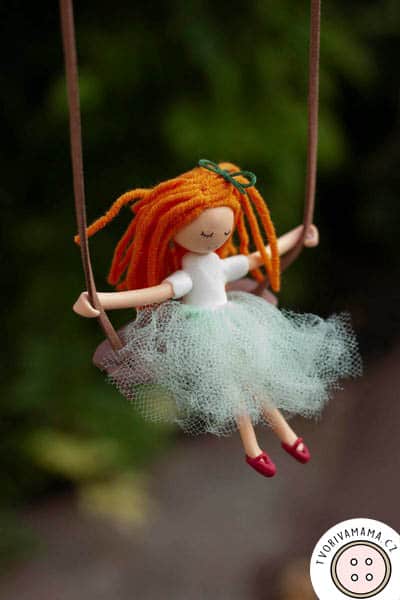
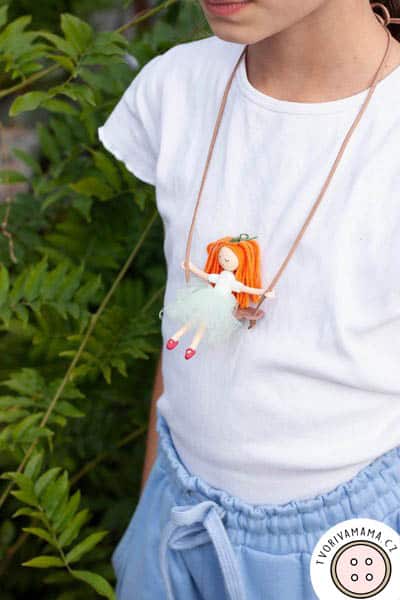
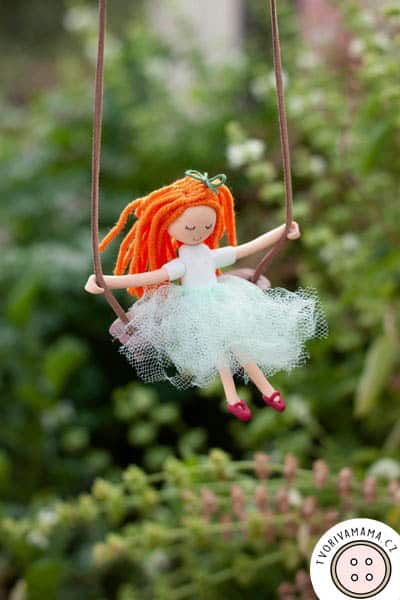
Make this original Swinging Necklace, for yourself or as a gift.

How do you like to go up in a swing,Up in the air so blue?Oh, I do think it the pleasantest thingEver a child can do!– Robert Louis Stevenson
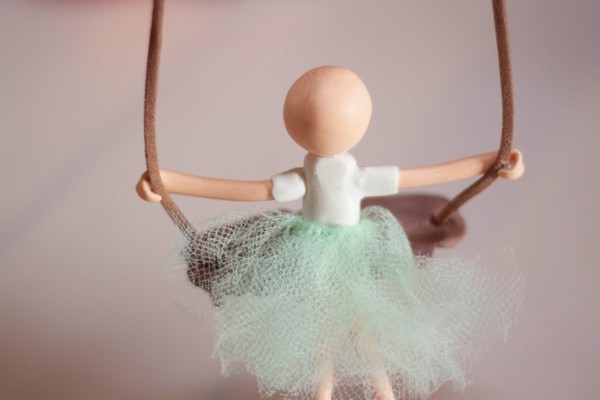
This girl on a swing is my next polymer clay project. As you might know, I have more than a few tutorials in the category Clay Play, so check them out for more inspiration! This can be a really great gift which you can customize to look like the person you want to give it to.

My original thought was that I could make it completely from clay but then I thought that combining materials is just so much more interesting! You can choose any other material, just don’t forget that as for polymer clay, each brand requires different conditions, especially when it comes to baking.
You can also choose a different way to close the necklace, even a know will do!

Table of Contents
Supplies to make the Swinging Necklace

- Polymer clay, I use Cernit
- Polymer clay rolling tin
- Polymer clay matt
- Thin rubber gloves
- Modelling tools
- Piece of yarn (less than 1 m/40 in)
- 10 cm/4 in of string
- A piece of tulle or organza
- Thin permanent markers
- Scissors
- String (leather, waxed cotton…), about 1 m/40 in
- Closing (optional)
- Glue: epoxy, mod podge, polymer clay glue (this one is optional)
Swinging necklace – Tutorial
When you work with polymer clay, I recommend wearing gloves unless you want the finished product to have your fingerprints. Make sure the working environment is as clean as possible as the clay catches even dust from the air.
Make the Doll
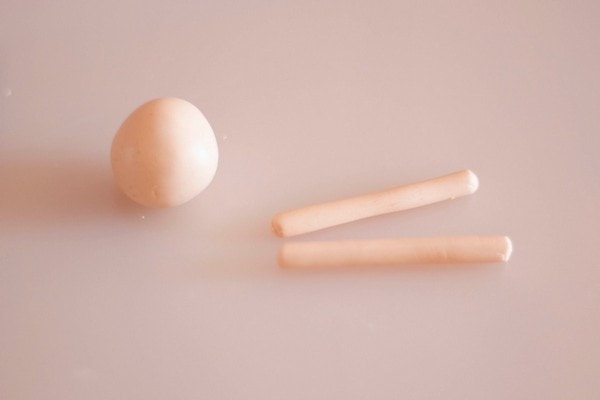
First, make a round head (can be also proportionally larger than the body) and toll out two equal pieces for the arms.
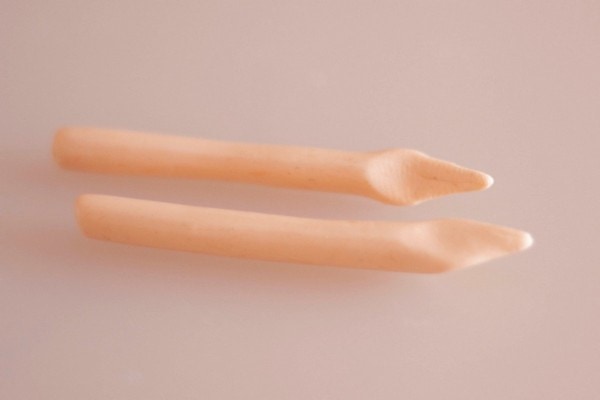
Flatten one end of each arm and make it pointy, these will be the hands. My whole arms are about 3,5 cm/1.4 in long.
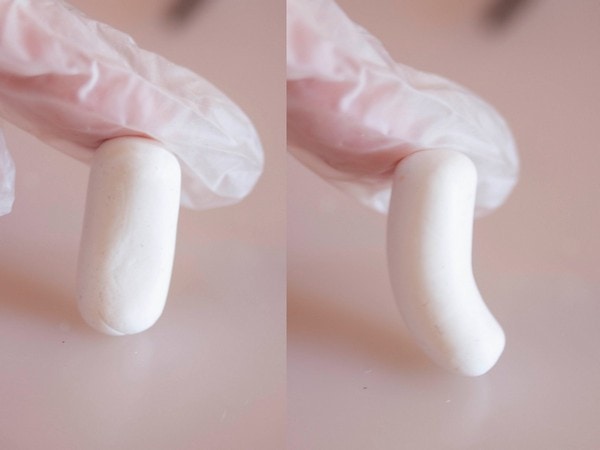
Roll out a larger piece for the body, about 3 cm/1.4 in long and about 1-1,5 cm/0,4-0,6 in wide. Curve one end of the body – less if the doll should sit at the edge of the swing and more if you want it to sit more in the back of the swing.
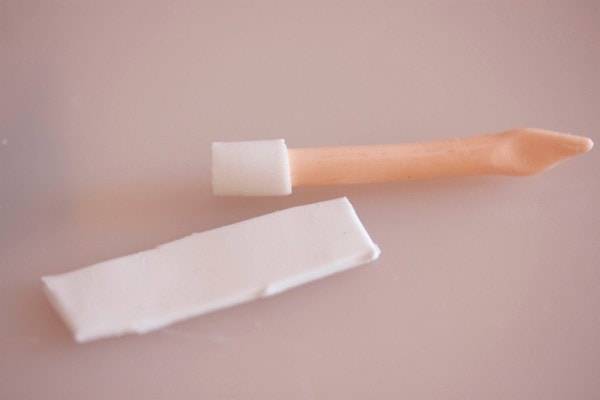
Roll a thin piece of clay in the same color like the body, cut out a rectangle and wrap a piece around the end of each arm that you’ll later attach to the body.
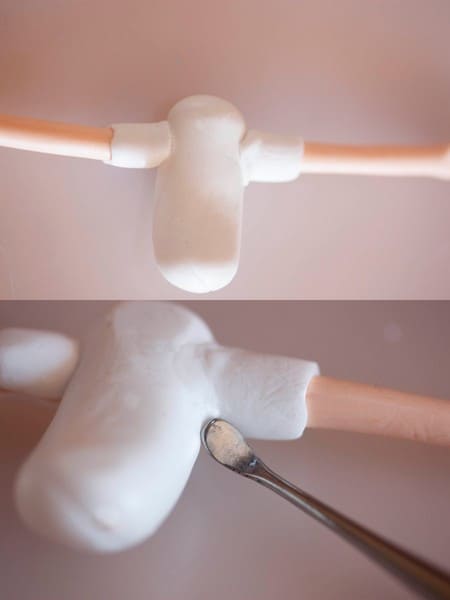
Press the arms lightly on the body and blend the sleeves in. The arms should be open and straight or slightly bent in the elbow.
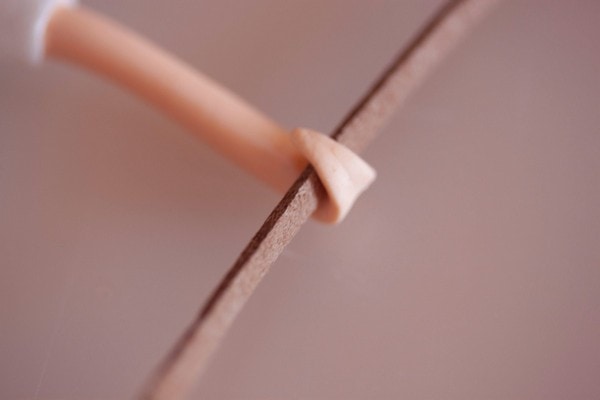
Curl the hands around the string on which the necklace should hang, then remove the string.
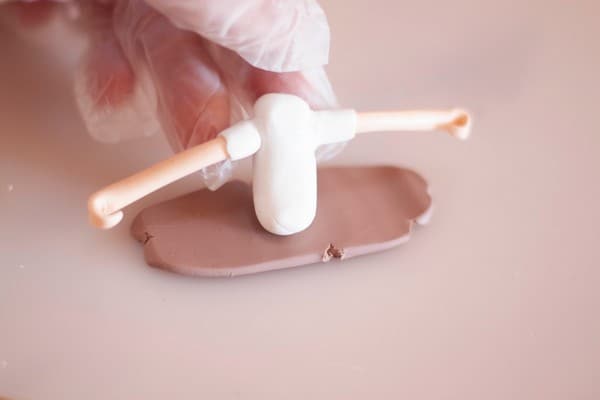
Roll out a piece of brown clay for the swing. It should be as wide as the arms of the doll or a little less.
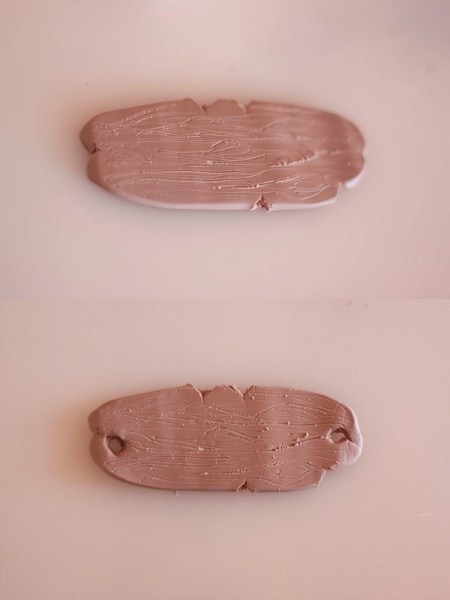
Use a pointy tool to make lines and wood knots. Then make holes on both shorter edges, they have to be big enough for the string.
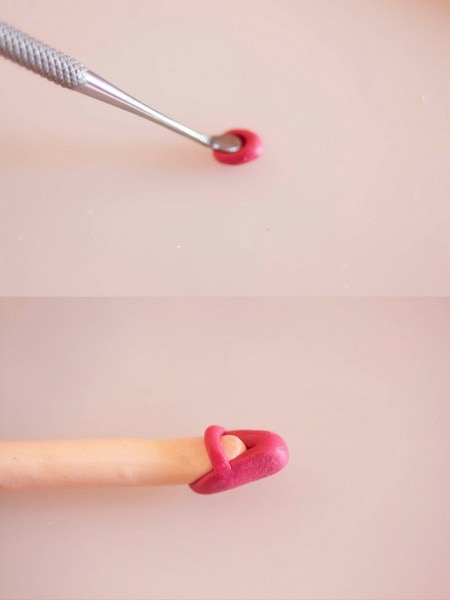
Roll out two equal pieces for legs, then shape two small pieces for the shoes. You can for example make a ball, then press a small indentation in it, place the leg inside and “wrap” the shoe around the leg. Then add a small stripe for buckle.
Bake
Follow the instructions on the package of your clay to bake these pieces: head, body with arms, legs and swing.
In my case with Cernit that’s 30 minutes ar 125°C/257°F.
Glue the doll
You can use polymer clay glue (follow the specific instructions for each brand) or epoxy glue.
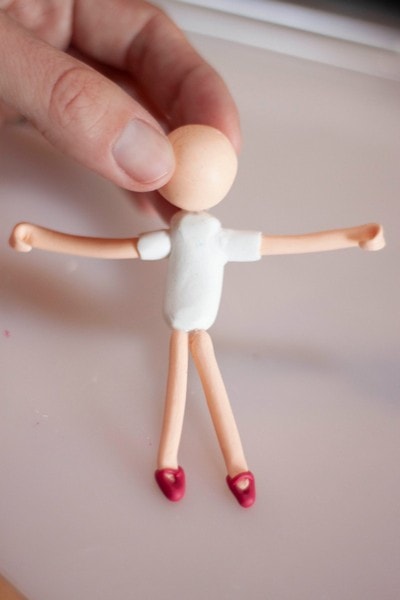
Glue the head on the body, then glue on the legs.
Skirt

Cut stripes of tulle that will be about 1 cm/0.4 in wide and triple as long as you want the skirt to be.
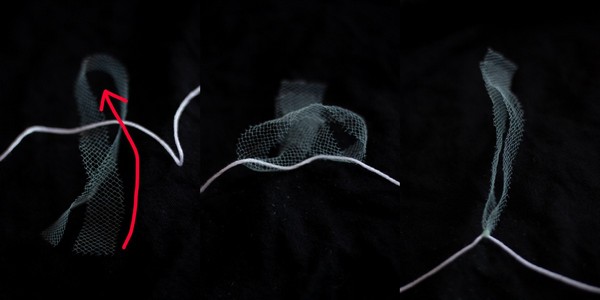
Follow the photos to tie each stripe to the piece of string – fold the stripe in half and place under the string. Pull both ends over the string and into the loop. Pull to tie.
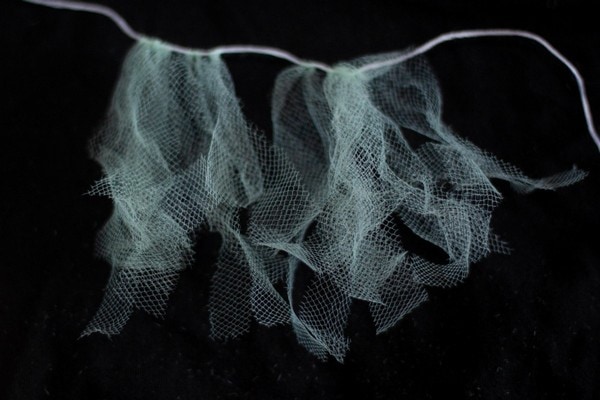
Tie on enough stripes to make a skirt that covers half of the body (about there where the body bends).
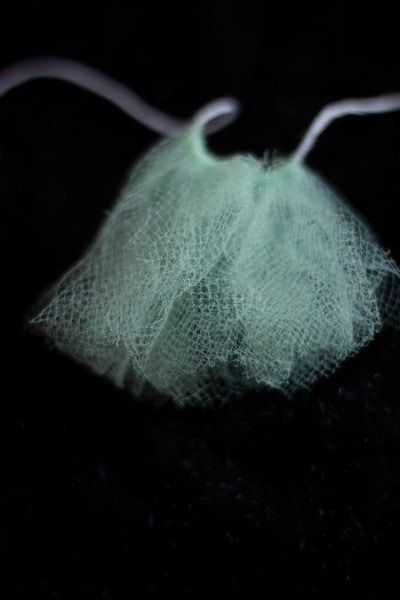
Push the stripes together and cut to the desired length.
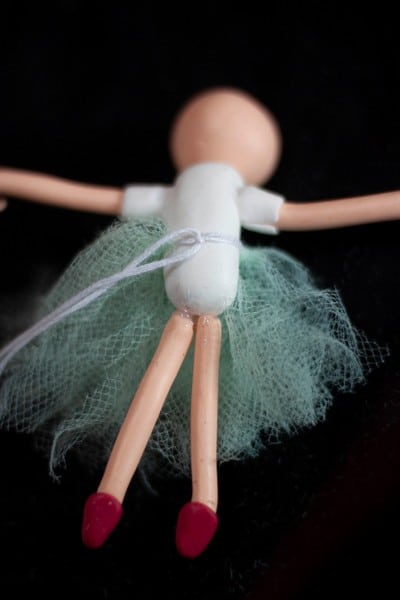
Tie the skirt around the waist of the doll, she tulle should be in the front, the knot in the back. Put a drop of glue on the knot.
Sit the doll on the swing
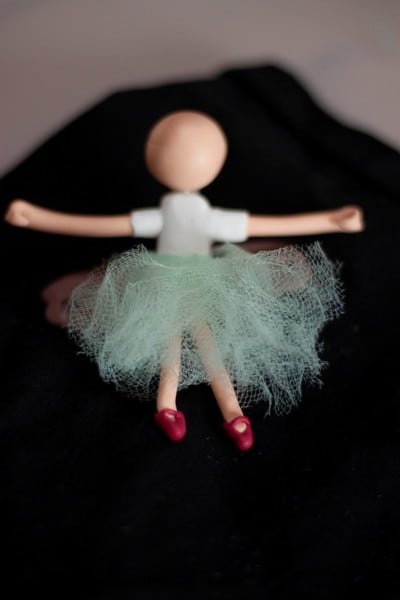
Put a little glue on the doll’s booty and sit her on the swing.
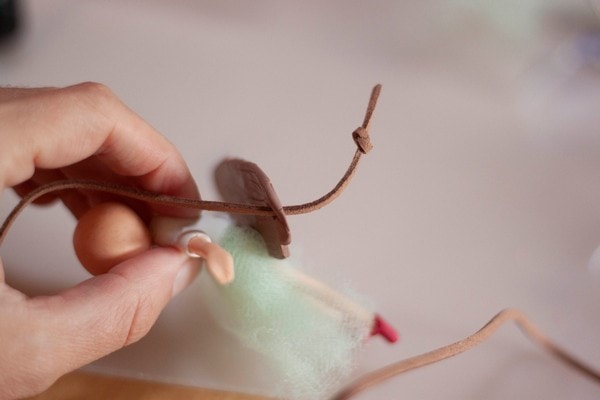
Pull one string through each hole and tie a knot at the end so it can’t pull out.
Put one drop of glue into each hand and place the string in it.
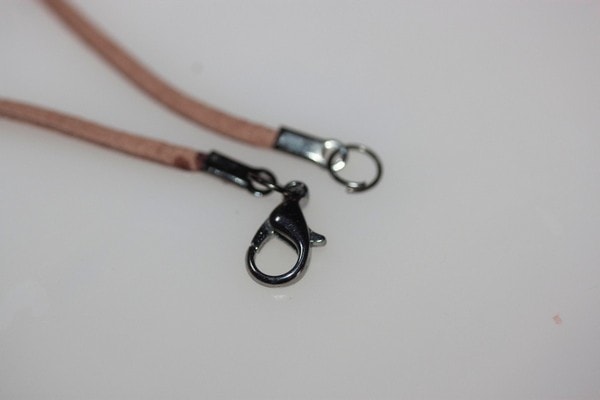
Attach closing to each end of the string, or you can just tie it with a knot.
Hair and Face
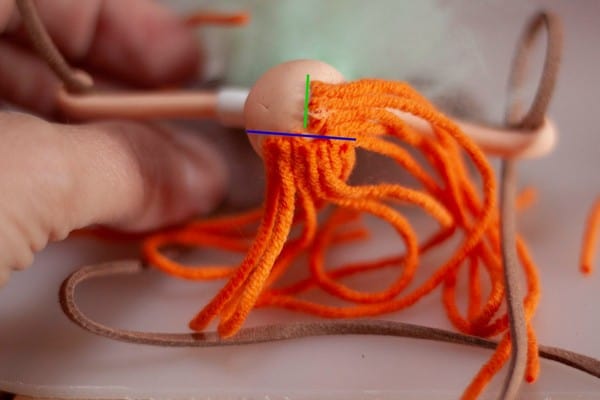
Cut the yarn in pieces longer than you want the hair. First glue a line of hair in the back of the head (blue line), then at one of the sides (green line). It’s enough to put a little of glue to glue on about 0,5 cm/0,2 in of each strand.
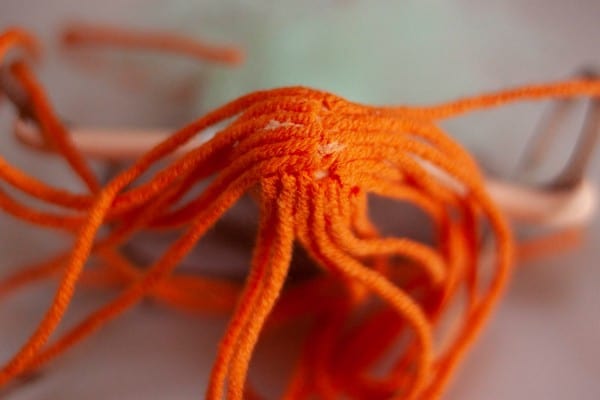
Glue on the hair on the other side of the head.
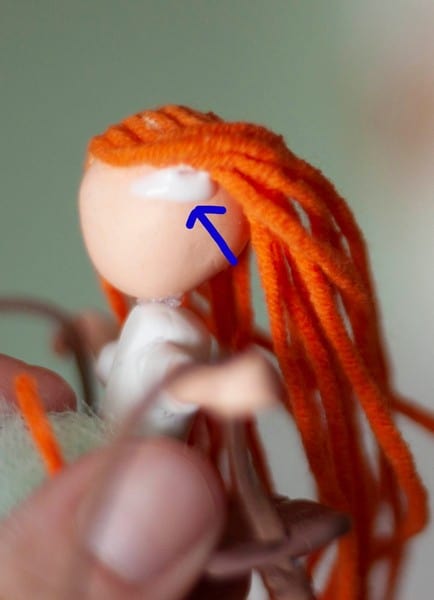
Put a little glue under this first layer of hair so it sticks more to the head.
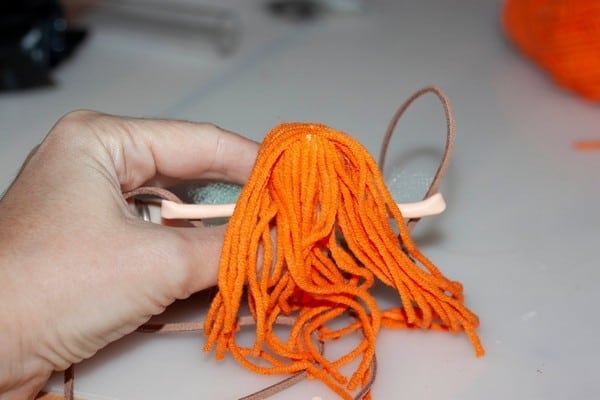
Follow the same steps to glue on a second layer of hair.
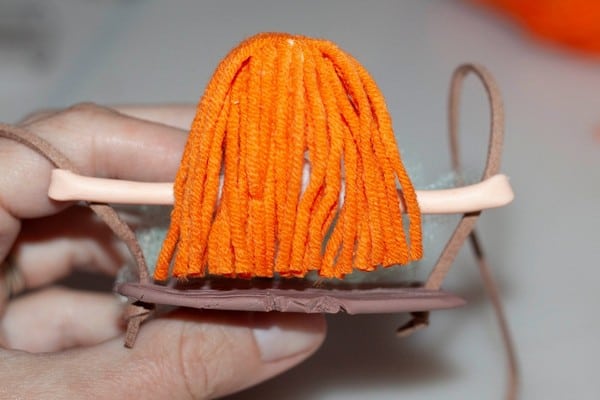
Cut the hair to desired length.
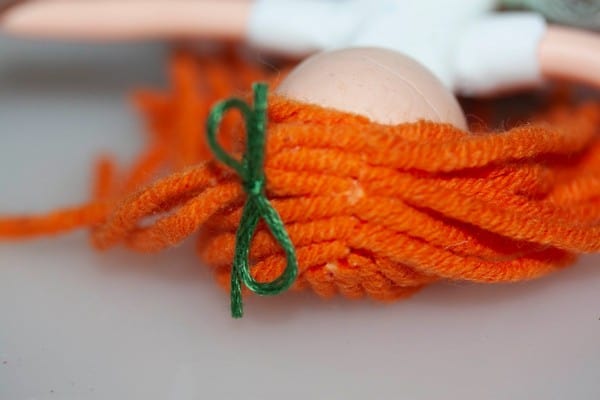
You can add a small lace or other decoration.
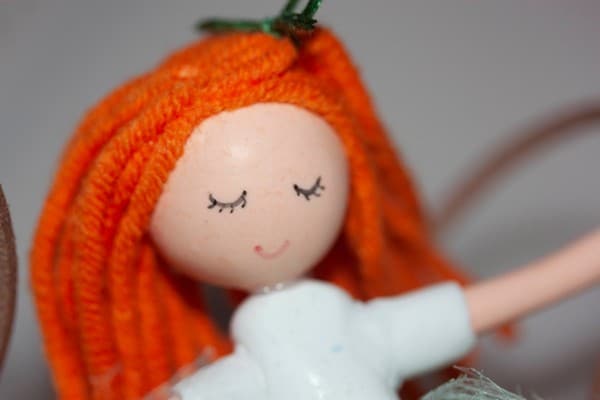
Draw the face with permanent markers.
And your Swinging Necklace is done!

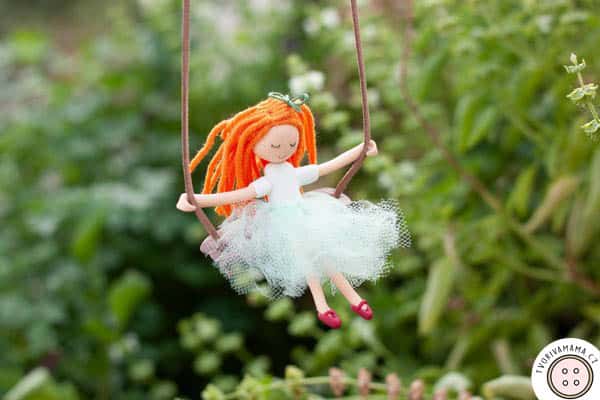


Such a creative and adorable polymer clay project! I love how the tutorial breaks down each step, making it seem so achievable even for beginners. The attention to detail in crafting the doll and swing is truly impressive. Definitely adding this to my list of must-try DIYs for a unique, personalized gift idea!