
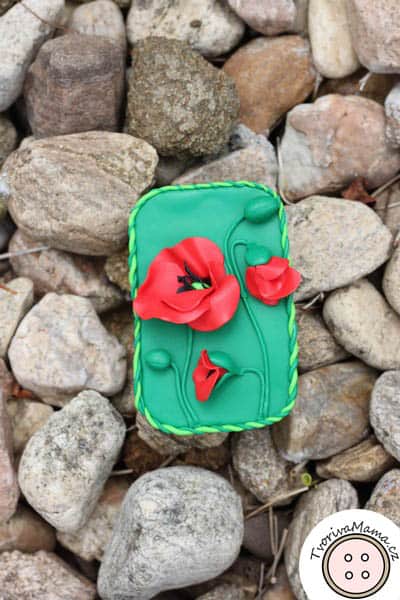
Today I bring you a tutorial on this cute DIY Poppy Treasure Box to keep your treasures in!

Do you have a box for your little treasures? Mine is wooden and hand-carved. Unfortunately, I don’t know how to carve but there are other ways to make a DIY treasure box. Our girls are at that age when they like cute notepads and boxes for everything and anything. I am yet to make a notepad but I’ve quite mastered the latter.

Check out other tutorials in the category Clay Play. You can find there more treasure boxes like the Rosehip Box.
Table of Contents
Supplies for the Poppy Treasure Box
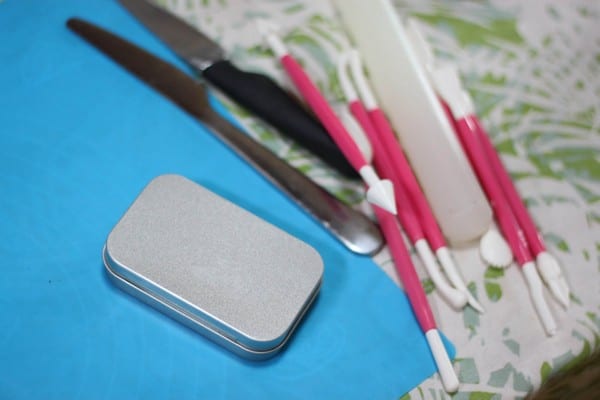
- Polymer clay – I use Cernit
- Tin box
- Rolling pin
- Silicon mat
- Sharp knife
- Any other tools like fork, toothpick, cake modelling tools
- Latex gloves
- Optional: acrylic paint, brush, clear spray varnish, Cernit glue
DIY Poppy Treasure Box Tutorial
How to work with the clay
Each polymer clay is a little different to work with. Sometimes it’s said that the quality of the lots of Cernit vary, some are harder, some softer. My experience is that Cernit is wuite hard and it needs some kneading (except for the transparent variety which is softer and stickier). However, I like working with it because it keeps its shape.
There’s one complication of working with polymer clays – keeping it clean. The clay seems to catch any small dust piece from the air, the mat and your hands. And, of course, your fingerprints as well. For clean products I recommend you to wear tight gloves although I have to admit that I sometimes don’t wear them myself because I can get some of the details right only when I don’t wear any gloves. The professionals work in extremely clean environment but it’s something we can’t always afford at home. Still, it’s a good idea to clean all your tools properly and perhaps also to clean them with an anti-static cleaning product.
When it comes to the rolling tin it should be a smooth one, I don’t recommend wood. Tip: If the clay sticks to your rolling tin and breaks, put a little handcream on the tin. But just very little to grease it lightly.
Base – How to cover the lid
First, we need to cover the lid with some clay, that will be the base for the flowers. This is how I did it:
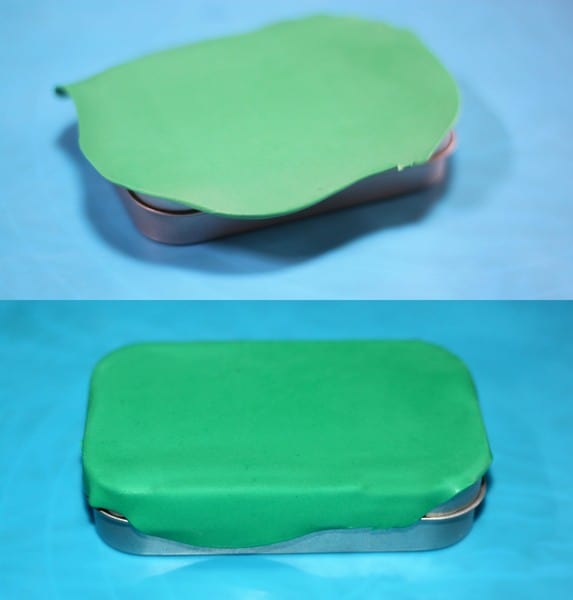
I rolled out some green clay to 2 mm thick. I placed it on the lid and smoothened it over the edges. It’s also important to press the clay a little on the lid (with a rolling pin) otherwise air pockets might form between the lid and the clay.

Then I rolled out two this stripes in two shades of green and rolled them together into a spiral.
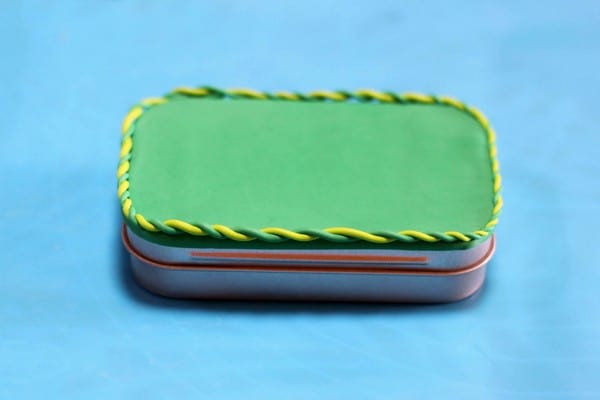
I cut off the excess clay leaving about 3 mm over the edge. Then I placed the spiral all around the edge of the lid.
After that I baked the base on the lid (see below Baking). That’s because I didn’t want to worry about the spiral moving as I go on working and attaching the flowers. The disadvantage is that the flowers won’t attach automatically to the base. If you bake the base first I recommend using Cernit glue (or other equal) to glue on the unbaked pieces. However, pressing the flowers a little to the base will work as well.
Another option is to not bake the base and the flowers will attach nicely to it. In this case you have to watch the spiral.
Flowers
I made all the pieces of the flower and then I assembled them.
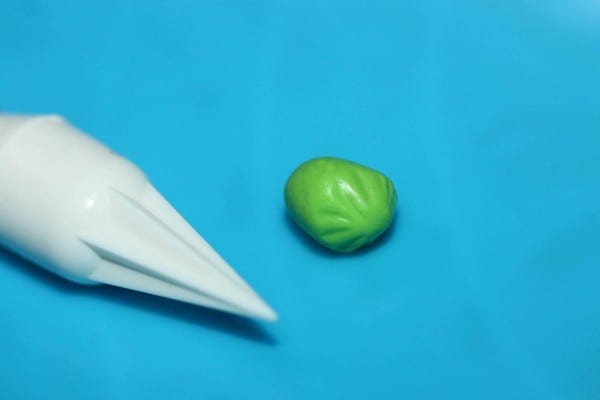
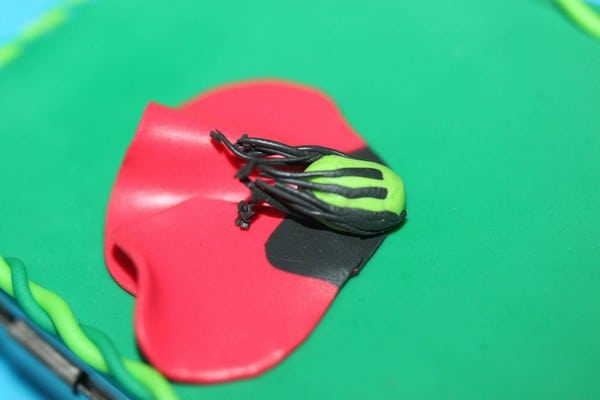
I rolled out a short thick piece of light green for the center. I made some indentations with the tool you see.
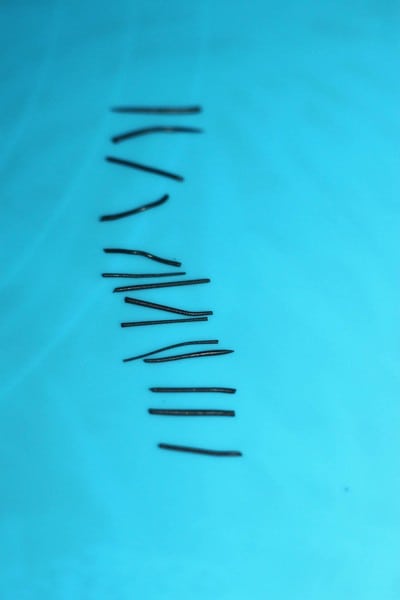
I rolled out a very thin snake from black clay and I cut it into pieces which are a little longer than the center. I placed them in a row like you can see in the photo.
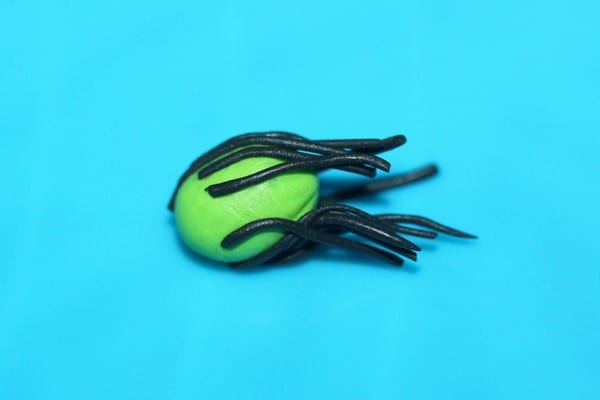
I rolled the center over them from bottom to top and they attached to the center.
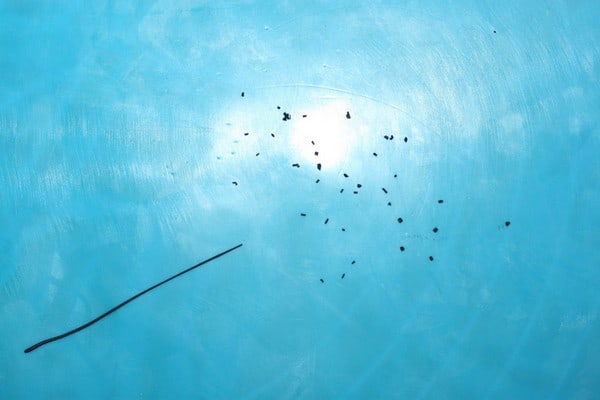
I rolled out one more very thin black rope and cut it into many tiny pieces. I attached those to the tops of the black pieces around the center. Everyone has to find the right way to do it, mine is to pick it up on the tip of the knife and transfer it to the top of the black piece.
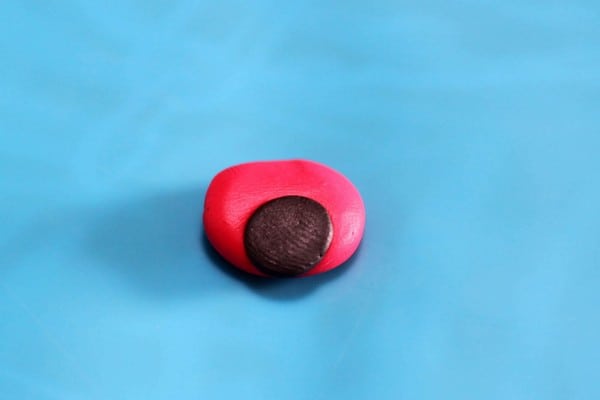
To make the inner petals I took a small piece of red and attached an even smaller round piece of black to its lower edge.
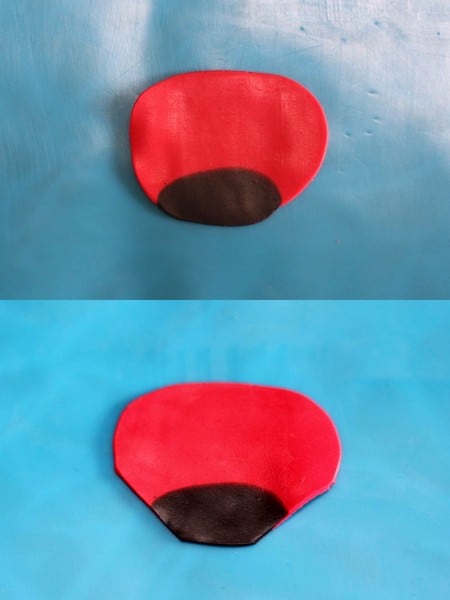
I rolled it all out and cut off the sides of the lower half a little to give it the shape of the petal. I am going to form the rest of the petal with my fingers.
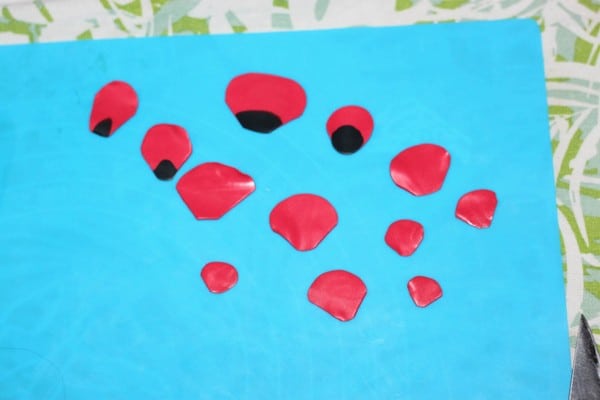
I made also outside petals without the black part. I made also several small petals and several large ones, those are for the outside of the flower.
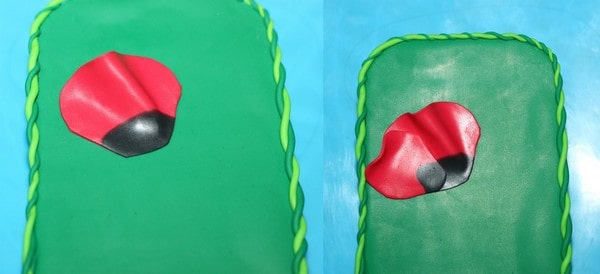
I attached two inner petals to the base, they are overlapping a little. I pressed the edges of the petals in my fingers to make them thinner. As I was attaching the petals to the base I have them some shape because I didn’t want them to lay flat.
I placed the center onto the black part of the petals.
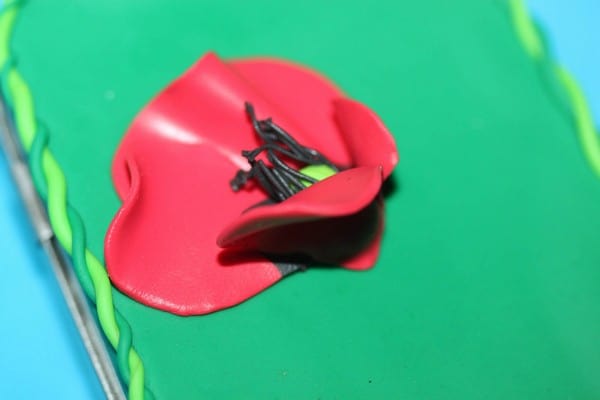
I covered the center partially with two smaller leaved. I shaped these a little as well.
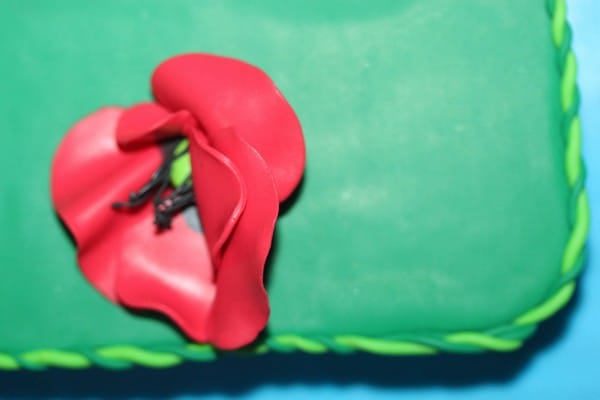
Then I added the largest petals on the outside.
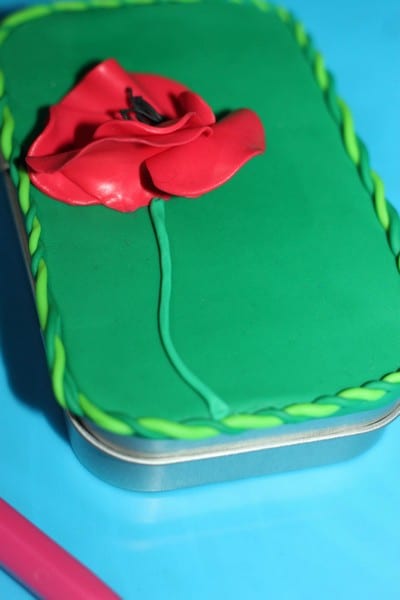
At the end I added the stem. I realized this should be the first thing to place on the base and I did that for the buds.
Buds
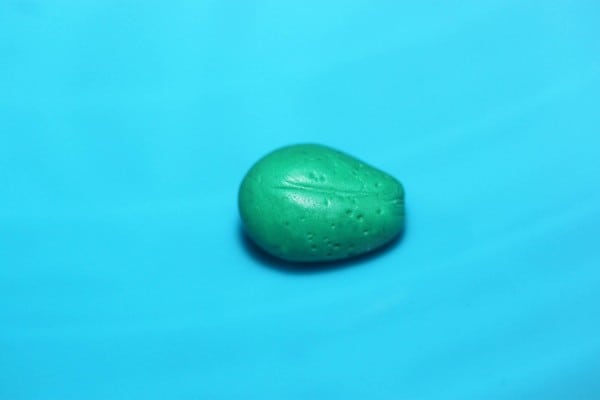
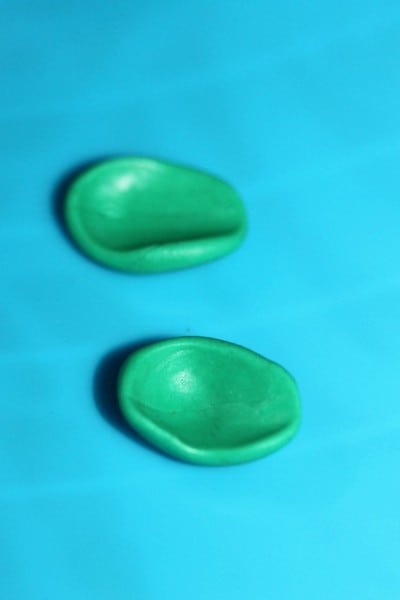
Making the closed buds is easy – I just rolled out some green clay, made one end round and the other a little bit pointy. Then I made an indentation where the halves of the bud touch and I added some small holes to give it some texture.
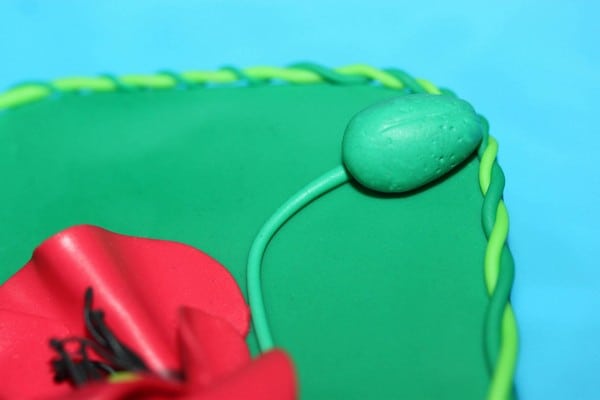
This time I placed the stem first and the bud came on the end of it.
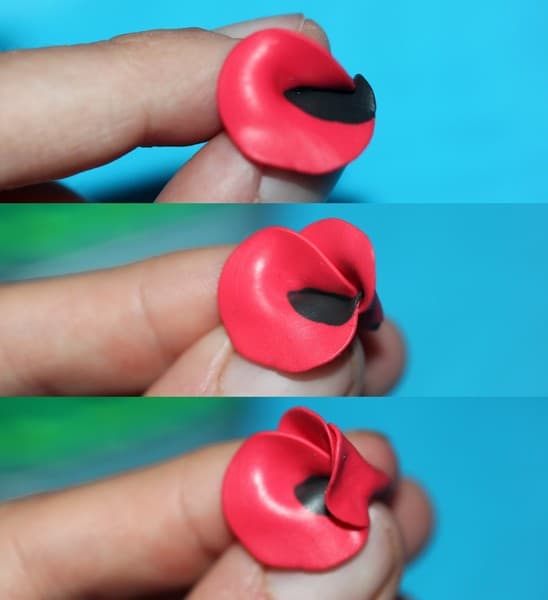
I used three petals to make each open bud. I rolled the largest one in and then placed a smaller petal over it and another one. Each smaller petal is placed in a different angle.
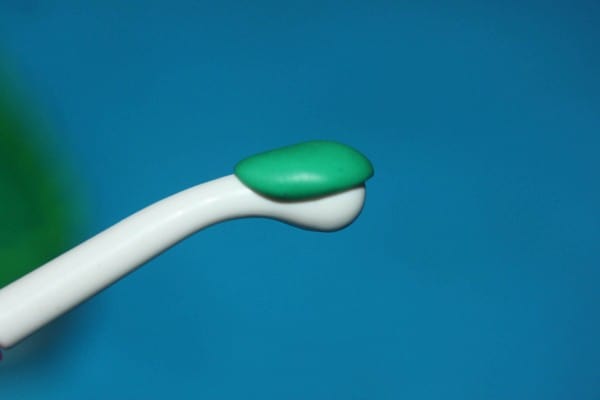
I also needed the green leaves for the open buds and I made them by forming a ball from the green clay and then shaping it with the round decorating tool you can see in the picture.
I made two leaves for each bud.
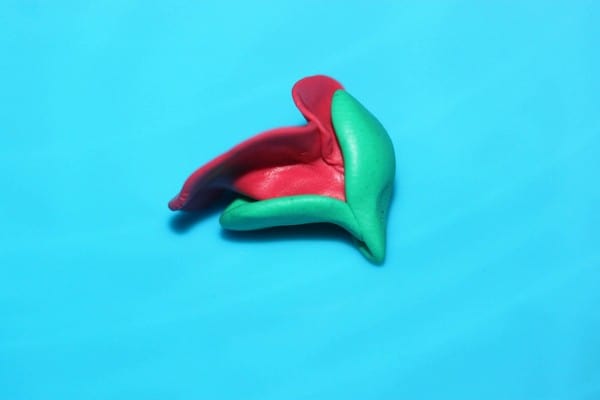
I pressed one leaf on the upper and the other on the lower side of the red leaves and pressed them together at the end.
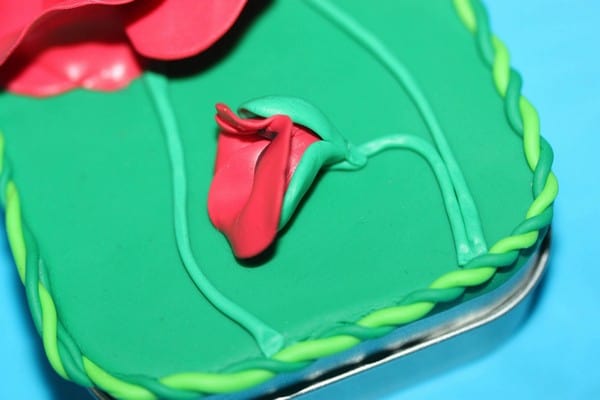
And like before – I placed the stem on the base and attached the bud.

My box has one flower, two closed buds and two open ones.
Baking
Each polymer clay requires different baking conditions. I baked the Cernit for 20 minutes on 120 °C (248 °F). I let everything cool down completely.
Painting
It’s not necessary to paint the box. However, I decided to paint it green after baking it. If you do the same, use the spray varnish after the paint has dried. And let everything dry properly.
And now let’s use the DIY Poppy treasure box for…treasures!


