
How I restored an old half-forgotten suitcase box into a vintage sewing box.

It was there, in the corner of the basement, all alone and forgotten. I thought it was strange that I’ve never noticed it before but once I did I wasn’t going to let it rot there.
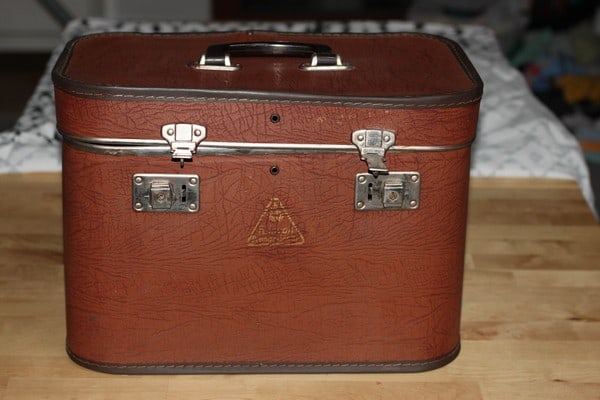
 This type of suitcase was used to carry LPG cylinders and gas cookers, families often take it along for camping. They have a golden triangle with the inscription “Palavan Propan butan” imprinted in the front.
Such a suitcase is not a valuable piece, it’s made from a sturdy glue-infused cardboard with leather-like finish. The edges and other components are made from metal, except the handle which is plastic. My suitcase was shabby, a little rusty and the lining needed replacing, however, the construction was fine and it wasn’t deformed. I wanted to restore this vintage suitcase into a sewing box without dismantling it. I knew that that meant the metal components would keep the scratches but I also knew the rest could be cleaned. So the objectives of the restoration were to:
- change in inside lining
- restore the outside
- clean the metal components as much as possible
I decided to use cleaning products for leather because I know they work well with this kind of cardboard and they will promote the leather-like appearance.
If you’d also like to make a smaller sewing box, here’s my String Basket From a Box tutorial. And browse the Sewing category for sewing tutorials and ideas.
Table of Contents
Supplies:

- thickly woven 100% cotton canvas
- sewing machine + needles
- pins
- scissors
- paper
- pencil
- ruler
- fabric glue
- water
- citric acid
- jewelry polishing cloth/cotton
- brown shoe polish
- wax for leather
- spray polish for leather
- cloths, paper towels, old toothbrush, ear buds
How I Restored an Old Suitcase into a Vintage Sewing Box
Before

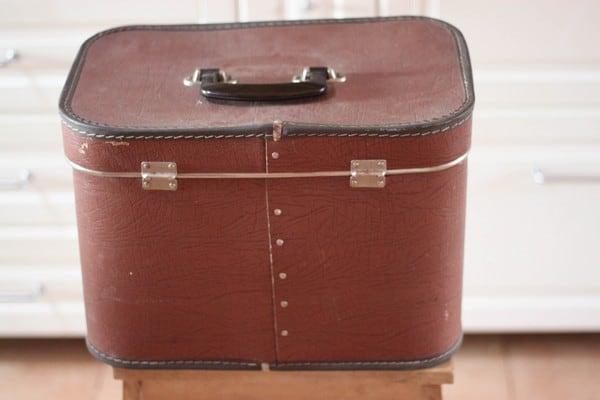
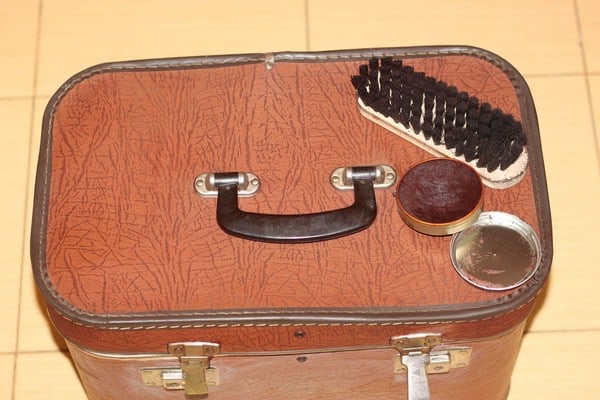
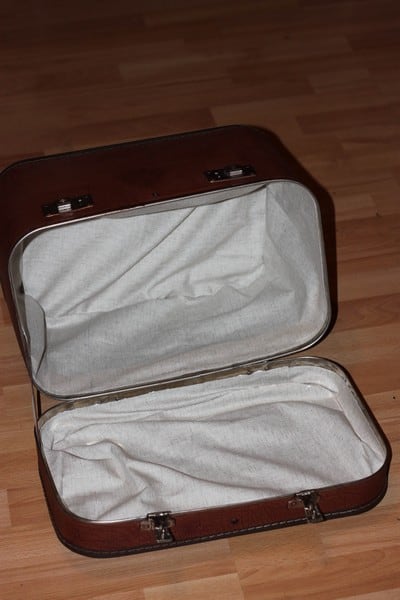
This is what the suitcase looked like before – the inside has to go, the metal parts are rusty and the “leather” needs some beauty treatment.
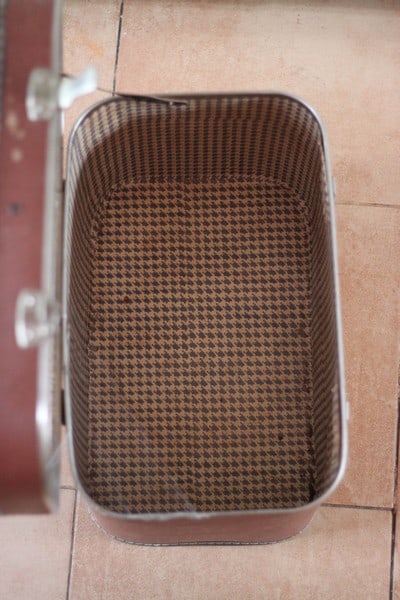
Inside – Get rid of the paper and prepare for sewing
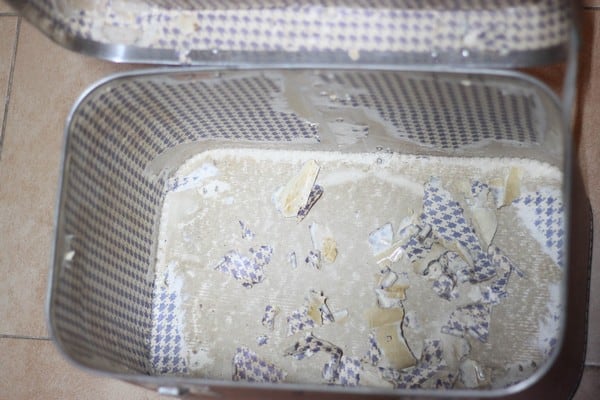
The paper stuck away from the box in several places so I peeled it away with my hand. As for the rest, I had to shower it with warm water for a few minutes. I wouldn’t let the box stand in water as it’s made from cardboard but showering is fine. The cardboard is so soaked with the glue that there is a protective layer.
Peeling away the rest of the wet paper was a piece of cake. I dried the inside of the vintage suitcase with a towel and then I let it dry some more next to a radiator.
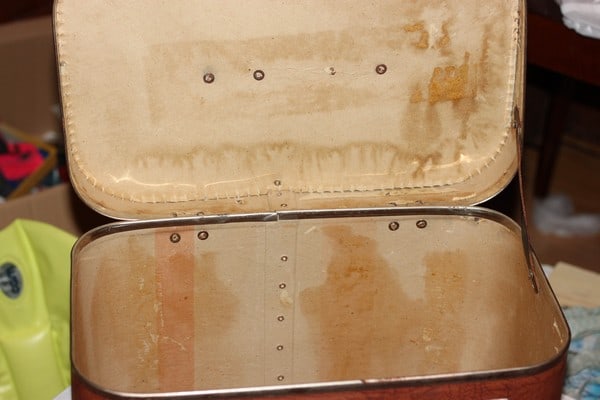
The dry box still had some glue stains but these didn’t bother me.
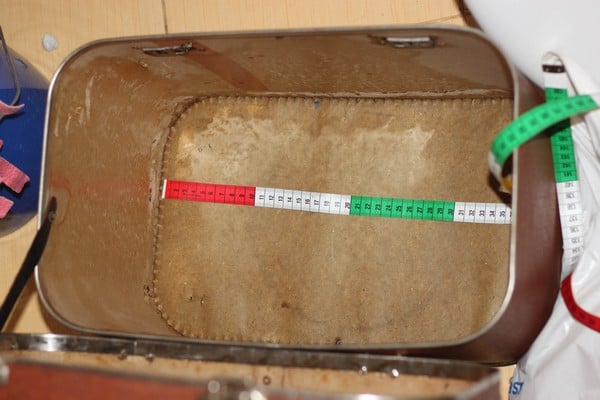
Next I measured the inside of the box and also of the lid.
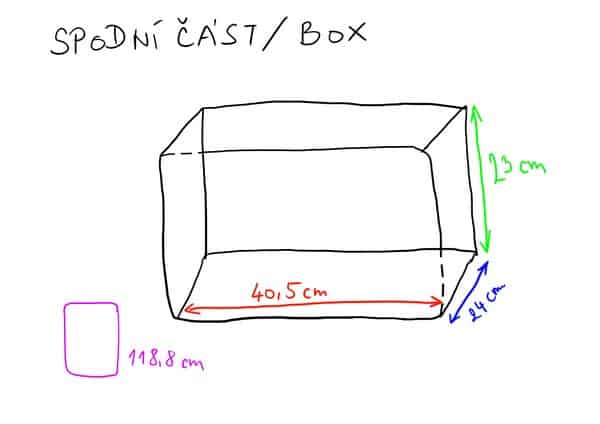
This is the box – Length is in red, width in green, height in blue and circumference in purple.
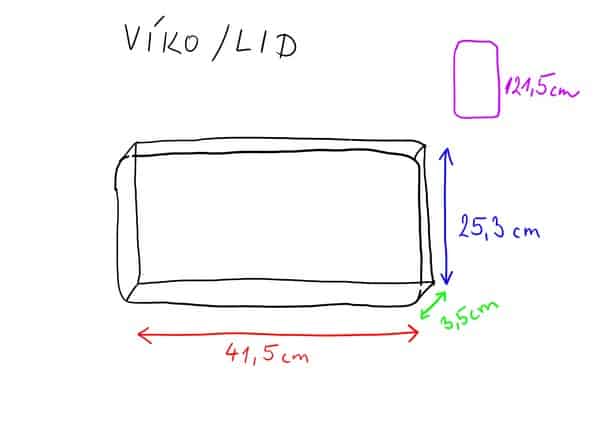
And this is the lid – length is in red, width in blue, height in green and circumference in purple.
I want a 1 cm seam allowance which means I will add 1 cm on each side of all the pieces. However, I want to add 4 cm in total to the length of the side pieces (of both lid and box).
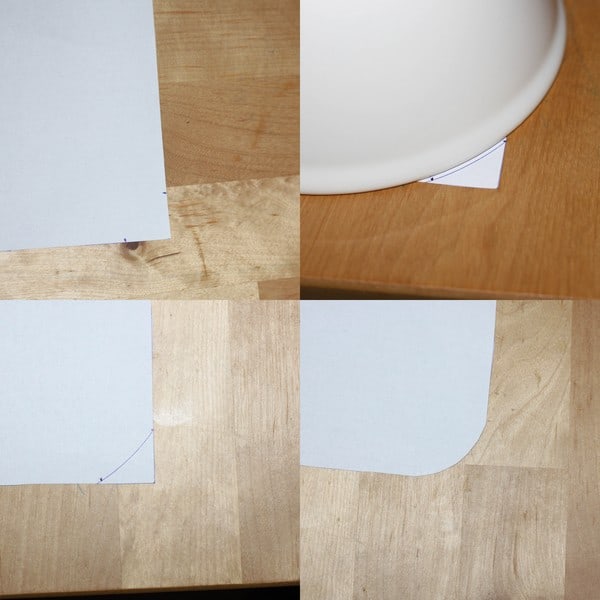
I made a paper rectangle for both lid and box of the exact measurements. To round the corners I measured 2 cm on each side of the corner and then connected the two points tracing the round shape of a bowl. I cut the corner round.
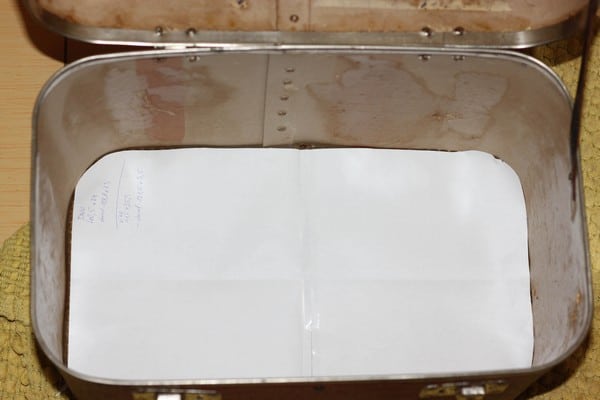
I placed the paper pattern inside the box/lid and kept adjusting the shape of the corners until I was happy with it.

I cut one rectangle and one side stripe for each part of the suitcase (box and lid). What you see in the picture are the measurements including the seam allowance.
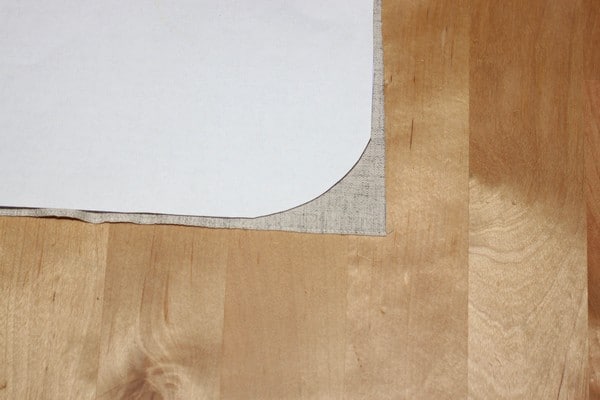
I placed the paper pattern on the fabric rectangles and traced and cut the round corners.
Inside – Sewing
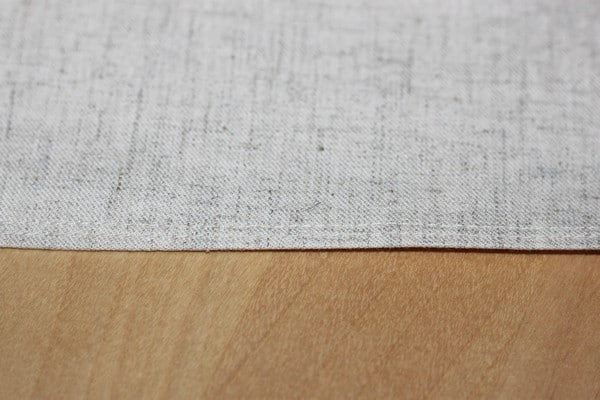
First, I took the side parts (long stripes of fabric), folded them in 1 cm, pressed and top-stitched with a double-needle. These will be the edges that I’ll glue to the edge of the suitcase so they should look neat.
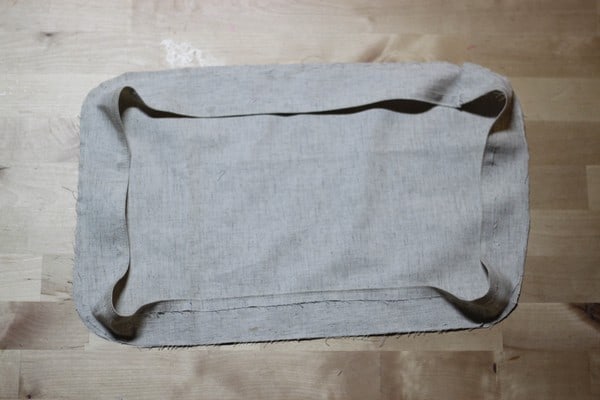
Then I placed each side piece on the corresponding rectangle right sides together, pinned it all around it and sew 1 cm from the edge. I trimmed some of the excess fabric.
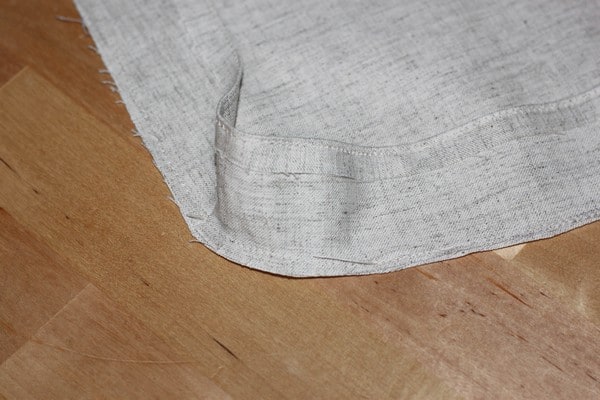
I cut the fabric of the side pieces there were it was supposed to copy the round corner. I made about 6 small cuts, each only of 3 mm. This helps the fabric copy the shape.
Cleaning the metal
As I said, I didn’t want to dismantle the box and I accepted that there’d still be scratches on the metal. I just wanted to get rid of the rust.
I made some citric acid solution by mixing 1 cup of water and 1 tbsp of the acid.
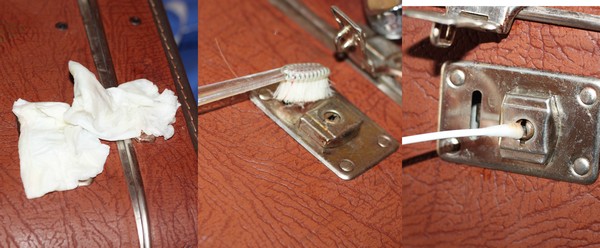
I used one paper towel for each metal part – I folded the towel several times, dipped it fast in the solution, wrung it out and then wrapped the wet towel around the metal part. I left it there for 24 and during this time I made the towel wet again several times. After one day I took of the towels and used an old toothbrush, the earbuds and some water to clean away the rust.
I polished the metal with the polishing cloth.
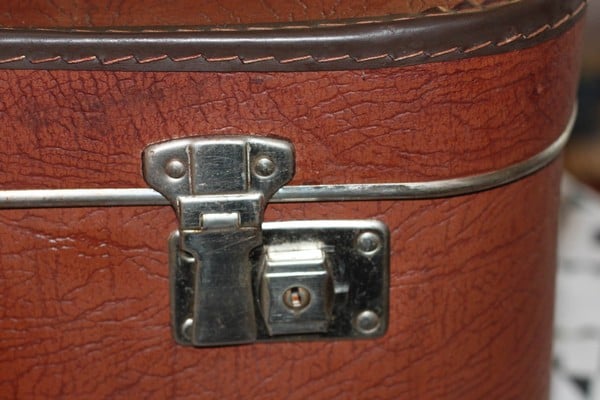
This was the result – scratches are still there but the rust is gone.
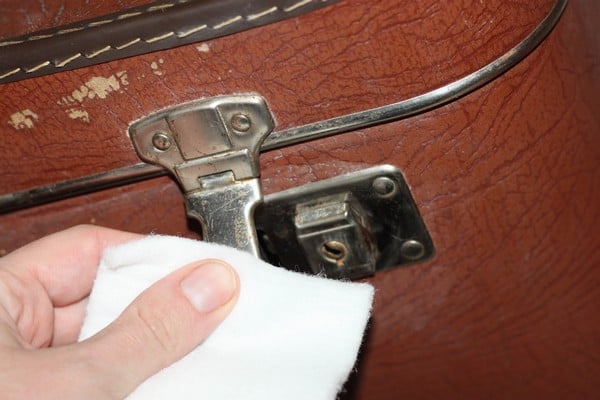
Treating the outside
First, I wiped the outside with a wet clothed and dried it. Then I rubbed in some brown shoe cream. The difference was visible immediately.
This is the the suitcase after the first round of treatment.
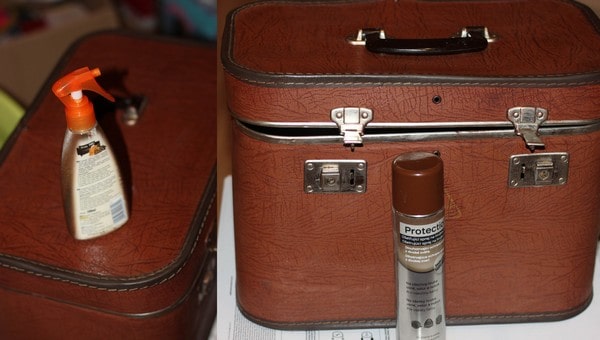
After the cream had soaked in I treated the outside (except the metal and the handle) with wax for leather and then with protective spray for leather.
Glue the lining
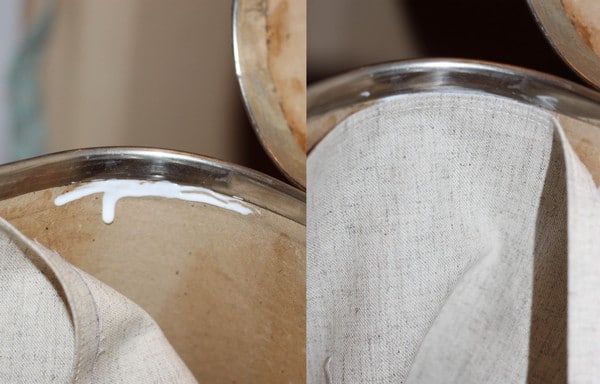
The last bit was gluing the lining. I decided to glue only around the edges. I applied some fabric glue a few centimeters around the metal edge and waited 20 seconds. In this time the glue starts to set, then I just place the edge of the lining on it and rub it gently with my fingers. Before I placed the lining inside the box/lid and aligned the corners.
I glued the lining for the box and the lid in the same way.
And done!
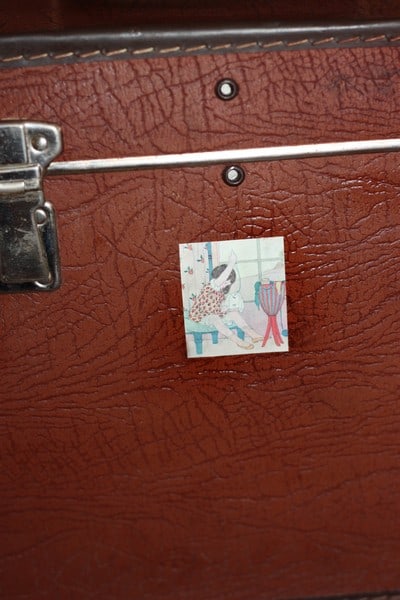
I wanted to cover the triangle and I found a perfect vintage sticker for a sewing box! I spray-varnished it and the last thing left to do was to fill the vintage sewing box with sewing supplies.


