

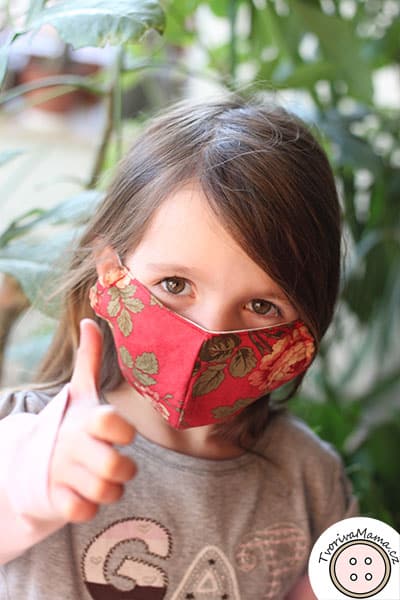
This is a kind of Hannibal muzzle but quite popular with the people. I also suspect it might be a great silencer of noisy children, haven’t tried it yet in this way, so let me know if you do:-) Don’t forget to also check out my tutorial on another Double-layer face mask. And if you decide for this “muzzle” and want to add a filter pocket to it, you can use this tutorial.
Supplies
- patterns to download in JPG or PDF (EDIT: Due to the feedback that the sizes are too small for some of you I added one more size and also divided the files for each pattern to be downloaded separately)
- 100% cotton fabric
- elastic band or cotton lace
- scissors
- needle
- thread
Pattern: There are four sizes – XS-L – all sizes are approximate and I recommend you to cut out the pattern and put it on your face to see if it’s not too big or too small. Add 0,5 cm seam allowance on each side. Also, before you print the pattern, make sure the box “Adjust to page” in the print window is unchecked.
It’s much easier to sew this mask with a sewing machine but you can sew in hand as well.
In the previous tutorial I pointed out that the material has to be 100% cotton because of the sterilization. And it is true, especially if you want to donate the mask to a hospital or any other medical facility. However, if you make the mask for yourself, you can replace the lace/string with another material, like elastic band. It can stand boiling water as well as washing on 95 °C, just make sure the band is rather thick (round or flat) so you don’t need to change it after each washing.
How to make a muzzle face mask
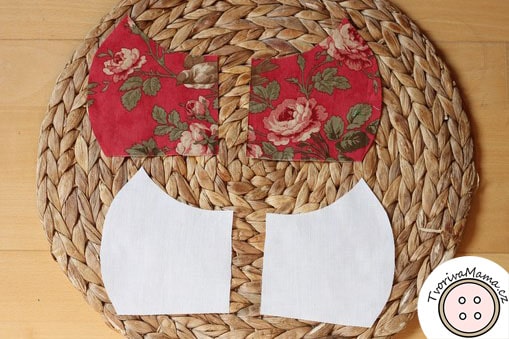
Print the pattern (remember, with the “Adjust to page” unchecked!) and cut the shape in desired size twice on the outside fabric and twice on the inside fabric.
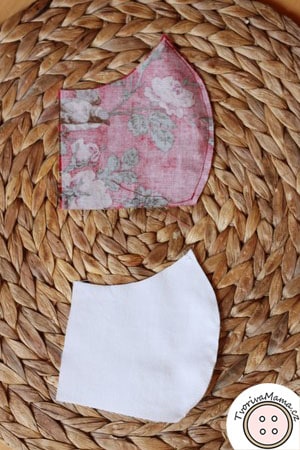
Place two shapes right sides together and stitch the round side. Do the same for both layers.
When you open the layers now, you will notice it already has the “muzzle” shape.
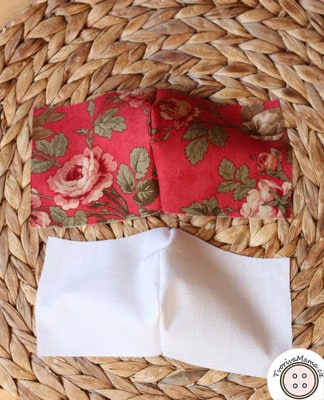
Now place both layers right side together.
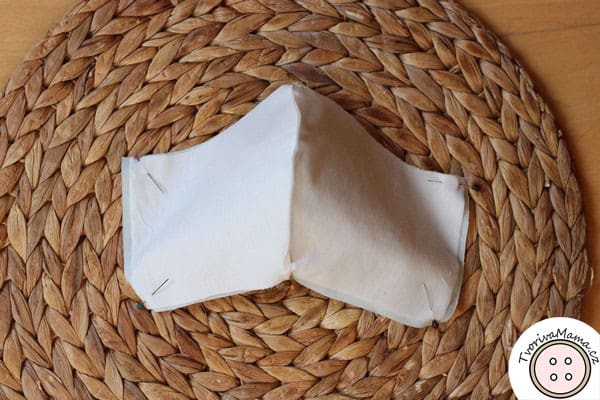
It’s quite important to pin them, especially the centers of the layers should align.

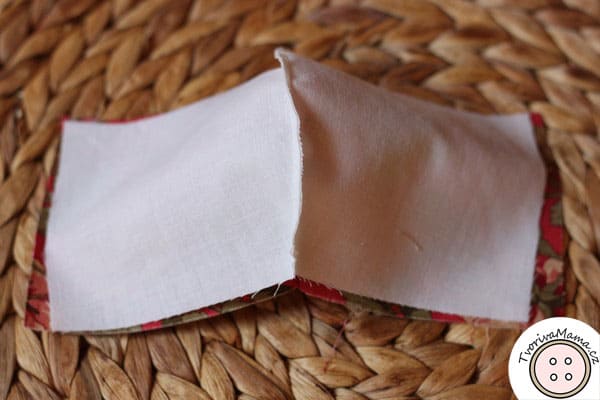
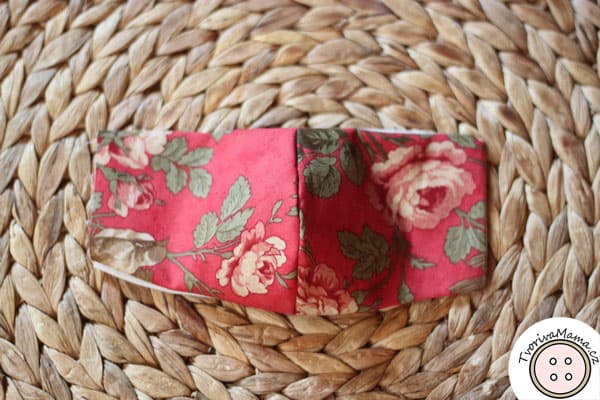
Stitch three sides, leave one short side open.
Turn the mask right side out through the unstitched side.
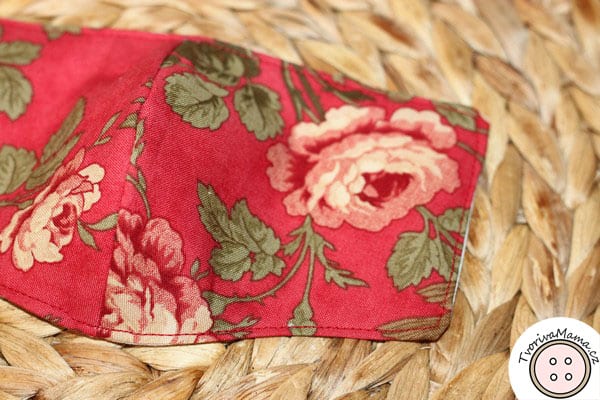
Iron well and stitch around all the edges.
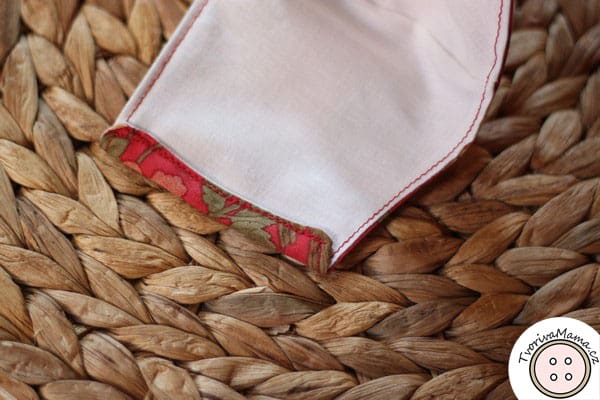
Fold the short sides inside just enough to pull an elastic band through the tunnel you create. Stitch.

Pull the elastic band through and stitch its ends together.

Be responsible, wear the face mask whenever you have to go in the public!


I love the pattern but the adult size would fit a child, what am I doing wrong?
Do you have the “Adjust to page” box unchecked? Adjusting to page makes the pattern smaller. The pattern worked for me and other people. However, if it seems to small for you anyway, I’ll be happy to resize the adult pattern and include one more size, that’s no problem. Please let me know so I can help.
One more thing – when you print the pattern, do the 1 cm and/or 1 inch square have the correct size?
When I go to print there is no adjust to page button to check or uncheck. Yes they looked like 1cm and 1 inch. I love the pattern it is simple enough and I love the style..just way to small.
Dear Pat, thank you for your feedback, it’s been very helpful! I decided to add one more size and also to make all the patterns downloadable separately in JPG and PDF. I hope the new large size fits better and if not, I can always add another one:) You can find the new patterns here: https://www.creativemom.cz/patterns-for-the-muzzle-face-mask/
on your print menu, it may have a box that says “Scale” or “Fit to Page.” Scale allows you to print at 100% or as large as 200%. Hope this helps.
How wide is the elastic ? And how long should I cut each piece ?
Hi, the elastic is 0,5 cm wide. I cut 30 cm for each ear, however, it doesn’t fit everyone, so maybe cut a little more first, make a knot and try it on. If it fits you can cut the elastic right under the knot and stitch the ends.
I had the same issue and had to print it out at 133% so the 1 inch box would actually be an inch! Wasted paper. 🙁 If the image size was setup correctly it wouldn’t be an issue.
Once again – I’m based in Europe, we have different standard sizes of paper. That’s why US residents have to adjust before printing.
I need the large size but across the bottom it only measures 7 inches and I need 9 in so could I just extend the sides two more inches as the muzzle part fits good
You can extend the sides, you can just add the inch on each side as a straight stripe, no need to follow the curve.
I just wanted to say thank you – for all the different size patterns, the directions, and your patience! Trying to provide patterns to all sorts of people with all sorts of computers and all sorts of printers has been very challenging, I am sure!
The scale boxes were a great idea – I am on an iPad, and I clicked on the jpeg of the size I wanted, then zoomed in until the box sizes matched up with a ruler I laid right on my screen. Then I took a screenshot of the screen just as it was – probably didn’t need that step, and could have used the jpeg as it was, but I thought the image might be more stable as a screenshot.
Opened the picture, made sure the scale boxes still matched my ruler, and then laid a piece of paper right over the screen and just traced it! (Without resting my hand on the screen, so I wasn’t “touching” the image.)
Can’t wait to get to the sewing! Thanks again for all your kind help, and the great pattern.
Thank you, Anna, it’s so nice to hear that my tutorials are helping someone. I actually print my patterns from the JPEG but as there was a demand on PDFs I added those. It’s the first time I hear that someone traced the patterns like you say you did but I find it very clever and I’m glad it worked for you!
Thank you for taking the time to share this lovely pattern!